Pumpkin Soup

Difficulty: 3
Techniques: Stringing

Set of accessories from PRECIOSA beads

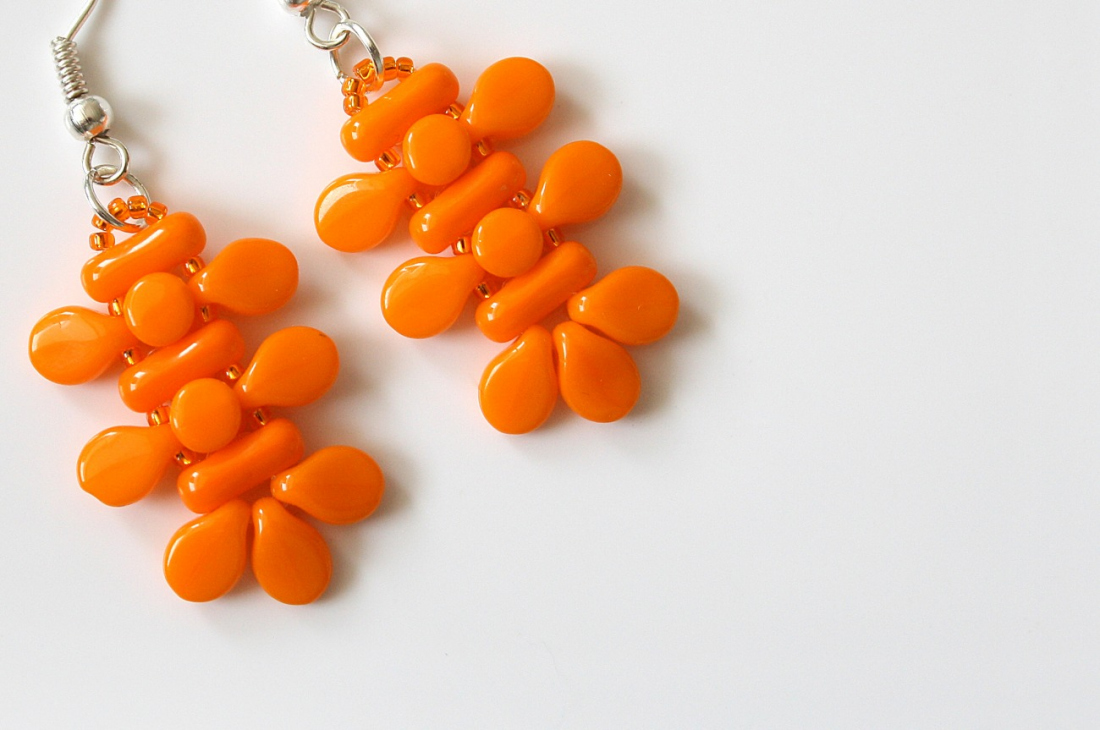
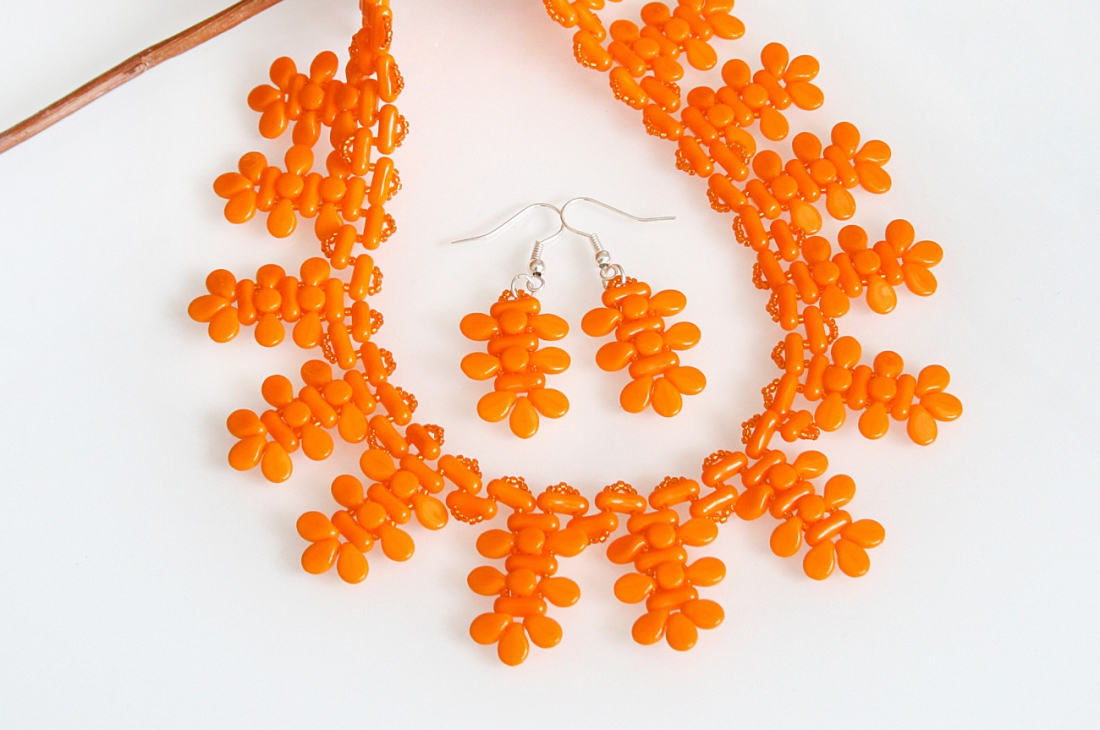
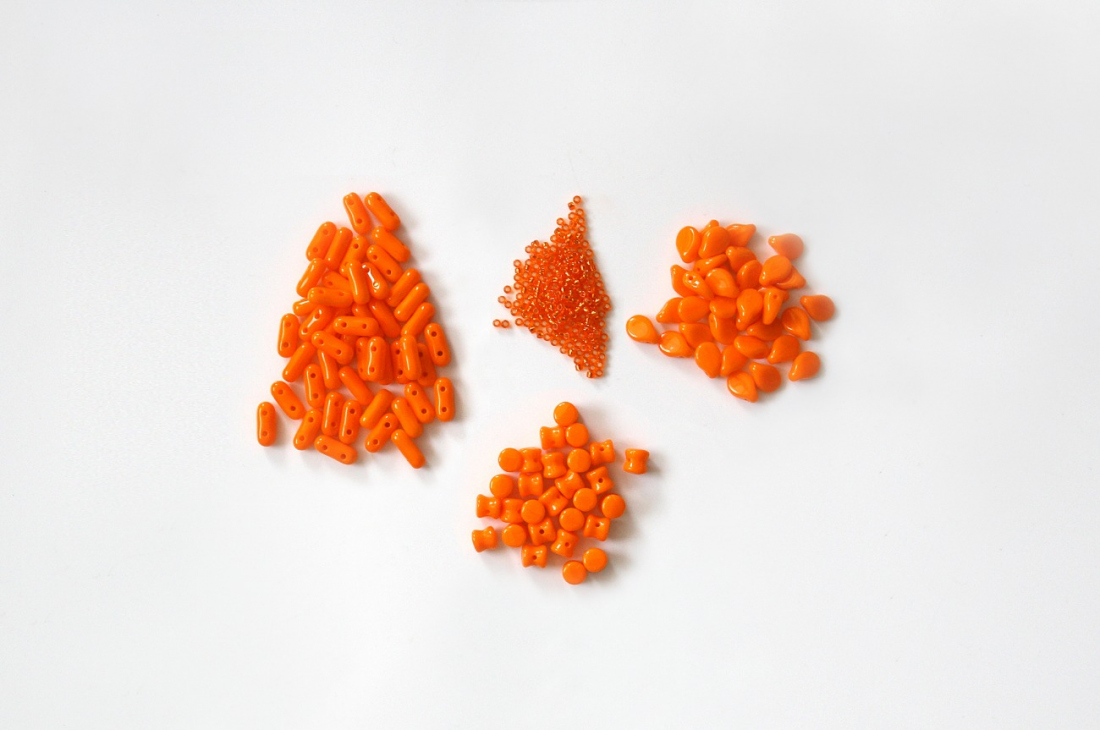
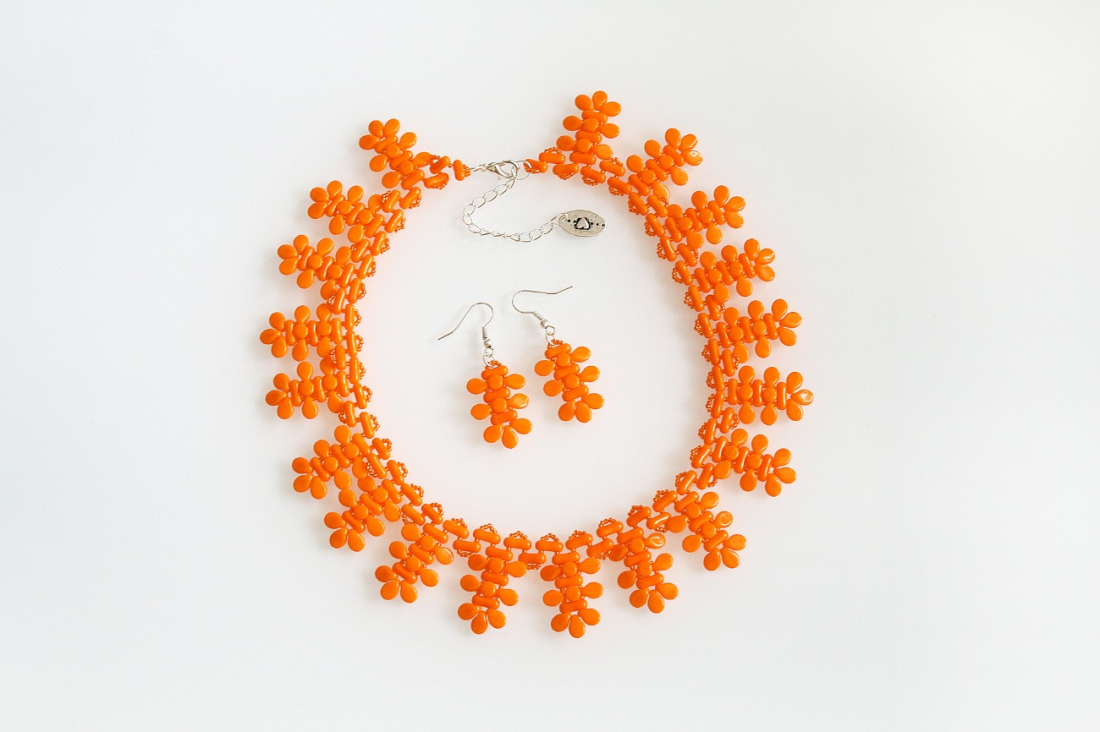
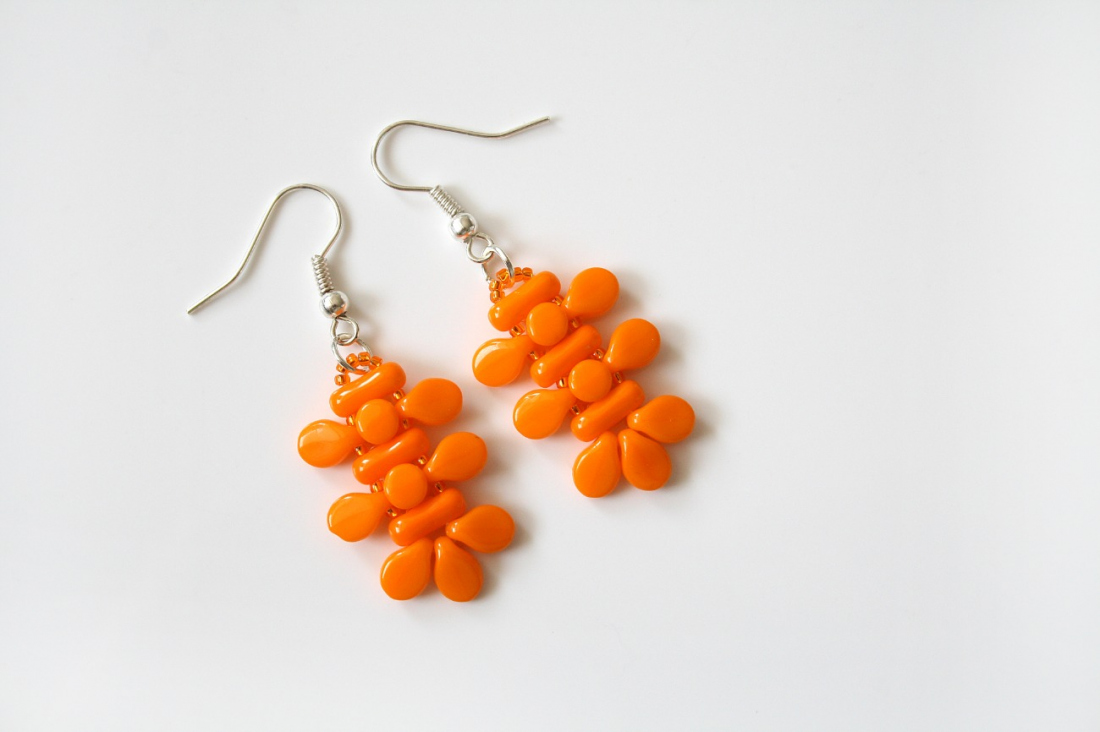
Pumpkins of all shapes and sizes essentially belong to autumn. They serve both as a decoration and also as a delicacy on the plate. We have taken inspiration from both. You can now make a necklace and earrings in the colors of pumpkin soup using our tutorial. Harmonise your look with nature in autumn and light up the cold and damp days with your accessories. Try out how excellently they go together with the beads and seed beads from the PRECIOSA Traditional Czech Beads™ brand. PRECIOSA Twin Roller, PRECIOSA Pip™ and PRECIOSA Pellet™ offer a wide range of combination options thanks to their shapes and the wide color pallet.

Preciosa Ornela wishes you infinite inspiration during your beadworking.

Ambassadors

Jana Shweiki

Designer with playful and clean-lined designs of jewelry made using Czech beads and seed beads from the PRECIOSA Traditional Czech Beads™ range.

Learn More

Material and Tools

PRECIOSA Twin Roller

111 01 330; 8 mm; 93120; 123x
(TR)

Materials

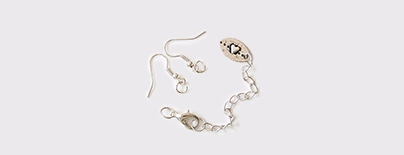
Silver: rings (5x), the fastening, an adjusting chain, African hooks

Tools

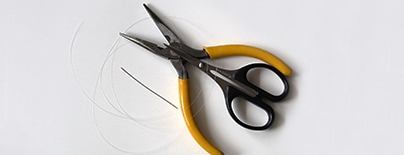
A nylon line (0.18 mm); a long thin needle; scissors; needle nose pliers; flat nose pliers

Procedure

Step 1

The necklace is approximately 41 cm long.

String 1x TR and 5x R on the needle and line and thread the line back through the second hole in the TR (fig. nos. 1a - 1b).

1 / a

Step 2

Thread 1x R, 1x TR and 5x R (fig. no. 2a) onto the line extending from the lower section of the TR and thread it upwards through the second hole in the TR (fig. no. 2b).

2 / a

Step 3

String 1x R, 1x TR and 5x R (fig. no. 2a) and thread the line downwards through the second hole in the TR (fig. no. 3).

3

Step 4

Now string 1x R, 1x TR, 1x P2, 1x TR, 1x P2,
1x TR and 3x P1 (fig. no. 4a) and return through
the second holes in the TR and P2. Try to hold
the P2 in the middle of the TR (fig. no. 4b).
 

4 / a

Step 5

The line extends from the right-hand hole
of the uppermost TR, but, given that you need
to continue downwards, pull the line downward
through the left-hand hole in the TR
(fig. no. 5).

5

Step 6

String 1x R, 1x P1 and 1x R and pull the line through the hole in the TR (fig. no. 6a). Repeat this step and thread the line not only through the TR, but also through the 3x P1 which are at the bottom and then return upwards through the second hole in the lower TR (fig. no. 6b).

6 / a

Step 7

Once again string 1x R, 1x P1 and 1x R and pull the line through the second hole in the TR and continue with the same step once again until the line extends upwards from the second hole in the top TR (fig. no. 7). Tighten well so that the P1 and R nicely encircle the P2.

7

Step 8

String 1x R, 1x TR and 5x R (fig. no. 2a) and thread the line downwards through the second hole in the TR (fig. no. 8).

8

Step 9

Gradually string 1x R, 1x TR and 5x R (fig. no. 2a) onto the line extending from the lower section of the TR and thread it downwards through the second hole in the TR (fig. no. 9).

9

Step 10

String 1x R, 1x TR and 5x R (fig. no. 2a) and thread the line downwards through the second hole in the TR (fig. no. 10).

10

Step 11

Now repeat the procedure from step 1a
onwards until you feel that the necklace
is long enough. Then sew in the ends
of the lines and use the pliers and the rings
to attach the fastening.

11 / a

Downloads