Echo of summer blossoms

Difficulty: 3
TECHNIQUE: sewing, the peyote stitch, stringing, netting

Flowers in intensive colors

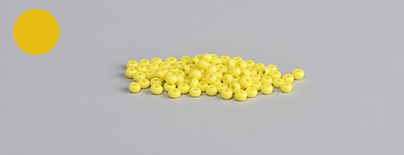
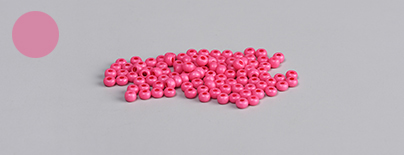
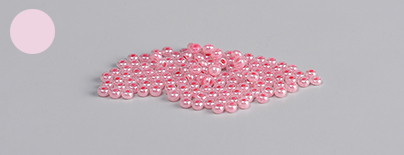
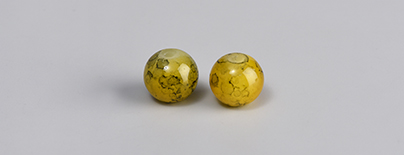
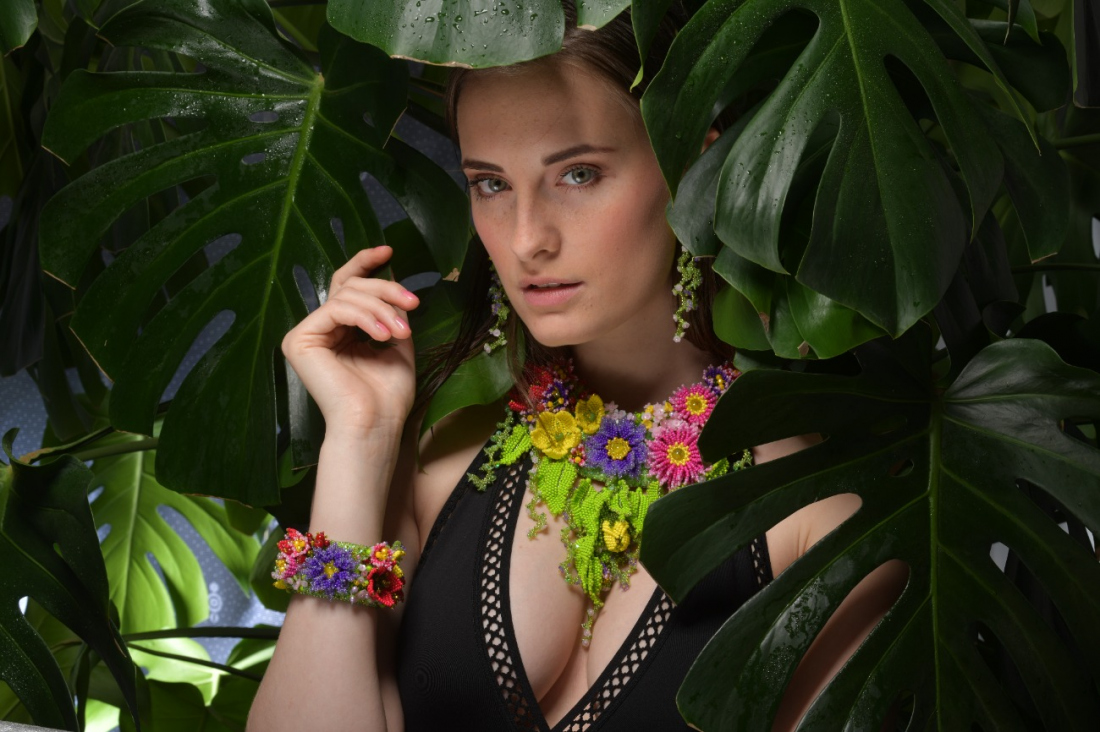
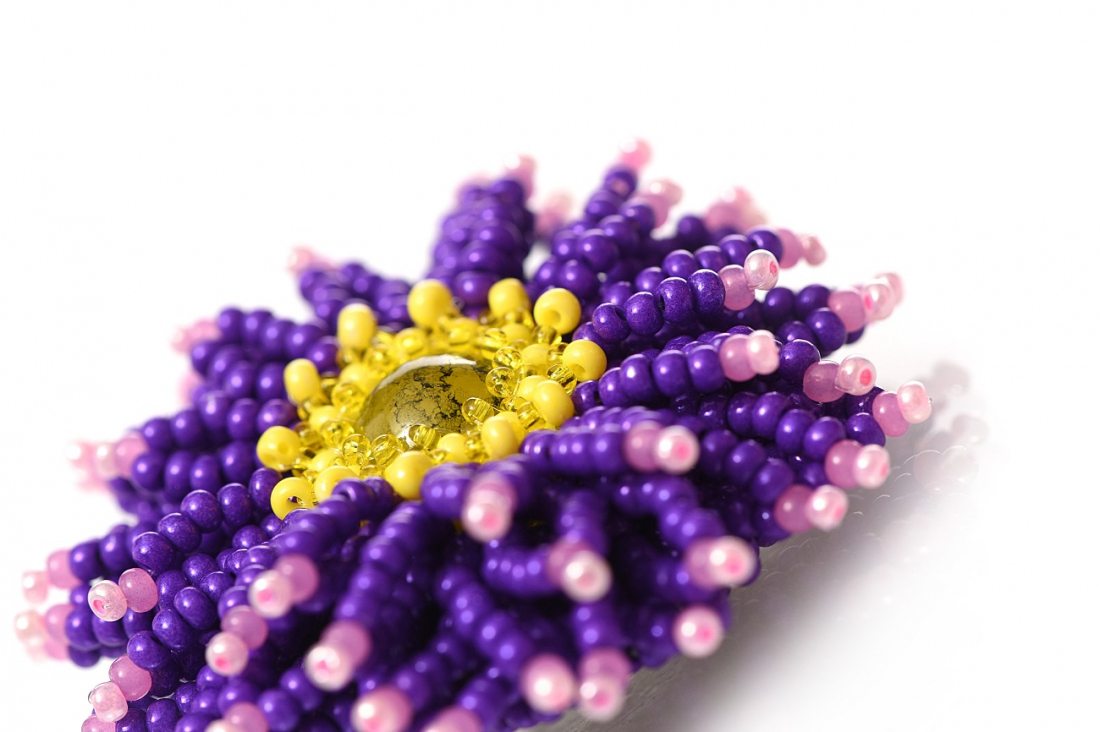
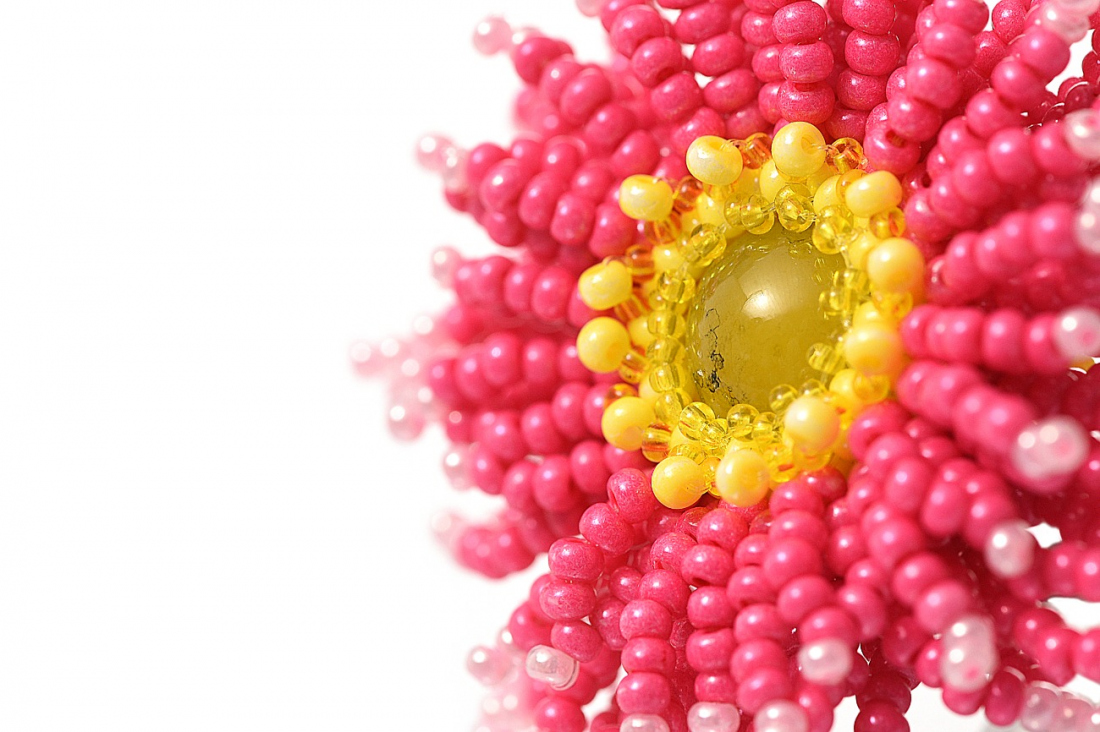
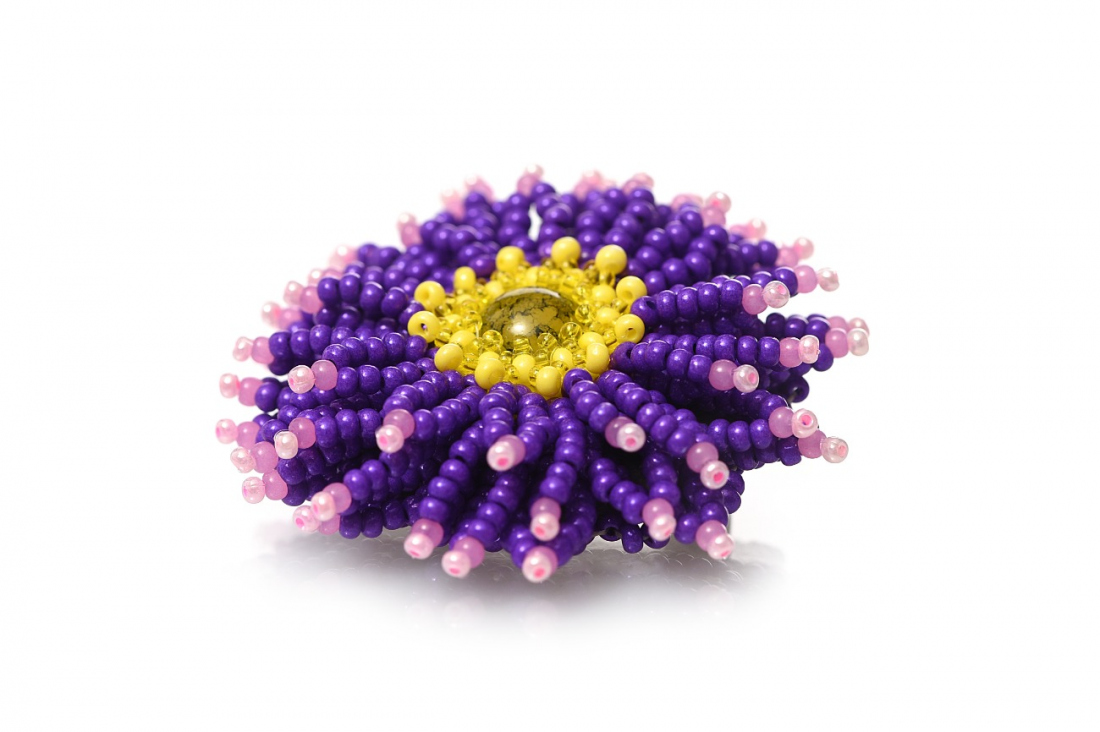
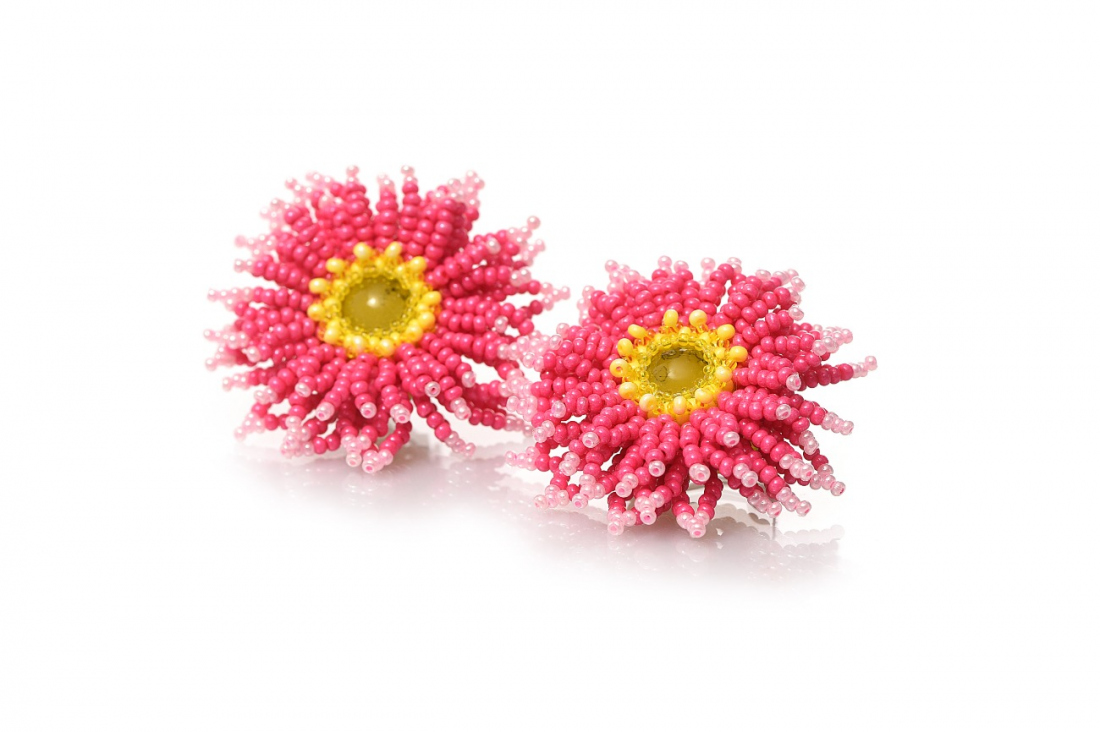
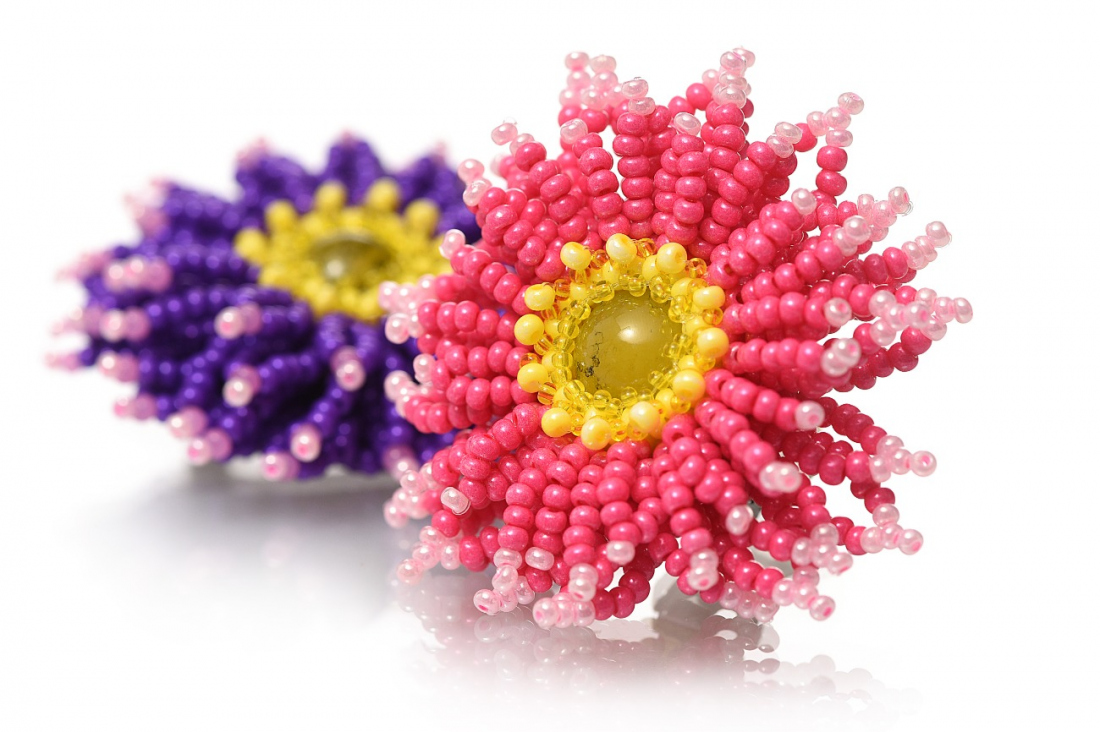
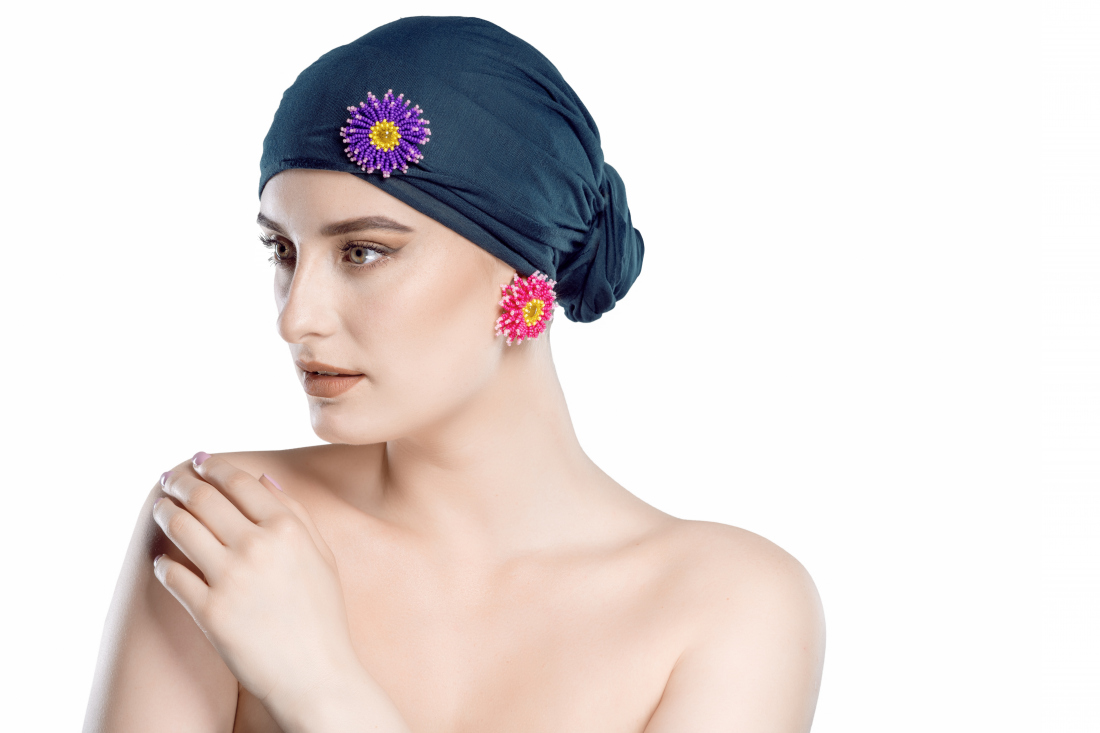
Preserve the fleeting beauty of summer flowers so that they never wilt. Their charm will beguile you over and over in the form of flowers made from PRECIOSA Rocailles in intensive colors. Use your imagination and combine different colored flowers according to your own ideas. You can use them to make happy earrings or an entire costume jewelry set. You can also use the flowers as decorations in your home.

Ambassadors

Natálie Škodová

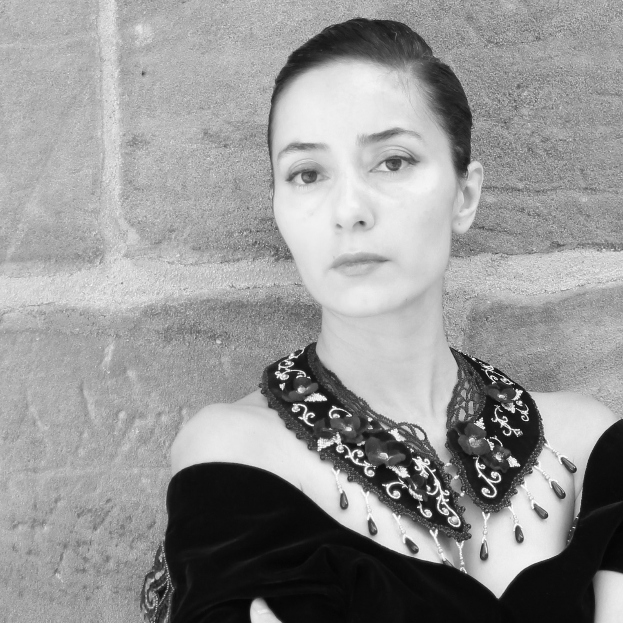
Profile Natálie Škodová Even though she studied music at the Academy of the Musical Arts, beadworking and the production of jewellery enchanted her so much that she eventually decided to fully devote herself to this art form in 2012.
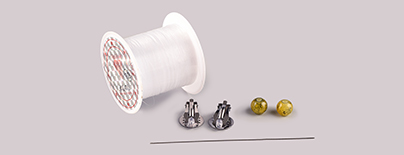
Learn More

Procedure


Step 1

Create a basic row of 24x R10A around the circumference of a PB. First string 12x R10A and move them to the middle of the line. Then string 1x PB and thread the line through all the R10A and the PB once again. Tighten the stringing well. String a new group of 12x R10A and thread the line through from the other side of the PB once again and tighten the stringing well. Thread the line through the 12 new R10A again and in conclusion thread the line through all 24x R10A again and tighten the entire stringing. In this way, you will have divided the PB into two notional hemispheres.

1

Step 2

Continue working on one of the hemispheres of the PB. Sew the next two rows of R10A using the peyote stitch (the yellow dots). Place 1x R10A above each gap between the R10A from the previous row; a total of 24 in each row.

2

Step 3

Use the peyote stitch to add two rows of R14 (the small yellow dots) to the rows of R10A around the circumference of the PB on the same hemisphere. Once again, place 1x R14 above each gap between the R10A; a total of 24 in each row.

3

Step 4

Sew the second hemisphere of the PB. Return to the initial row of R10 from Step 1. Continue as in Step 2 and sew on two rows of R10. Continue as in Step 3 and sew on two rows of R14.

4

Step 5

String 1x R14, 1x R10A and 1x R14 (the yellow dots) above each gap between the R10A in the last row and before the row of R14. Continue in the same way around the entire circumference. A total of 24x R10A and 48x R14.

5

Step 6

Gradually string the layers of the petals to the rows of R10A around the PB. Create the first petal. String 6x R10B, 1x R11 and then thread back through the last R10B. Then string 4x R10B and thread back through the lower R10B. Repeat this procedure 12x to create the entire first layer of petals.

6

Step 7

Start attaching the second layer of petals to the next row of R10A around the PB. String 7x R10B and 2x R11. Thread the line back through the second R11. String 6x R10B. Thread the line back through the lower R10B. Once again, repeat this 12x and create the entire second layer of petals.

7

Step 8

Start attaching the third layer of petals to the next row of R10A around the PB. String 8x R10B and 3x R11. Thread the line back through the second R11 and string 1x R11. String 7x R10B. thread the line back through the lower R10B. Repeat this procedure 12x.

8

Step 9

Start attaching the fourth layer of petals to the next basic row of R10A around the PB. String 9x R10B and 3x R11. Thread the line back through the second R11 and string 1x R11. String 8x R10B. Thread the line back through the lower R10B. Repeat this procedure 12x and then the petals will be complete.

9 / a

Step 10

Sew the finished flower onto the clip-ons using the bead netting technique. Thread the line through the R10A from the outer row from Step 2 with the line on the lower side. String 5x R10A. Leave out one R10A from the row and thread the line through the others. Connect the entire row in this fashion. Thread the line through 3x R10A. Create the next row. Once again, string 5x R10A. Connect the central R10A from the previous row. Complete the row. Thread the line through 3x R10A one more time. Now string 3x R10A and the central R10A from the previous row. Insert the clip-ons. Tighten the R10A. Create one more row of R10A by the basic fastening. Sew through it one more time to ensure the strength of the netting.

10 / a

Downloads