Heart for you

Difficulty: 3
TECHNIQUE: beadweaving - right angle weave and square stitch

Seed bead pendant

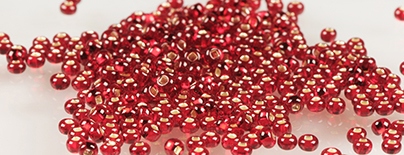
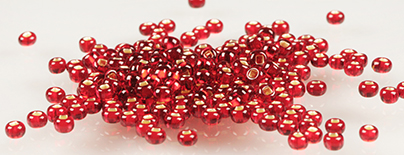
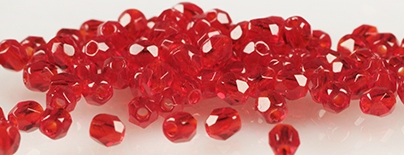
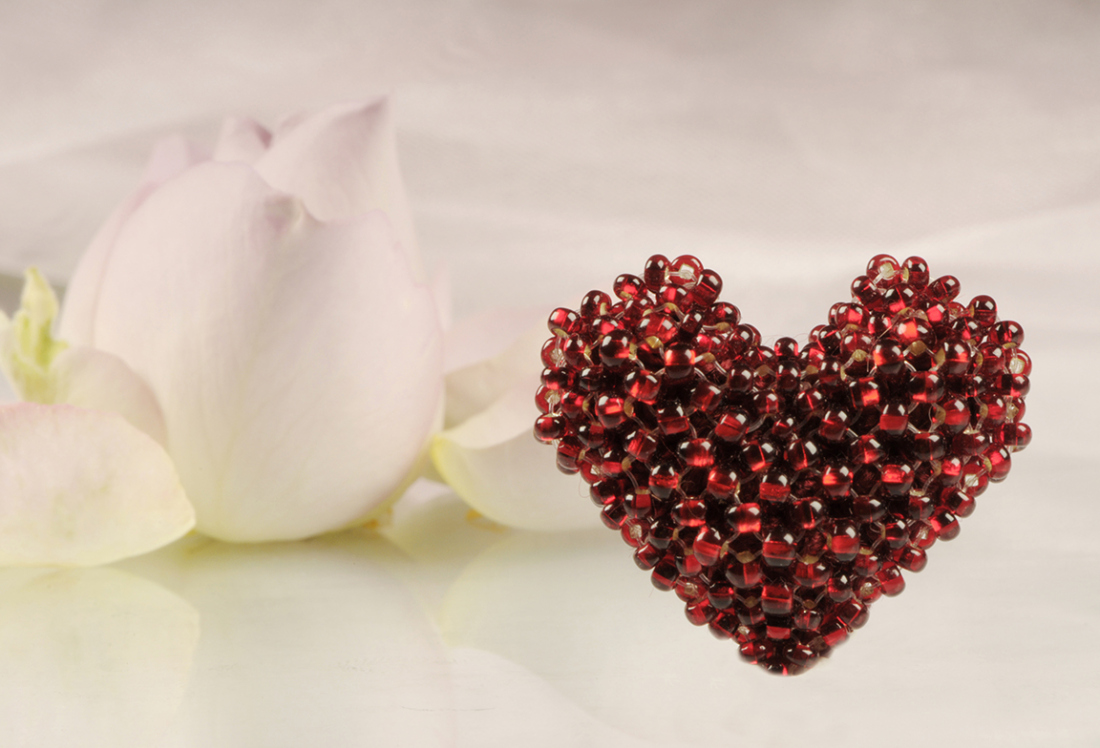
It doesn’t have to be Valentine’s Day for you to express how much somebody means to you. You can give your loved ones a small token of your appreciation at any time. The wide range of shapes, sizes and colours of the beads and seed beads from the PRECIOSA Traditional Czech Beads™ range will enable you to create an interesting pattern or colour mix. This will make the seed bead heart a true original.

Ambassadors

Helena Chmelíková

She is able to switch from luxurious and extravagant fashion show pieces to the preparation of hobby projects,
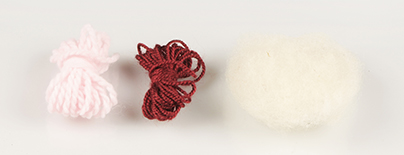
Learn More

Material and Tools

Materials

Spun or raw wool to fill out the centre of the heart

Tools

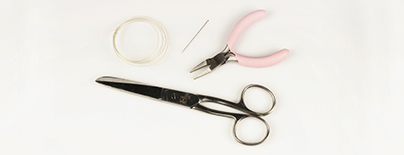
Scissors, a long thin needle, a 0.20 mm nylon line, flat nose pliers (to flatten the end 
of the line)

Procedure

Step 1

Sew together the two parts, the front and back, and then sew them together. You need two bead sizes; alternating sizes for the rocailles (10/0 and 8/0; 9/0 and 7/0) (fig. no. 1a) and two consecutive sizes for the pressed and fire polished beads (fig. no. 1b).

Use a right angle weave stitch when sewing. Try to ensure that the holes in the beads truly form a right angle in relation to one another. Sew the beads in rows. Create undulations in the line and the seed beads from the beginning to the end of the row and then fill them in when returning to the beginning. This method of sewing enables the line to be loosened or tightened. If the line is loose, tighten it in the direction of the stringing up to the needle. In the opposite case, loosen the line from the needle in the direction of the stringing. 
 

1 / a

Step 2

Start in the centre.  
Sew a band from the hollow to the point. Continue sewing the right-hand half row by row (fig. no. 2a, b, c, d and e). 

2 / a

Step 3

Then return to the upper section of the central band. Continue sewing the left-hand half row by row (fig. no. 3a, b, c and d).

3 / a

Step 4

Sew the sewn parts together. Also use a right angle weave stitch in some sections, otherwise merely cross the line and pass from one part to another (fig no. 4a and b).

4 / a

Step 5

Now fill in the cavity in the centre with the spun or raw wool in the necessary shade. Sew up the opening in the heart’s hollow and sew 3x beads into it. Use a combination of the square stitch and the right angle weave stitch (fig. no. 5).

5 / a

Step 6

If you wish to hang or additionally decorate the heart, sew a small rocaille loop strung on a double line onto the heart’s hump 
or the hollow. Attach a chain or a bow.

6

Downloads