Witches’ hat

Difficulty: 2
Techniques: Stringing

Halloween decoration made from PRECIOSA Rocailles

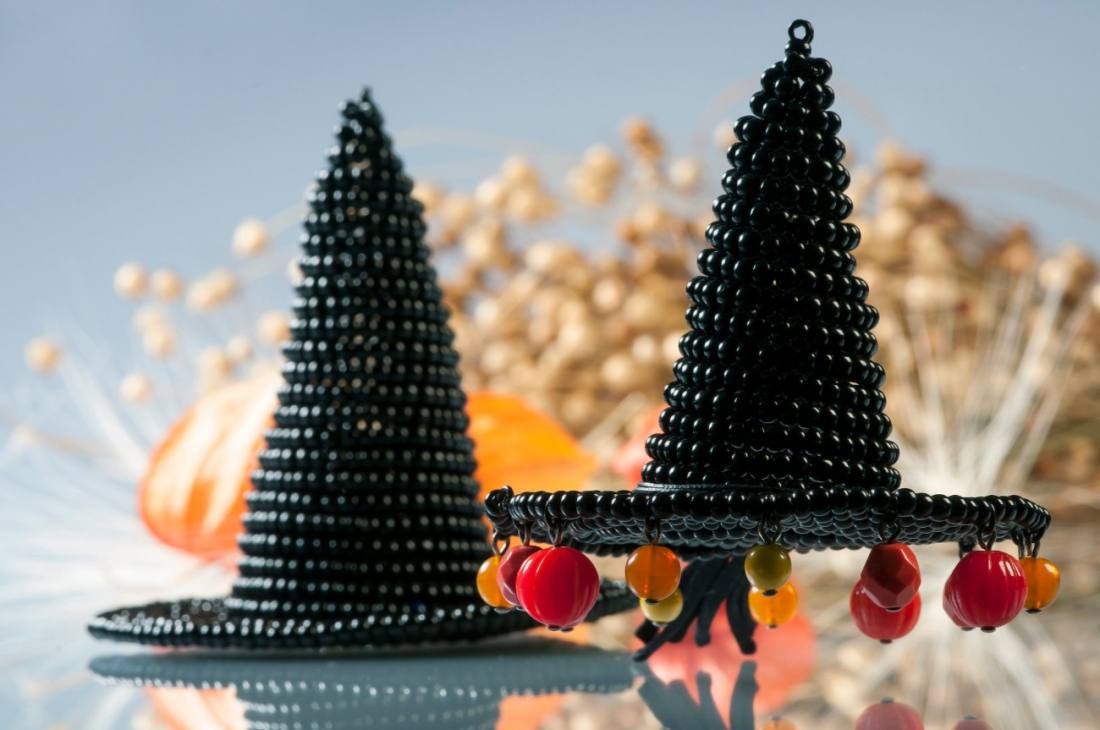
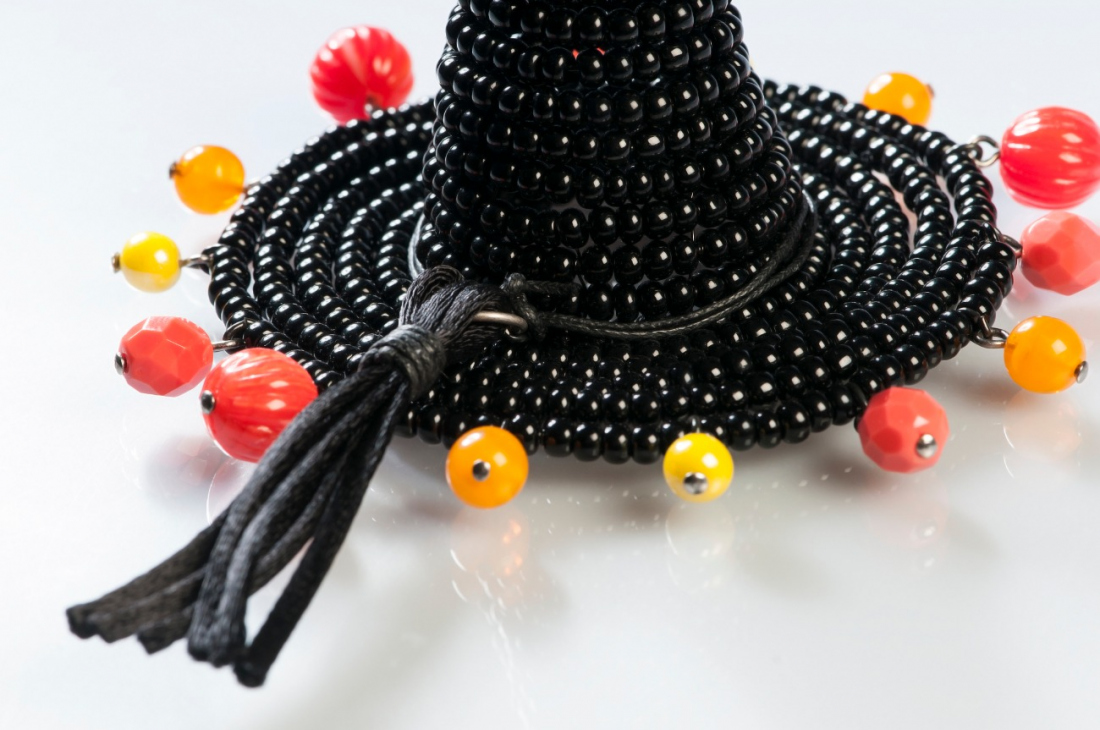
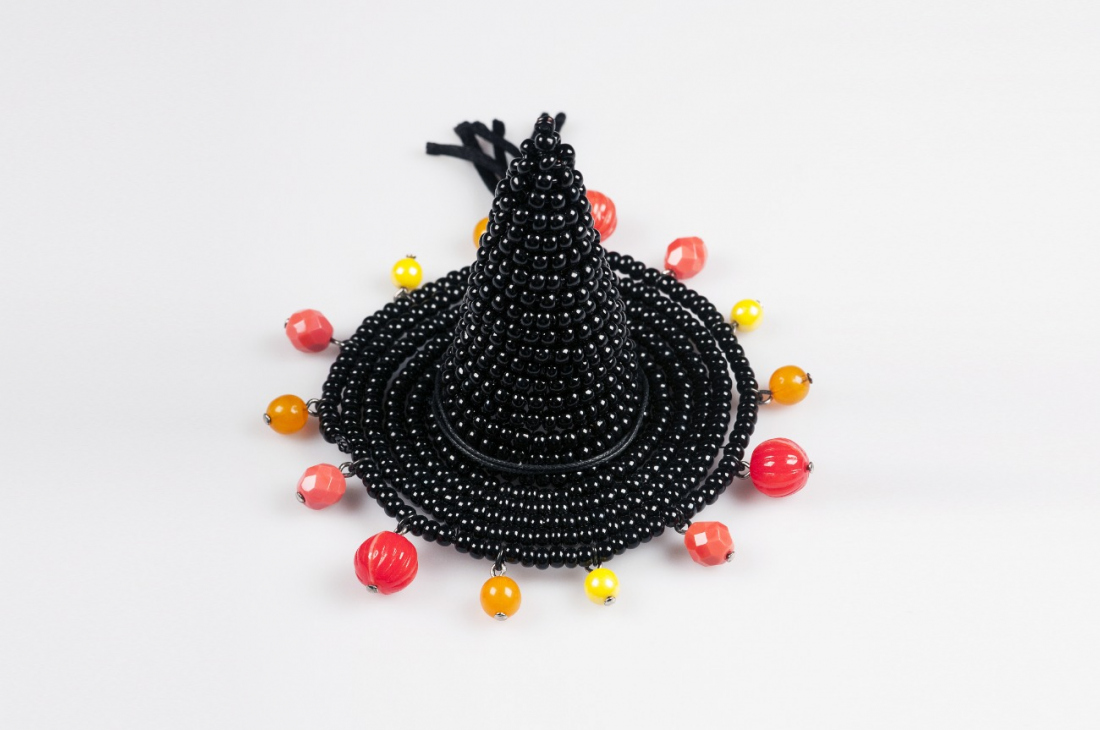
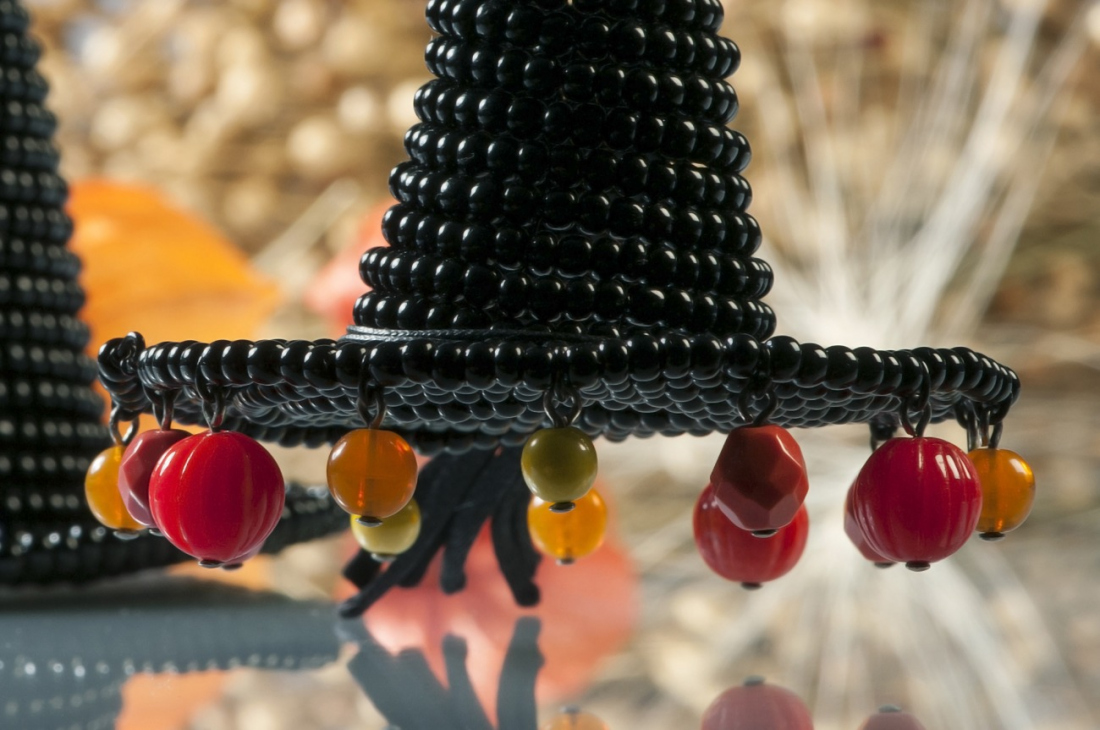
You can make a witches’ hat for everybody in your family. These Halloween symbols can become an unconventional part of the autumn decorations in your home. All you need is some small black rocailles and a few beads of various shapes in autumn colors. If you are going to a party on All Hallows Eve, you can easily adorn yourself with the thematic witches’ hat by simply attaching it to a clasp.

Preciosa Ornela wishes you much enjoyment during the creation of many bead products.

Ambassadors

Helena Chmelíková

She is able to switch from luxurious and extravagant fashion show pieces to the preparation of hobby projects,
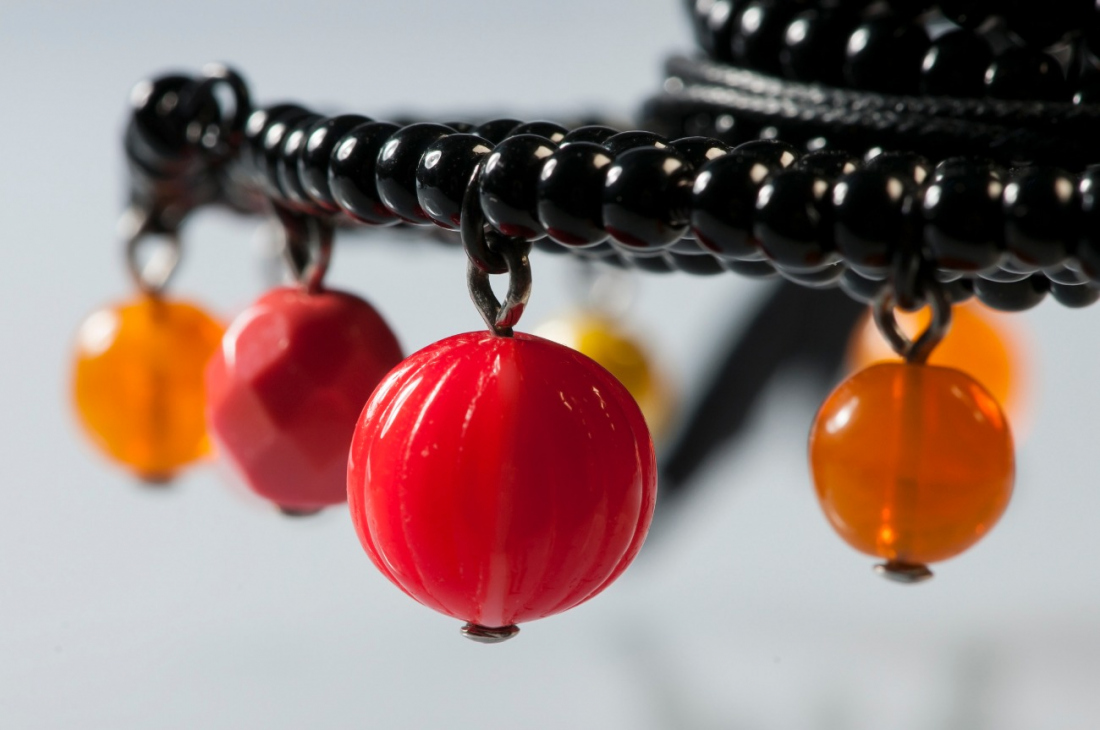
Learn More

Material and Tools

A mixture of round shapes in orange and yellow shades

Materials

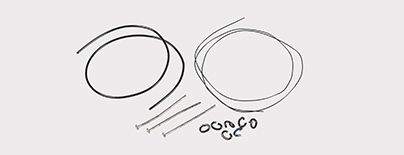
Black wire (0.80 mm); black binding wire (0.30 mm); black or rhodium pins and ovals

Tools

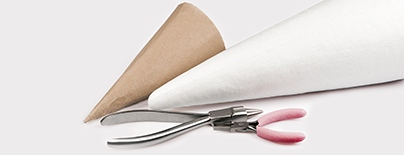
Snipping pliers; needle nose pliers; flat nose pliers; a cone (polystyrene, paper)

Procedure

Step 1

If you do not have a polystyrene cone, make one from cardboard (r: 15 cm, the length of the lower circumference: 20 cm).

Step 2

Cut off 2 metres of 0.80 mm wire. Make an eye on one end. Twist it back by 360° after 30 cm (fig. no. 2a). String the R7 onto this wire. The last 10 cm should remain empty. Make an eye at the end (fig. no. 2b).

2 / a

Step 3

Start winding the wire upwards 3 cm from the top of the cone, about 20 cm from the beginning of the stringing (fig. no. 3a - 3b).

3 / a

Step 4

Reinforce the first six rows with binding wire (fig. no. 4a - 4b). Snip it off so that it is longer; you will also need it on the brim. Create a loop around the 0.80 mm wire (fig. no. 4c - 4d). Regularly tighten the rows (fig. no. 4e).

4 / a

Step 5

Affix two more wires onto the fifth row with double loops (fig. no. 5).

5 / a

Step 6

Wind the wire with the rocaille. Twist it every time you pass the binding wire. If the wire is overly stiff, straighten the bent part again and then bend it again several cm on.

Step 7

Affix another four wires to the fourteenth row with double loops. After completing the hat’s point, this will be the sixteenth row. Continue winding another two rows (fig. no. 7a - 7b).

7 / a

Step 8

Remove the rocaille cone. Place it on the table and wind another four rows flatwise – this will create the brim.

Step 9

Thread the pins onto 14 to 15 colored beads, create eyes on their ends using the needle nose pliers and hang them on the ovals (fig. no. 9). Linking – grasp the upper section of the wire between the points of the needle nose pliers. Wind it around the points.

9

Step 10

Hang the linked beads on the edge of the brim. Straighten the end of the wire. Snip off the end eye. String an oval and 6x R7. Continue in this way until the last fifth row has been wound. Link the eye.

10 / a

Step 11

Complete the point. Cut off the eye and string the rocailles. Wind two rows around the point and reinforce it with binding wire. Finish the wire with a double eye.

11

Step 12

Wind the overlapping binding wire around the thicker wire twice at the edges of the hat and snip it off.

12 / a

Downloads