Grandmas favourite

Difficulty: 3
Technique: sewing

Sewn broach using three sizes of PRECIOSA Candy™ beads Grandma‘s

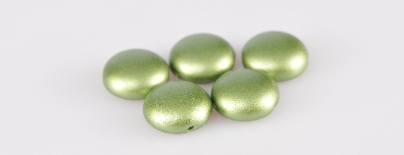
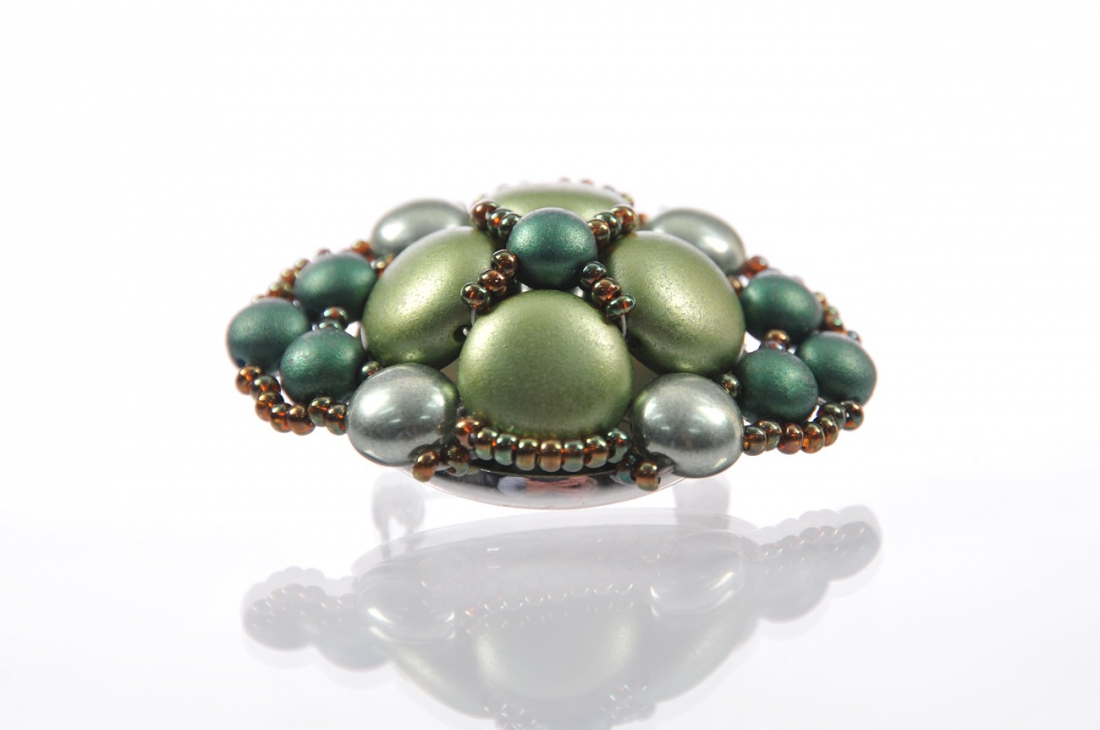
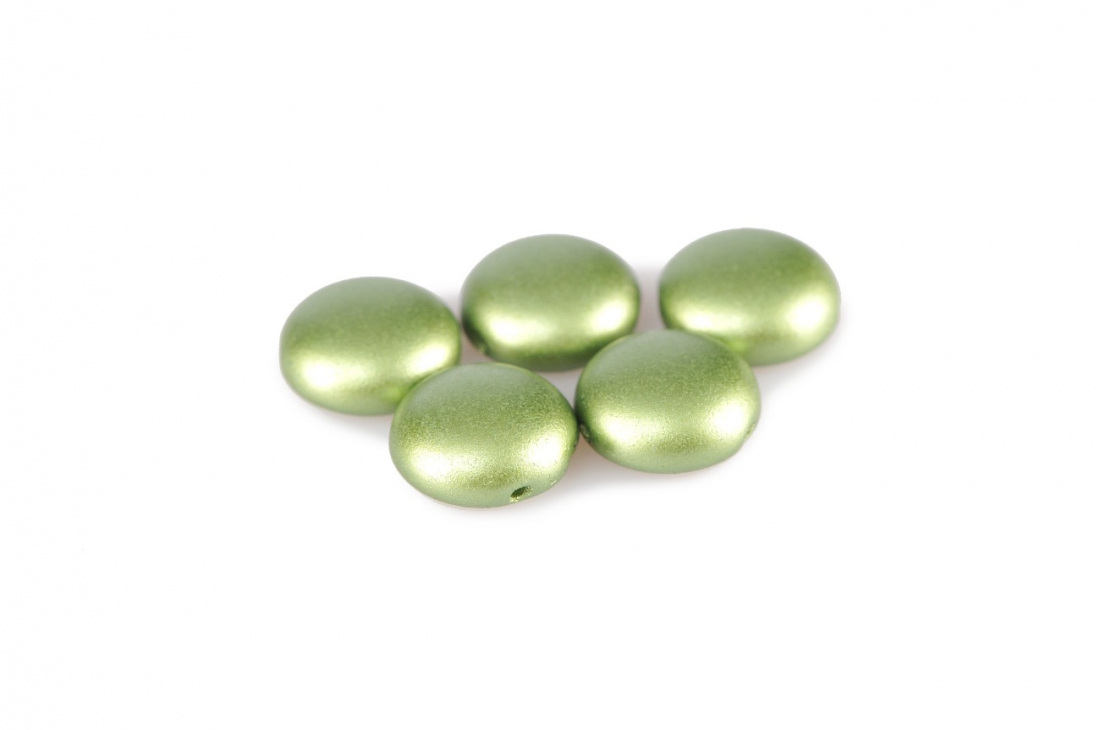
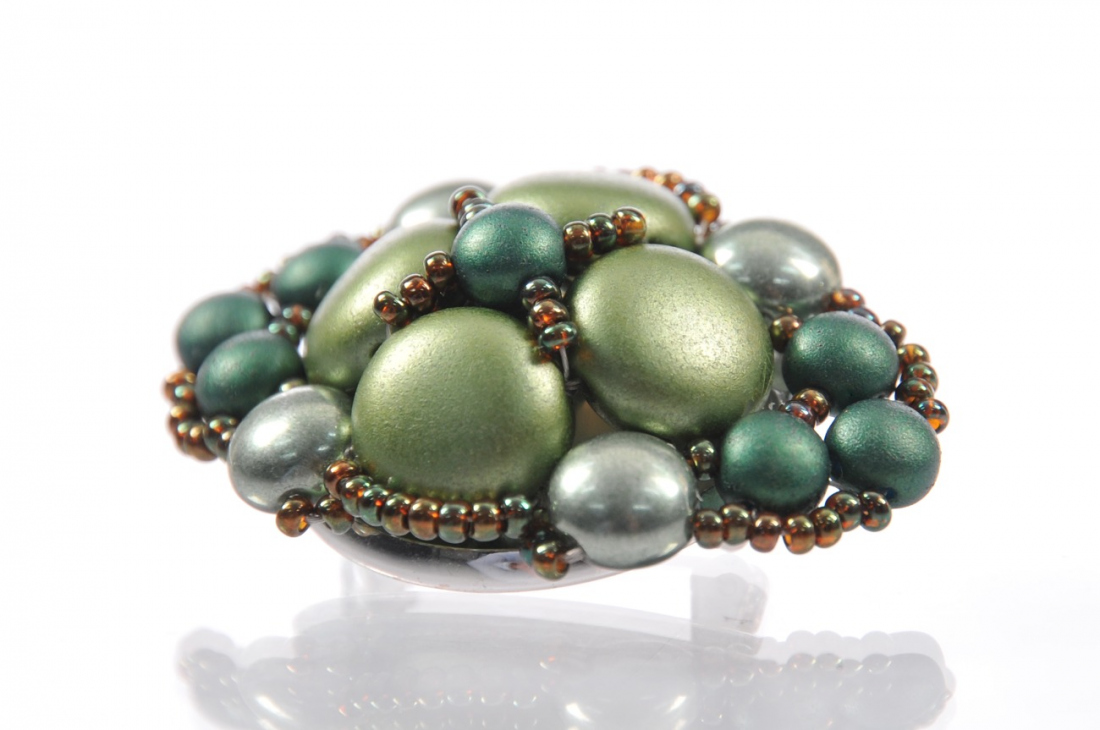
Did your grandmother have a favourite broach? Try using this tutorial to create a broach variant in green or you can choose your very own color scheme. Choose the PRECIOSA Candy™ beads in the three sizes (6, 8 and 12 mm) in many finishes and colors.

Ambassadors

Helena Chmelíková

She is able to switch from luxurious and extravagant fashion show pieces to the preparation of hobby projects,
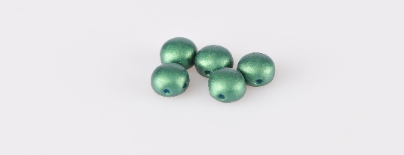
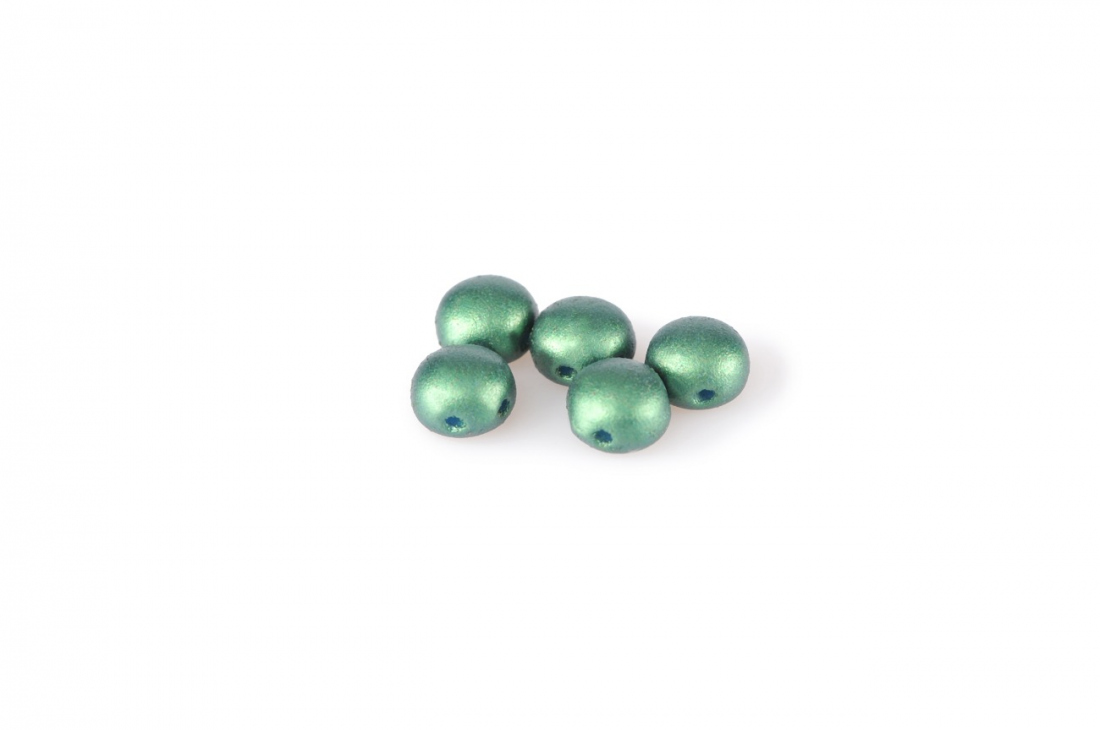
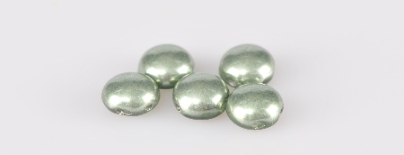
Learn More

Materials & Tools

PRECIOSA Candy™

111 01 363; 8 mm; 00030/G1163 metallic green; 6x
(C2) 

Materials & Tools

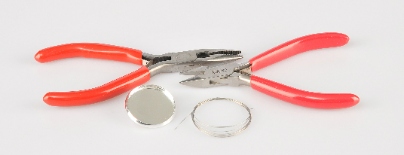
A round 25-30 cm broach base, a regular 0.30 mm grey wire; heat melt glue with a pistol, snipping pliers; flat-nosed pliers (they help when tightening and pulling the wire)

Procedure

Pay attention to the bead orientation when stringing the Candy: twist all of the beads so that the convex side is facing upwards.

Step 1

 Cut off about 60 cm of wire. String 4x C3. Tie them off with two knots.

1 / a

Step 2

Thread the wire through the holes in the C3 and add a cross consisting of 4 sets of 3x R and a C1 between them. Tie off the end of the wire and pull it into the holes. Snip it off.

2 / a

Step 3

Snip off about 60 cm of wire. Thread the wire through the second holes in the C3 and thread 1x C2 between each of them.

3 / a

Step 4

Start sewing the side projections. Thread the wire through the C2 on the narrower sides and string 8x R above the C3. String 1x R, 1x C1, 2x R, 1x C1 and 1x R on the sides between the C2. Tie off the ends of the wire. Do not finish it off yet.

4 / a

Step 5

Snip off 60 cm of wire. Thread the wire through the outer hole of in the C3. String 3x R. Thread the wire through the empty hole in the C2. Place it at the rear of the broach when tightening the 3x R. String 2x R and the empty hole of the C1. String 4x R and thread the wire through the C1 again. String 1x C1. Create another loop of 4x R at the next C1. String 2x R and thread the wire through the C2. Place the 3 new R on the back. Continue with the second projection. Repeat the same stringing.

5 / a

Step 6

Thread the wire agan through almost everything which you strung in Step 5. String 4x R on the top of the projections above the C1 from Step 5. Thread the wire through the empty hole in the C1 and string 1x R on both sides of the C1. Tie off the ends of the wire. Also finish the wire from Step 4.

6 / a

Step 7

Reinforce and brace the broach from the back by sewing 2x C2. Snip off 30 cm of wire. Thread the wire through the internal hole of the C3. Sew on a C2 on the rear with the convex part fitting into the dimple. Thread the wire through the internal hole by the adjacent C3. Sew the flat section of the second C2 to the previous C2. Tie off the ends of the wire. Snip it off just behind the knot. You can also use the other C sizes according to the dimensions of the base.

7 / a

Step 8

Glue on the broach base. Apply the glue around the outside and the centre of the base.

8 / a

Downloads