Crocheted jellyfish

Difficulty: 2
Technique: crocheting

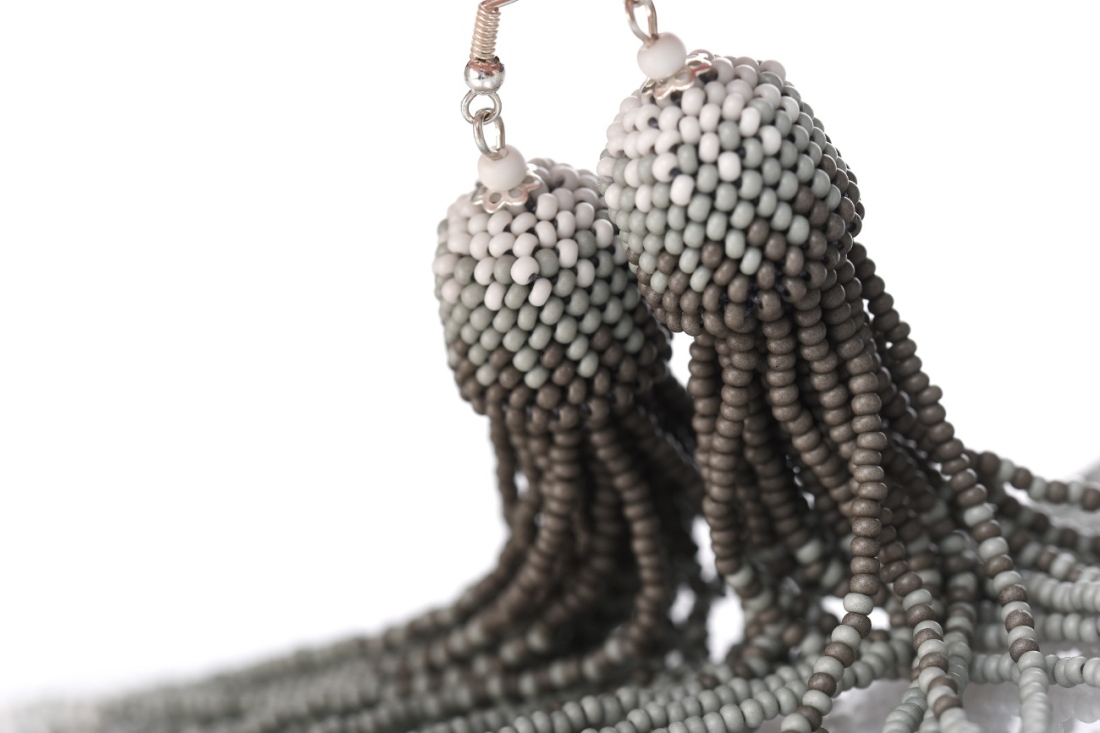
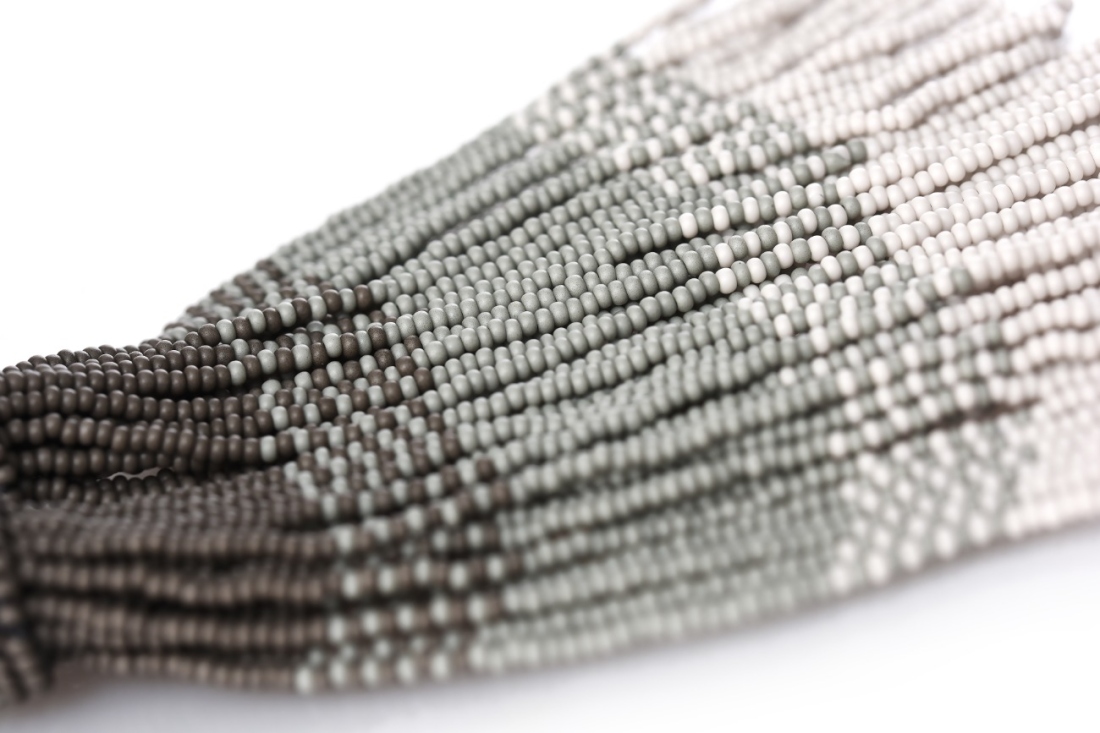
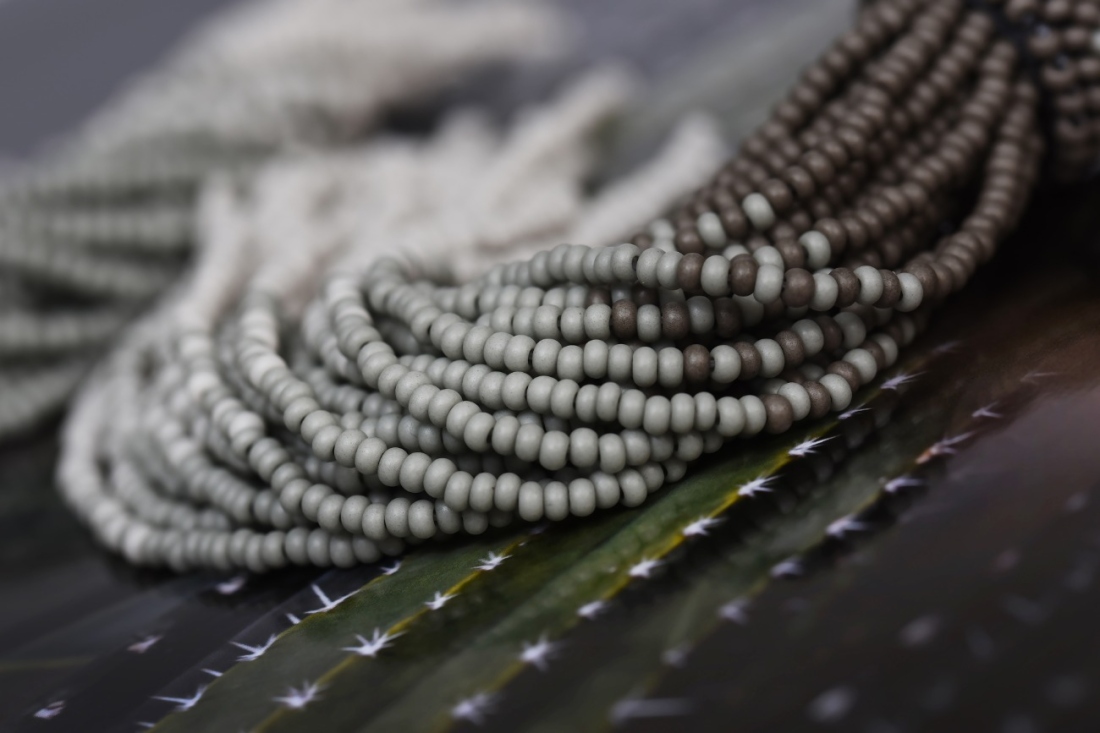
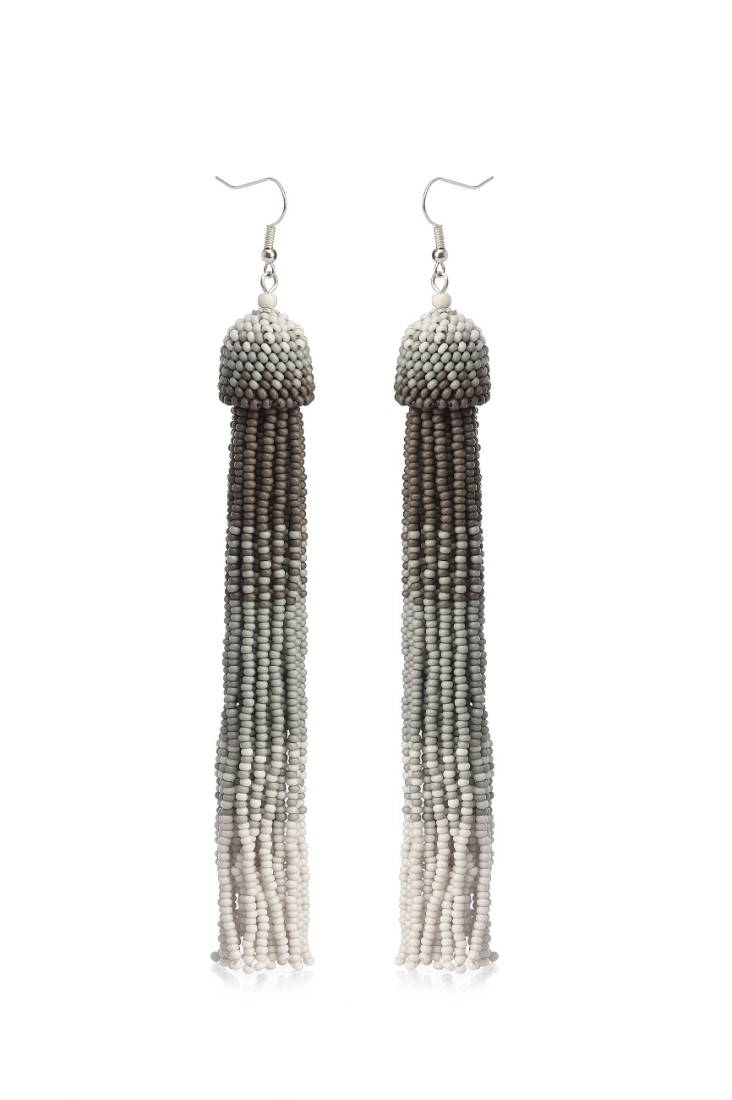
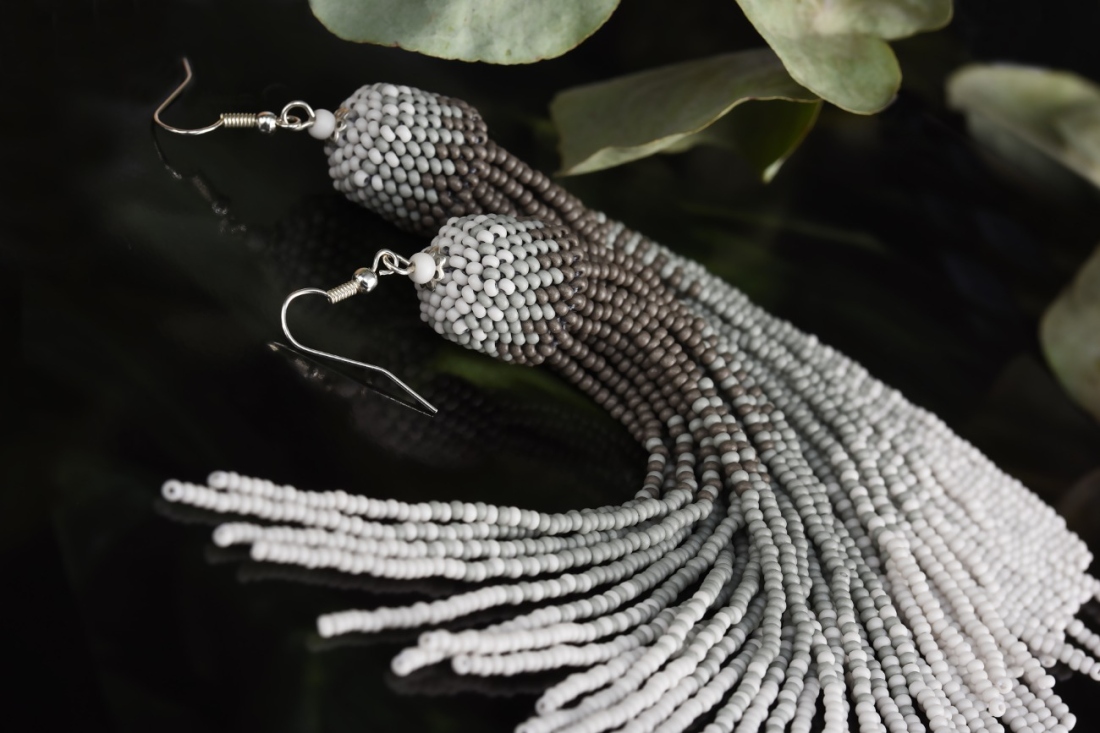
Seed bead earrings in Preciosa Terra Vista colors

Create these distinctive earrings from seed beads in the Preciosa Terra Vista colors. This tutorial will take you through the production process step by step. The result will be a timeless piece of jewelry that will enchant with its detail and lightness.

Ambassadors

Alexandra Lysenko - Snow Mirna

Her name has resounded throughout the world of bead and seed bead costume jewellery for a number of years.

Learn More

Tools

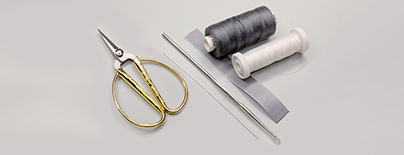
Jeans crocheting yarn; a Big Eye needle or a stringing needle with a loop made of fine line; a 1 mm hook; a sewing needle; sewing thread; 20 m of taffeta ribbon, 15 mm wide; a lighter; scissors
Material

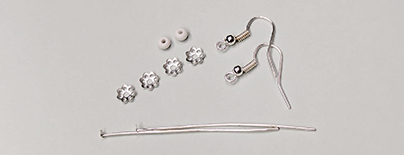
Components: 2x earring hooks;, 2x eye pins; 4x 5mm caps
Procedure

Step 1

First, string the pattern. Either string from the top and from left to right according to fig. no. 1b or use fig. no. 1a, where each square with a letter designates the color of the seed beads (the number alongside denotes the number of seed beads in the given color). Only string the colors with the letters a, b and c and ignore the white. When the stringing is finished, start crocheting by connecting the rows (fig. no. 1c).

1 / a

Step 2

Crochet according to the following procedure:

the 1st row – 6 stitches without seed beads
the 2nd row – 6 seed beads
the 3rd row – 12 seed beads
the 4th row – 18 seed beads
the 5th to 12th rows – 24 seed beads

Create the base stitch (fig. no. 2a), then 2 chain stitches without any seed beads (fig. no. 2b). Then crochet short columns of 6 stitches without any seed beads into the first stitch in the chain (fig. no. 2c).

2 / a

Step 3

Shift 6 seed beads in the first row from the top (fig. no. 3a), pass the hook through the first stitch and then crochet a short column into every stitch in the first row until the last seed bead is left (fig. no. 3b). Connect the rows with the last seed bead in the second row: add the last seed bead into the second row and then insert the hook into the first stitch in the third row (fig. no. 3c). Catch the yarn and pull the third stitch through the two stitches that you have on the hook (fig. no. 3d) – you have now joined the second row. Continue joining each row in this manner.

3 / a

Step 4

Create a chain stitch without any seed beads at the beginning of the 3rd row (fig. no. 4a). Move 12 seed beads in the third row (fig. no. 4b). Crochet two stitches with a seed bead into the first stitch of the second row. Continue in the same way until the end of the row and join the rows at the end (fig. no. 4c).

4 / a

Step 5

Always crochet a chain stitch without a seed bead at the start of each row. In the 4th row, crochet one stitch with a seed bead into the first stitch. Then crochet two stitches into the second stitch in the point. Continue in this way along the entire row and join the ends. You will have a total of 3 seed beads in the point (fig. no. 5a). In the 5th row, crochet one stitch with a seed bead into the first and second stitches. Then crochet two stitches with a seed bead into the third stitch. Continue in this manner along the entire row and join the rows at the end. You will have a total of 4 seed beads in the point (fig. no. 5b).

5 / a

Step 6

In the 6th row, crochet one stitch with a seed bead into each stitch. Crochet another 7 rows. Crochet the last row without any seed beads. (fig. no. 6a).

6

Step 7

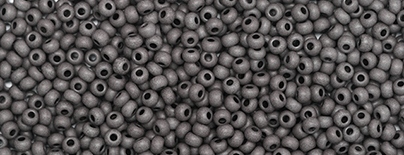
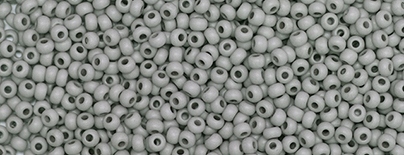
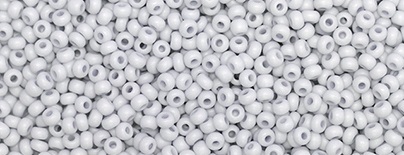
Cut a 10 cm long piece of ribbon. Tie a knot at the end of a 150 cm long thread (fig. no. 7a). String 20x R10a - R10b - R10a - R10b - R10a - R10b - R10a - R10b - R10a - R10b - R10a - 20x R10b - R10c - R10b - R10c - R10b - R10c - R10b - R10c - R10b - R10c - R10b - 20x R10c (fig. no. 7b). Skip over the last seed bead and return back through all the seed beads to the ribbon (fig. no. 7c) and tie a knot (fig. nos. 7d-7e). String 24 tassels from seed beads (fig. no. 7f).

7 / a

Step 8

Fold the ribbon and sew it through along the length with the remnant of the thread (fig. no. 8a). Affix a cap to an eye pin (fig. nos. 8b). Twist the sewn ribbon around the wire and sew through the layers when twisting (fig. nos. 8c-8e).

8 / a

Step 9

String the crocheted cap onto the wire (fig. no. 9a), then string the cap and the R6d rocailles (fig. no. 9b). Use the snipping pliers to shorten the wire and twist it into a loop (fig. no. 9c). Hang it on an earring hook (fig. no. 9d). Make the second earring using the same procedure (fig. no. 9e).

9 / a

Downloads

This website uses cookies

PRECIOSA ORNELA, a.s. hereby informs you that its website uses cookies You can find more information about our cookies and how your data is processed in the privacy statement. We request your consent to use cookies specified below.

Functional cookies These cookies are necessary for the proper functioning of the website and therefore cannot be turned off.
Analytical cookies Analytical cookies help us track and analyze the way visitors interact with our site using Google Analytics 4. This information allows us to improve content and provide a better user experience. We also use the D&B Visitor Intelligence system as part of our cookies. It helps us more closely identify the individual access to our website.
Marketing cookies Reading and writing cookies used for marketing purposes in advertising systems such as Google Ads or Sklik. These cookies allow us to track user behavior and measure our website performance and the effectiveness of our advertising campaigns.
Personalized advertising Remarketing cookies allow us to present you with personalized advertising based on your previous interactions with our site in systems such as Google Ads, Sklik.
Use of personal data Checking this option means that you consent to your personal data being sent to and processed by Google for the purposes of targeting and evaluating online advertising and targeted marketing.