Paling

Difficulty: 3

Sewn bracelet made from PRECIOSA Rola™

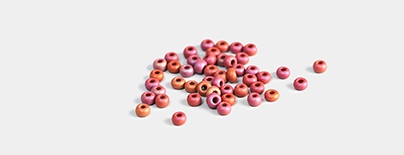
Create a sewn bracelet with regularly arranged PRECIOSA Rola™ Seed Beads in the new size of 4.5 mm, which is the dimension of both its length and its width.

You will appreciate the identical shapes of the seed beads created using the new cutting technology when sewing. We wish you a pleasant time with your creative work.

Helena Chmelíková

She is able to switch from luxurious and extravagant fashion show pieces to the preparation of hobby projects,
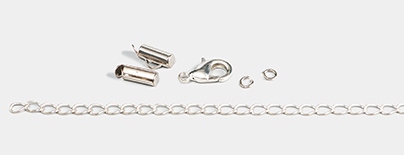
Learn More

Material and Tools

Materials

A hollow cylindrical frame – 1 cm; 4 mm rings; a carabiner; an adjusting chain

Tools

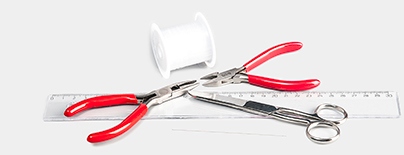
0.20 mm nylon line; a thin needle; scissors; flat nose pliers (manipulating the frame and the rings); snipping pliers; a ruler

Procedure

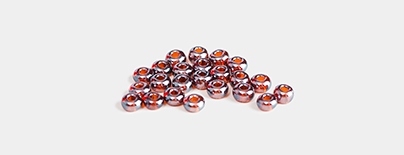
Use the right angle stitch to sew the bracelet. You will alternate rows of 4x RO and 12x R1. The sewn section consisting of the rows is about 15.5 cm long.

Step 1

The beginning, the R2 which go next to the frame.

String 1x RO and 3x R1. Thread the line through the RO again. String 1x RO and 3x R1. Thread the line through the RO one more time. String 2x R2. Thread the line through the same RO one more time. Thread the line through the R2 and RO one more time. Continue adding seed beads and threading the R1 and R2 at the next RO. Only string 3x R1 next to the 4th RO in the row.

1 / a

Step 2

You now have two rows. Thread the line through the first 3x R1. String 1x RO. Thread the line through the 3x R1 one more time. Thread the line through the next 3x R1. Add a new RO. Also add an RO at all the following R1 in the same way.

2

Step 3

Thread the line through the 1st RO from the 3rd row. String 3x R1. Thread the line through the RO again. Add 3x R1 at each of the other RO from the 3rd row in the same way.

3

Step 4

Alternate the 2nd and 3rd steps.

Adjusting the rows
Tie off the lines in the rows of RO between the 2nd and 3rd RO. Complete the row of R1 using a new line. Create another row of RO. Then tie off the lines.

4

Step 5

Finishing, the R2 next to the frame. String 2x R2 above the 2nd and 3rd RO from the last row. Thread the line twice through the RO and R2.

5 / a

Step 6

Slightly open the cap on the frame. Slide it into the gap between the R2 and RO from the outer row. Carefully hide all the R2. Close the cap.

6

Step 7

Finishing. Cut off 9 cm of adjusting chain. Connect the carabiner and both the terminal links of the adjusting chain to the eyes on the frames using the rings.

7 / a

Downloads

Gallery

/ a