Cornelian beads with stars

Difficulty: 2
Techniques: Crocheted

Crocheted bracelet made from Cornelian beads with stars

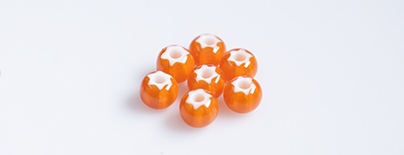
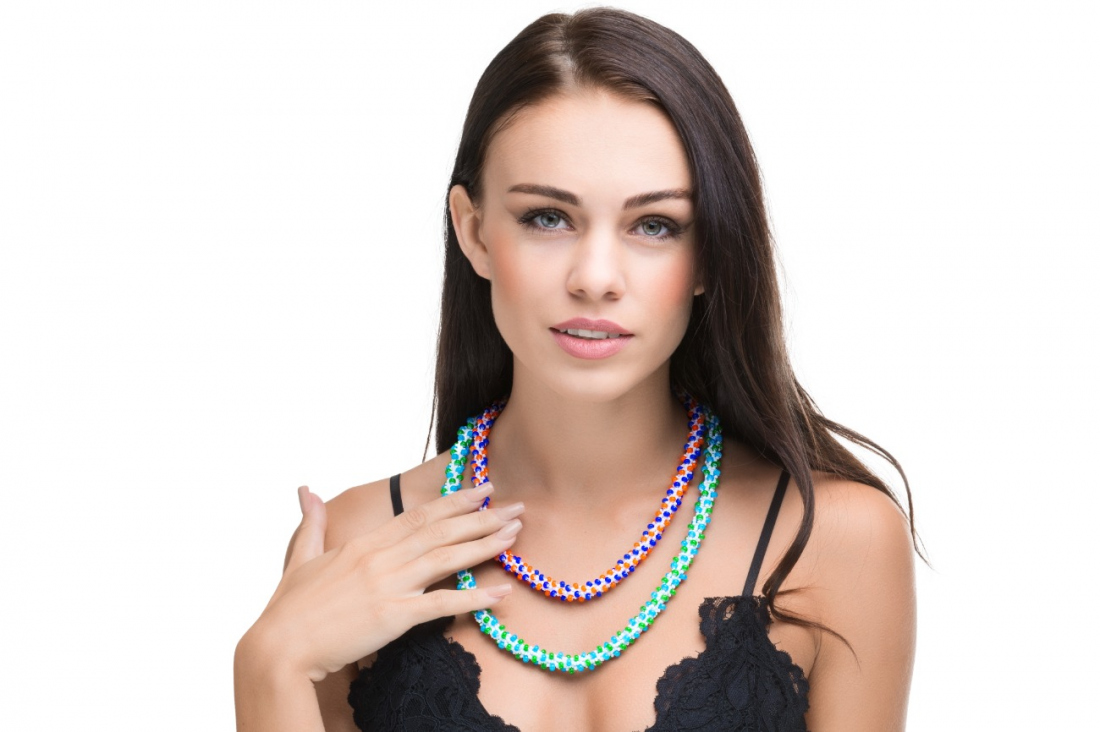
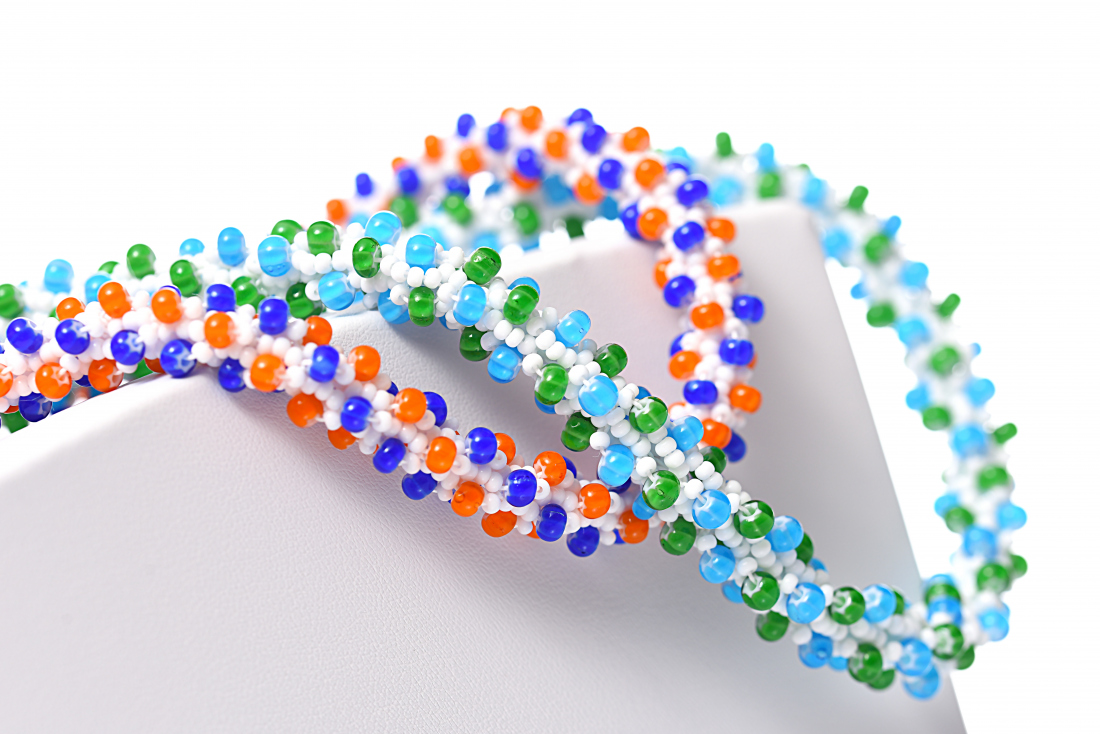
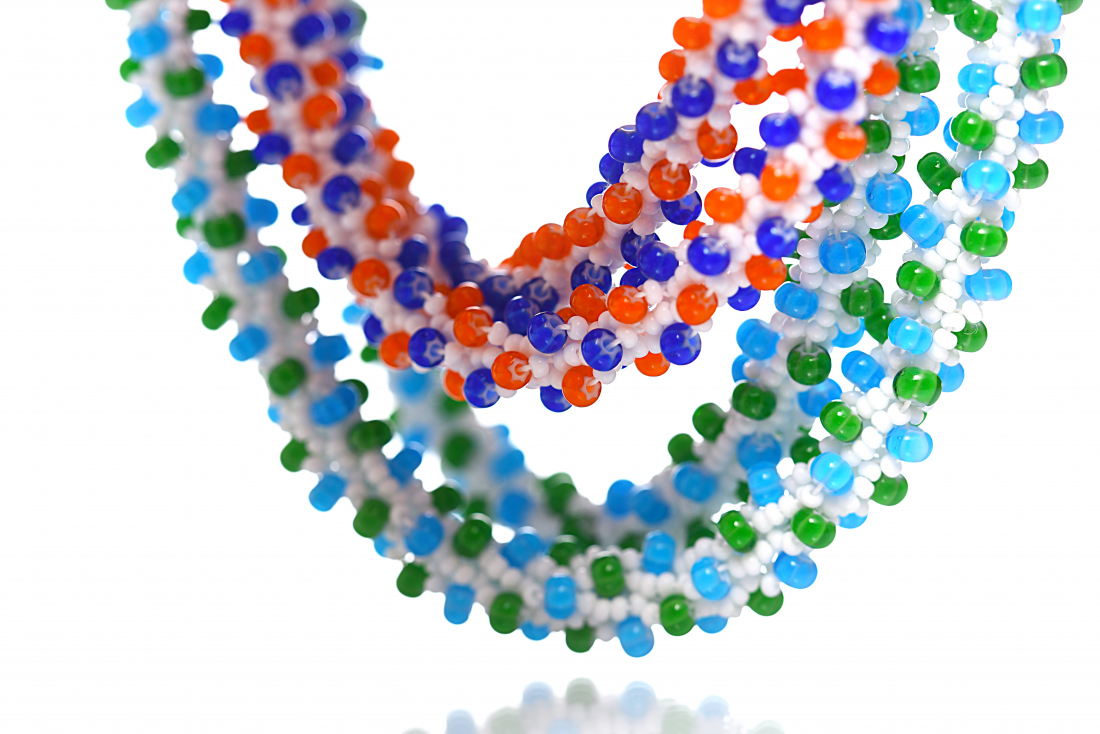
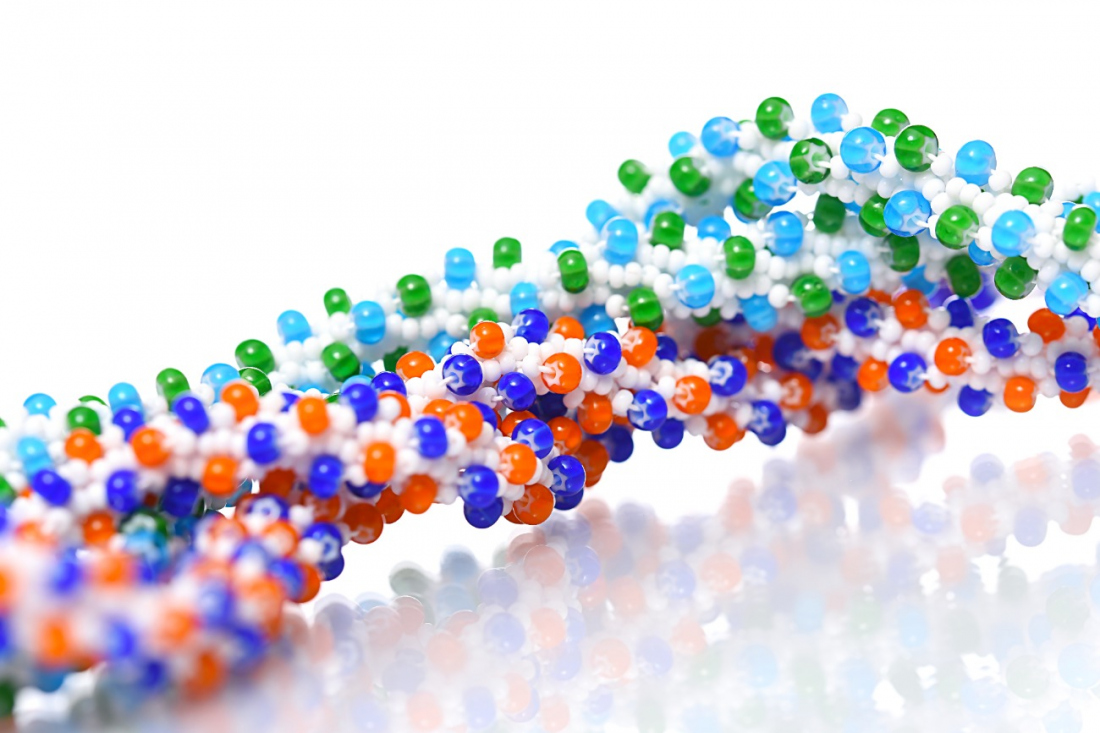
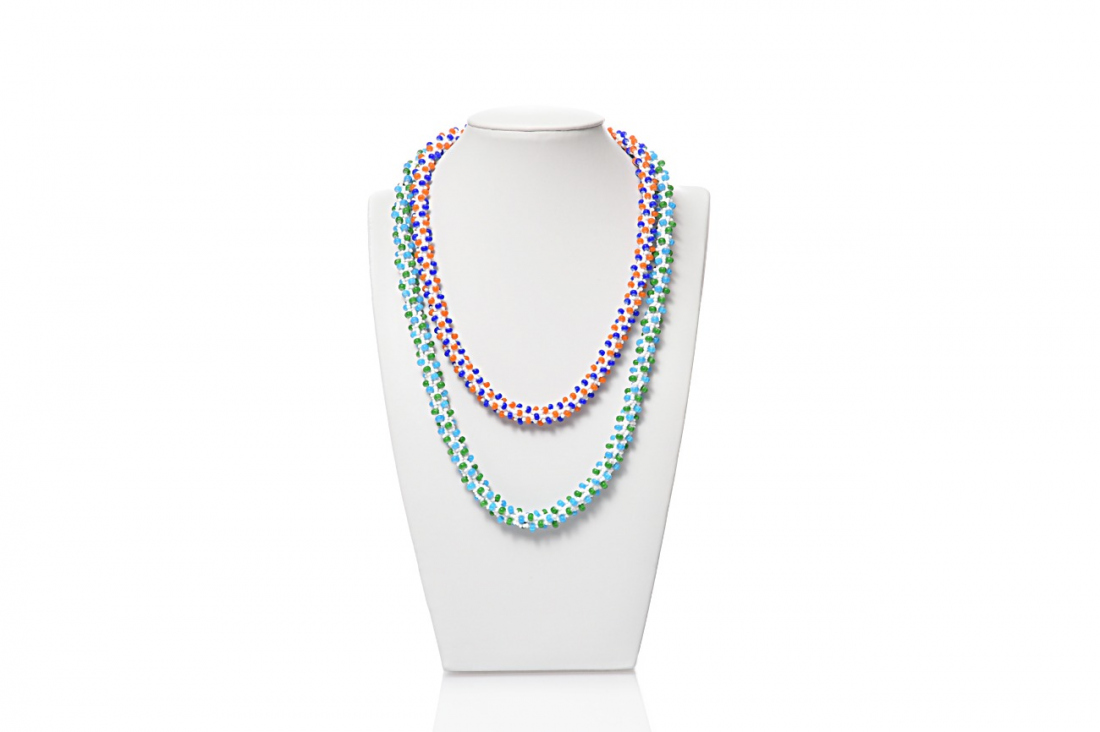
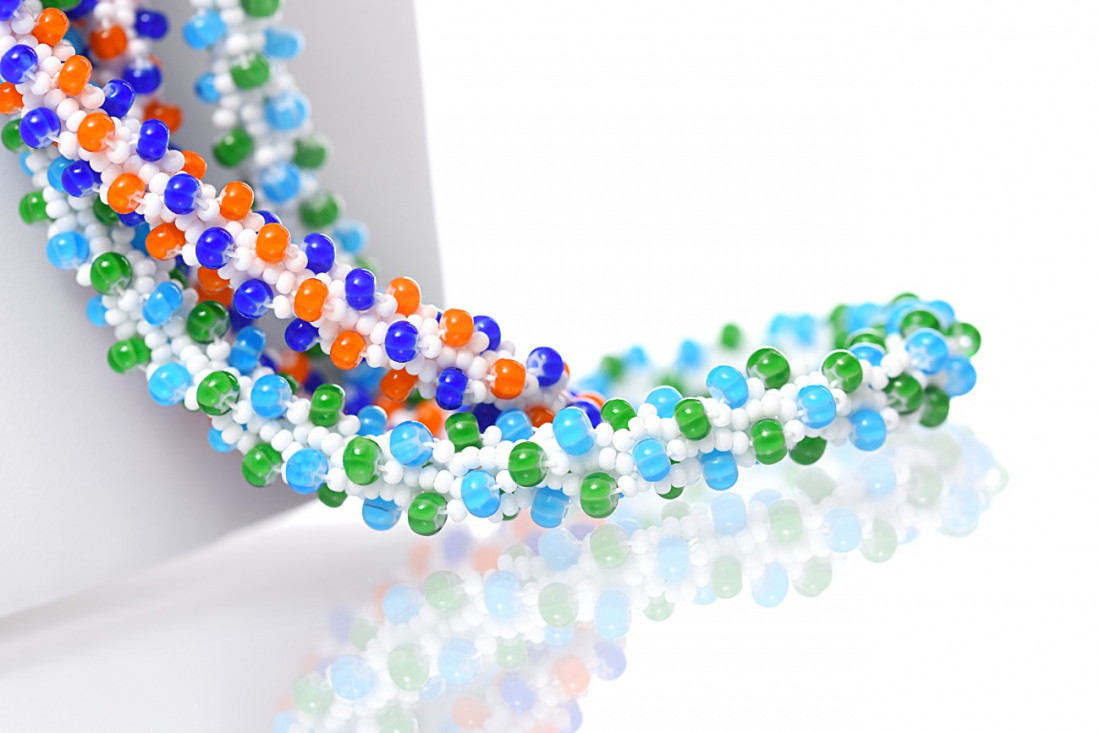
The PRECIOSA Cornelian Star can be used in the same way as a regular rocaille. Here, we offer a relatively simple tutorial for a crocheted bracelet.

Ambassadors

Alexandra Lysenko - Snow Mirna

Her name has resounded throughout the world of bead and seed bead costume jewellery for a number of years.
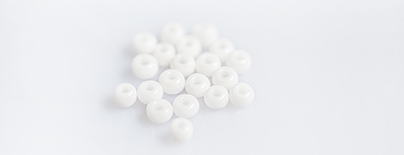
Learn More

Procedure

Step 1

First, string the rocailles onto the crocheting yarn (only string 24x R10 at the beginning and at the end):

24x R10 – 1x C6-A – 4x R10 – 1x C6-B – 4x R10 ... – 1x C6-A – 4x R10 – 1x C6-B – 4x R10 – 24x R10
until you have strung ca 3 m (the stringing should give you a tube of ca 45 cm), fig. no. 1.
If you do not have a Big Eye needle for stringing beads, proceed in the following manner: cut off ca 20 cm of Nymo and thread it through the eye of a regular stringing needle and tie both ends together with a knot. Thread the crocheting yarn through the created loop. String the rocailles onto the needle and then move them onto the yarn over the Nymo.

1

Step 2

Make one expandable loop (fig. no. 2a), then move 8x R10 to the hook and catch the yarn behind them and thread the chain loop (fig. nos. 2b and 2c), repeat this procedure two more times (fig. no. 2d), then crochet three more chain loops (fig. no. 2e).

2 / a

Step 3

String the first loop onto the hook, move 4x R10 and 1x C6 to the hook, catch the yarn behind them and crochet a short column (fig. nos. 3a and 3b), then repeat two more times. Make sure that you always have three loops at every step (fig. no. 3c).


3 / a

Step 4

Continue in this way until you have used up all the strung rocailles. Crochet the last three loops without adding any rocailles and in doing so you will join everything together. Make two more chain loops, cut off the yarn and thread it through the last loop (fig. no. 4a-4b). Sew on an eye pin to the end of the tube using the remainder of the yarn or the Nymo, string a C6-C onto it and twist the end of the pin into a loop and attach the fastening (fig. nos. 4c and 4d).

4 / a

Downloads