Creamy Stars

Difficulty: 3
Technique: stringing, basic beadweaving, sewing onto the perforated base plate

Christmas decoration made from PRECIOSA Traditional Czech Beads™

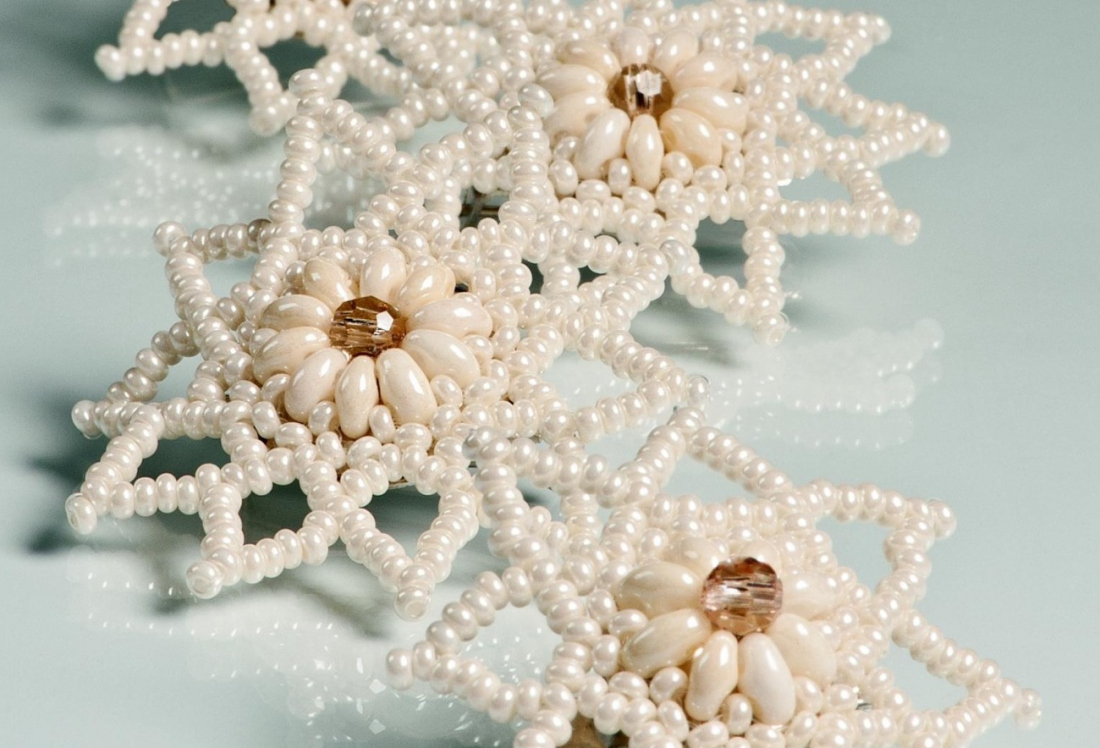
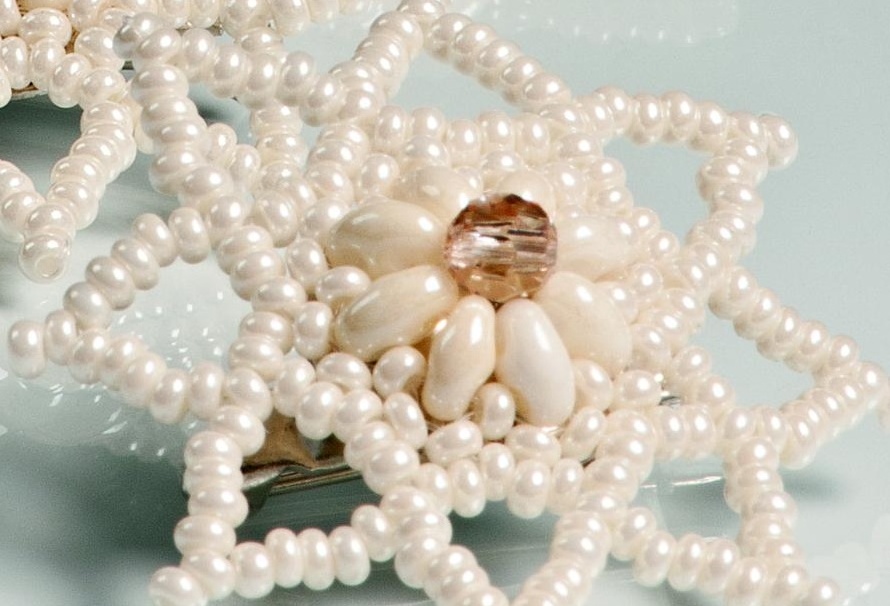
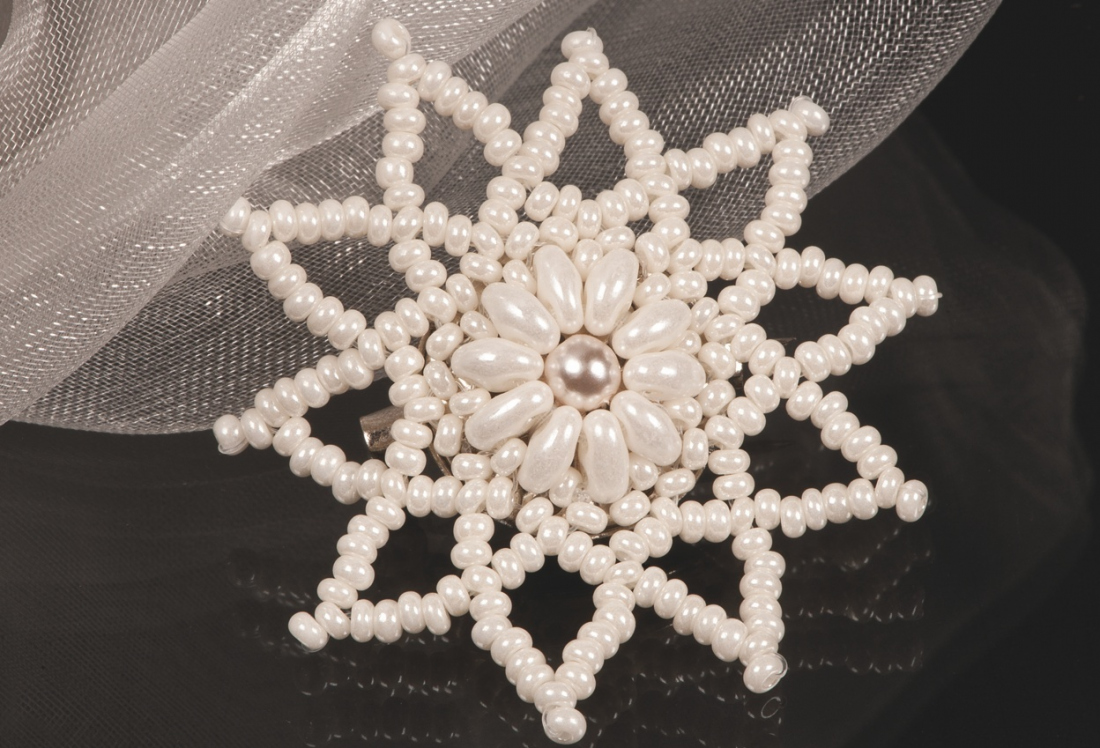
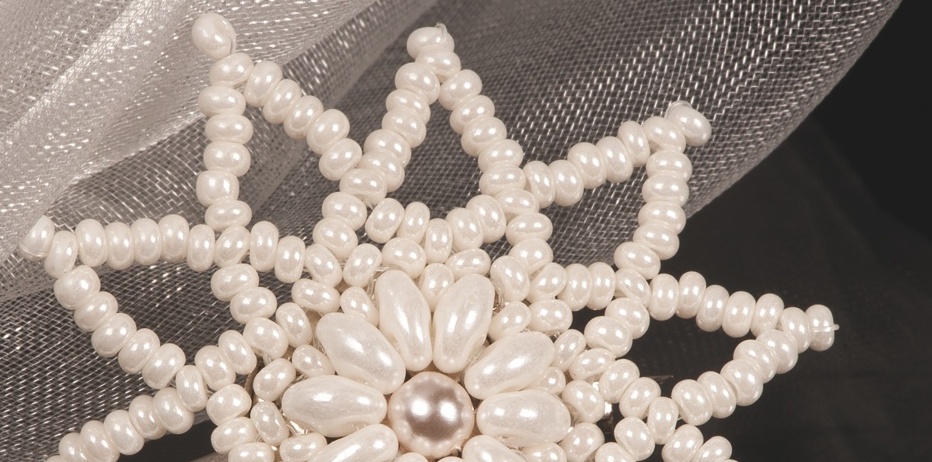
Preciosa Ornela presents a simple tutorial for the creation of a highly effective seed bead lace star. Seed beads from the PRECIOSA Traditional Czech Bead™ brand will enable you to easily create a romantic Christmas atmosphere. The delicate seed bead star in the sentimental cream color can be used as a refined costume jewelry accessory, a wedding decoration or a luxurious Christmas decoration. Celebrate Christmas this year with hand-made seed bead accessories. 

Ambassadors

Helena Chmelíková

She is able to switch from luxurious and extravagant fashion show pieces to the preparation of hobby projects,
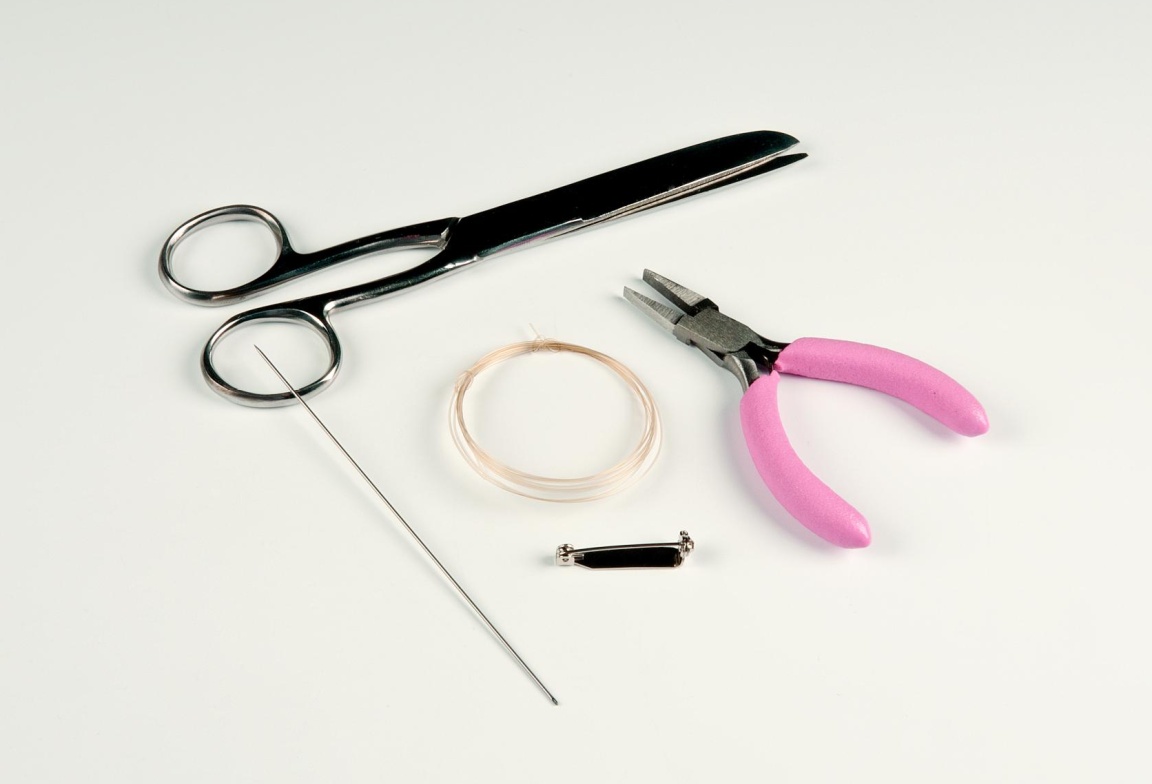
Learn More

Materials & Tools

Materials & Tools

A fine stringing needle, a 0.20 mm line, flat nosed pliers, scissors. Metal parts depending on the further use – a broach fastening, a clasp

Procedure

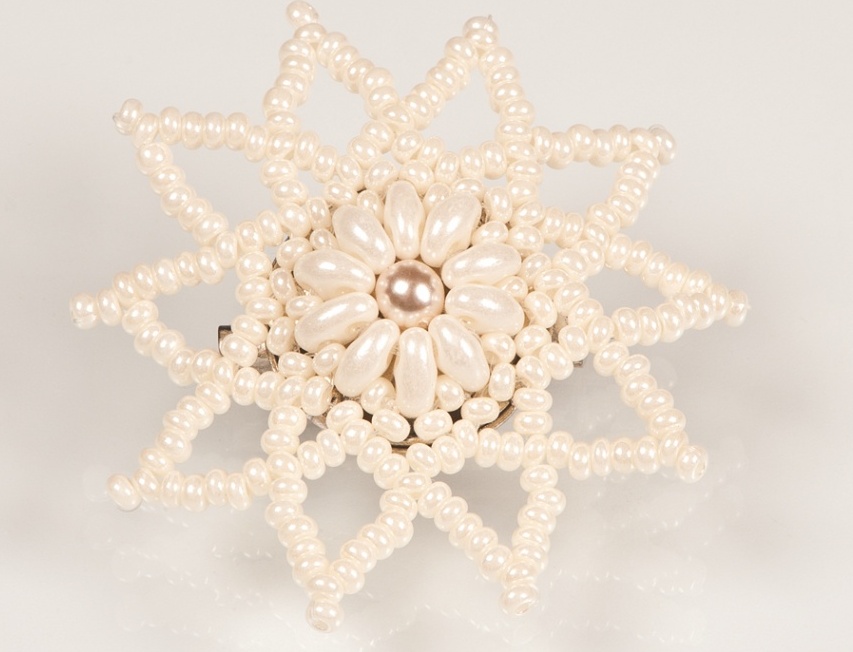
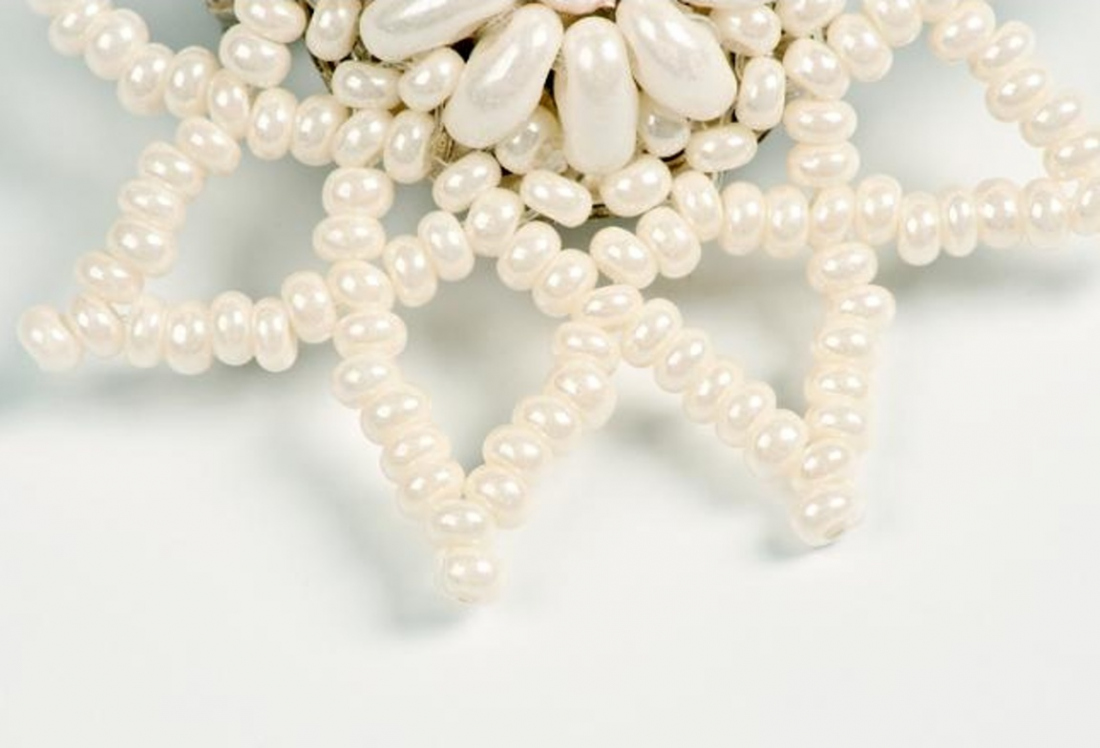
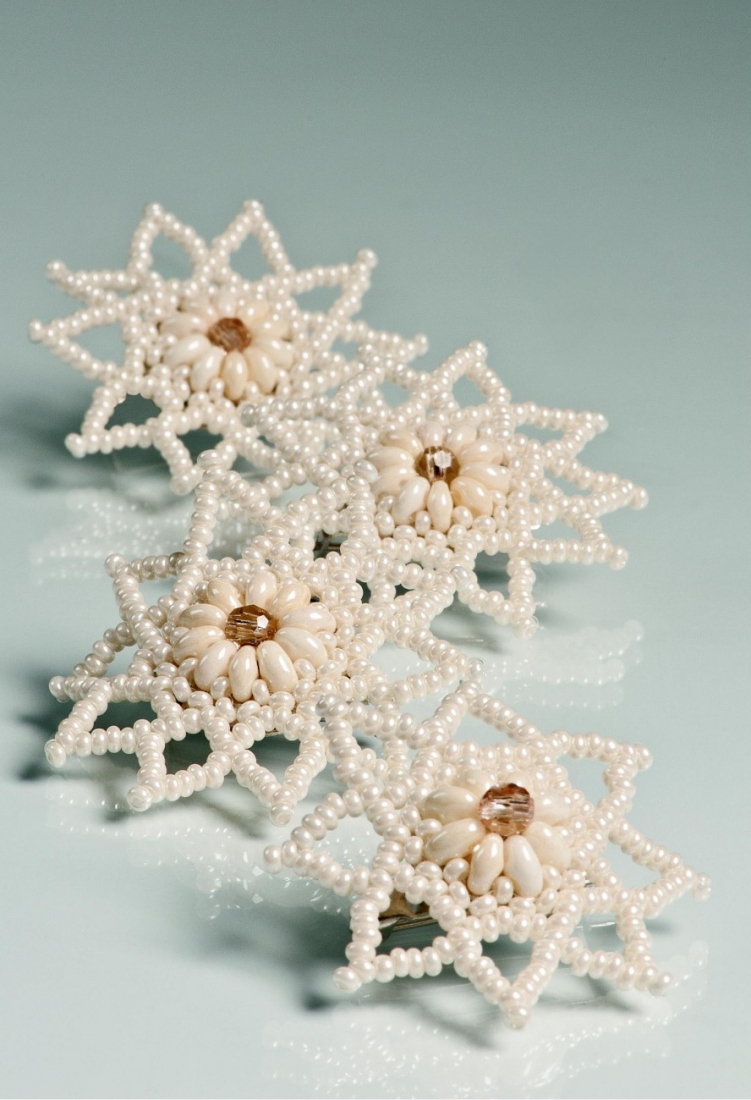
The following description will help you to create individual stars which can be hung using ribbons or strings on the branches of a Christmas tree or as decorations. If you want to use the stars as costume jewelry components, for example in hair clasps, with a broach fastening, a ring or a necklace made up of them.

Step 1

String 10x on a line and tie them into a ring (figure no. 1).

1

Step 2

Pass the line through the second hole of the outer T. Add 4x between each T and pass the line through the first R between the individual T one more time in the same direction (figure no. 2). Add a total of 40x R in this row. 

1

Step 3

Start creating the individual points of the star from the first sewn rocaille square. Add 10x R and pass the line back through the ninth. The tenth rocaille forms the top of the star’s point. Add another 9x R, leave out one rocaille square and pass the line through the two R from the next square according to the drawing. Proceed in this way around the circumference of the basic ring (figure no. 3) twice. The individual rows are connected in the third rocaille. Sew the line in at the end and cut it off. 

3 / a

Step 4

If adding a broach fastening or a hair clasp, sew the star to the metal plate which forms the upper part of the broach fastening or hair clasp. Tie the line to the middle of the plate, string the 4 mm IP and sew them to the centre of the plate. Place the finished star on this central bead and sew through between the middle T and then at several further points depending on the size of the plate. Upon finishing, pull the nylon line into the lower part of the plate, tie a strong knot and cut it off ca 0.5 - 1 cm from the knot. Attach the plate and the star to the second part of the used metal mechanism and attach the remaining metal parts of the fastening or clasp. 

4

Step 5

It is possible to create a Christmas decoration by making a star which has been expanded to include a further row of seed beads. In this case, step1 is the same, while it is possible to string the seed beads on a thin wire from step2 onwards in order to strengthen the star (figure no. 5).

5 / a

Downloads