Ornament

Difficulty: 3
Techniques: Beadweaving

Sewn earrings using PRECIOSA Chilli™

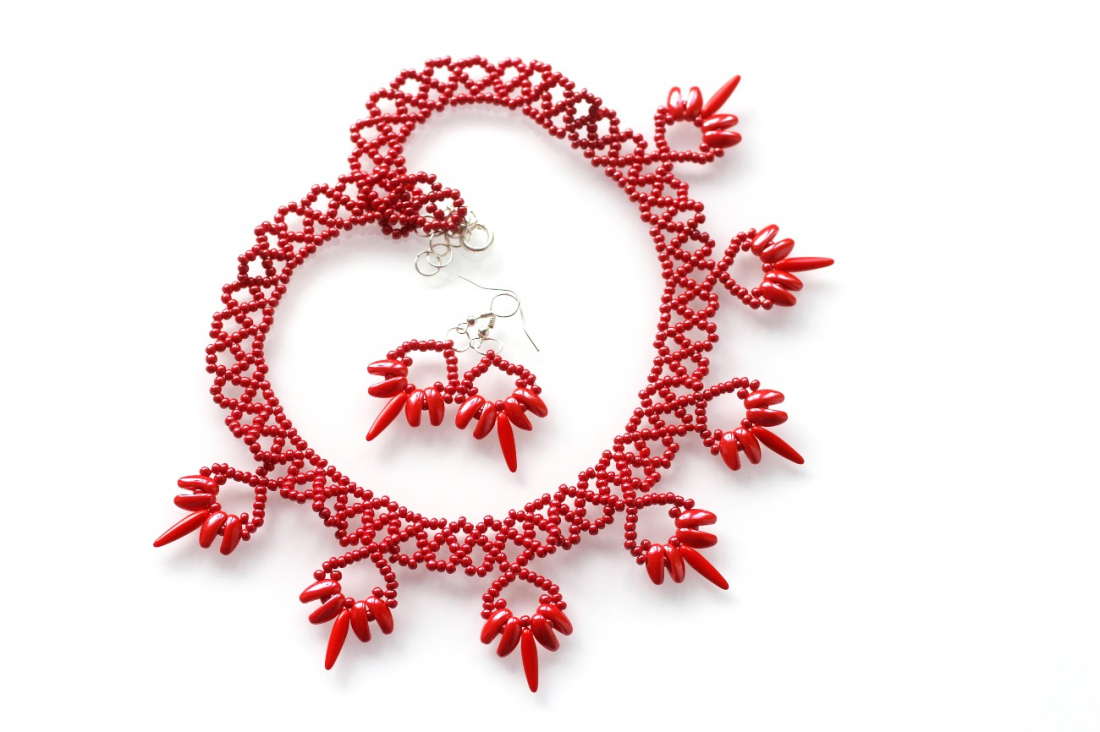
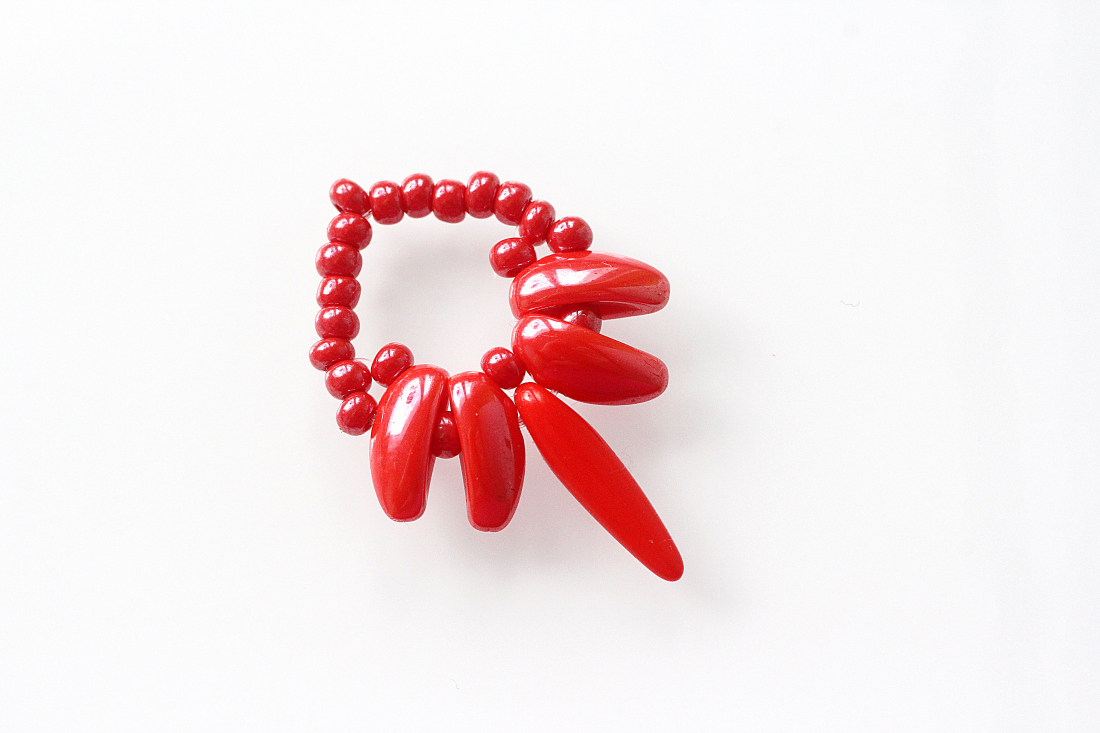
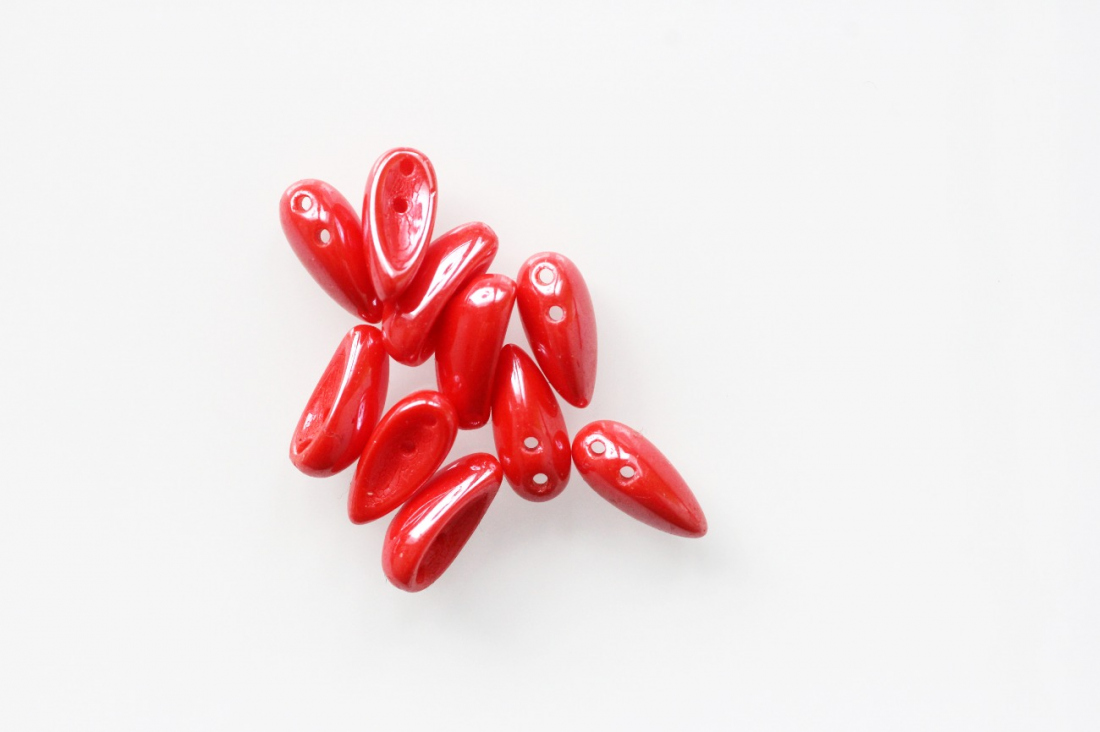
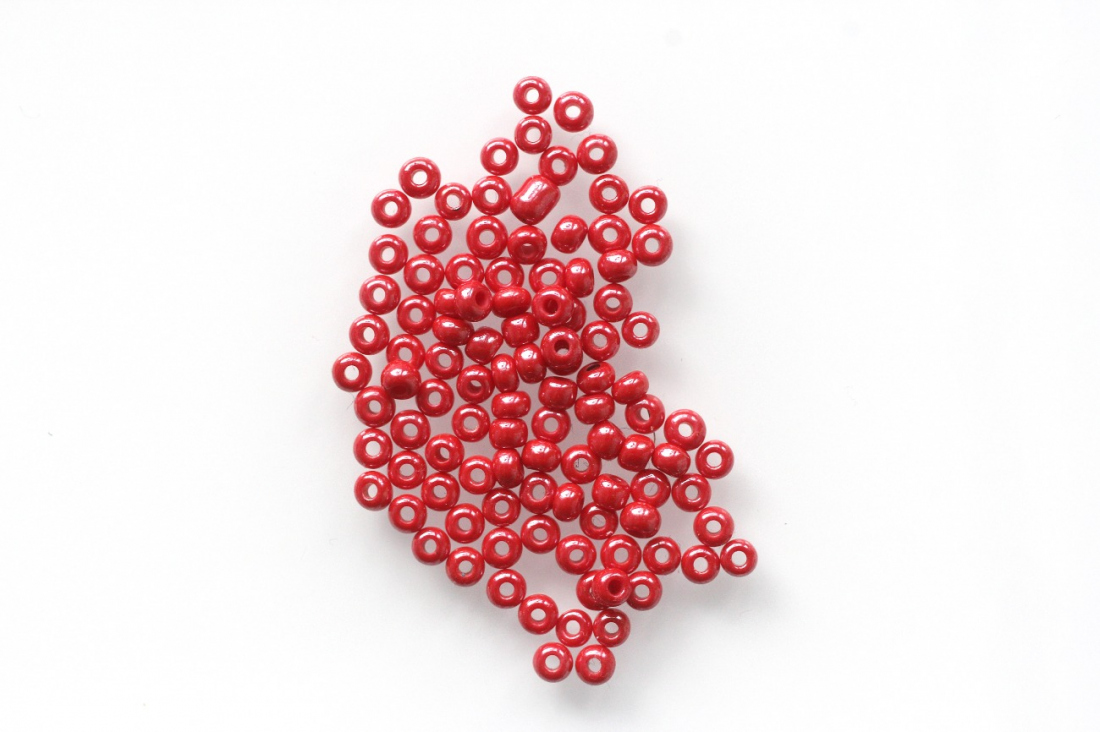
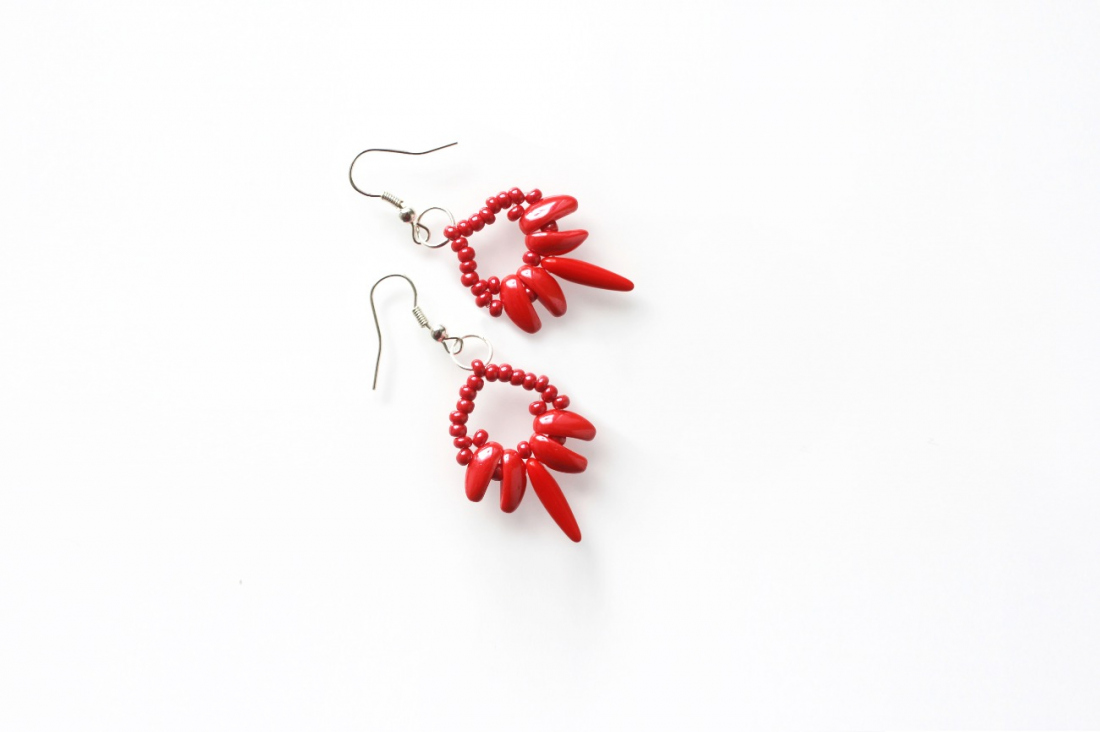
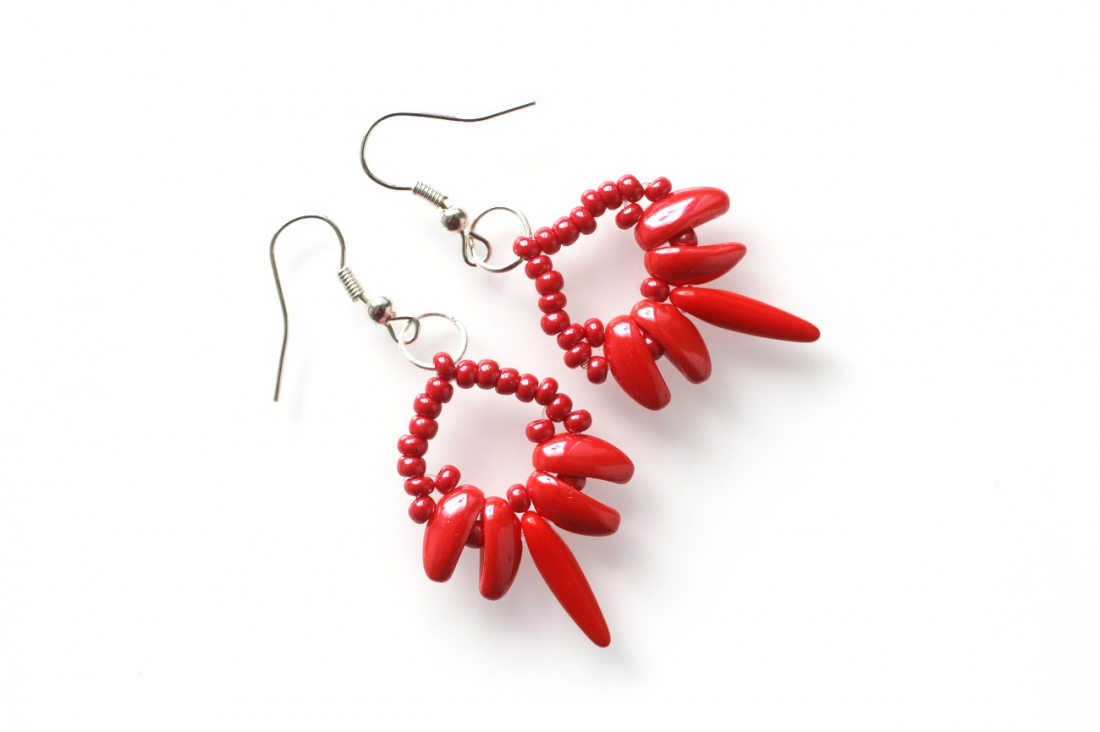
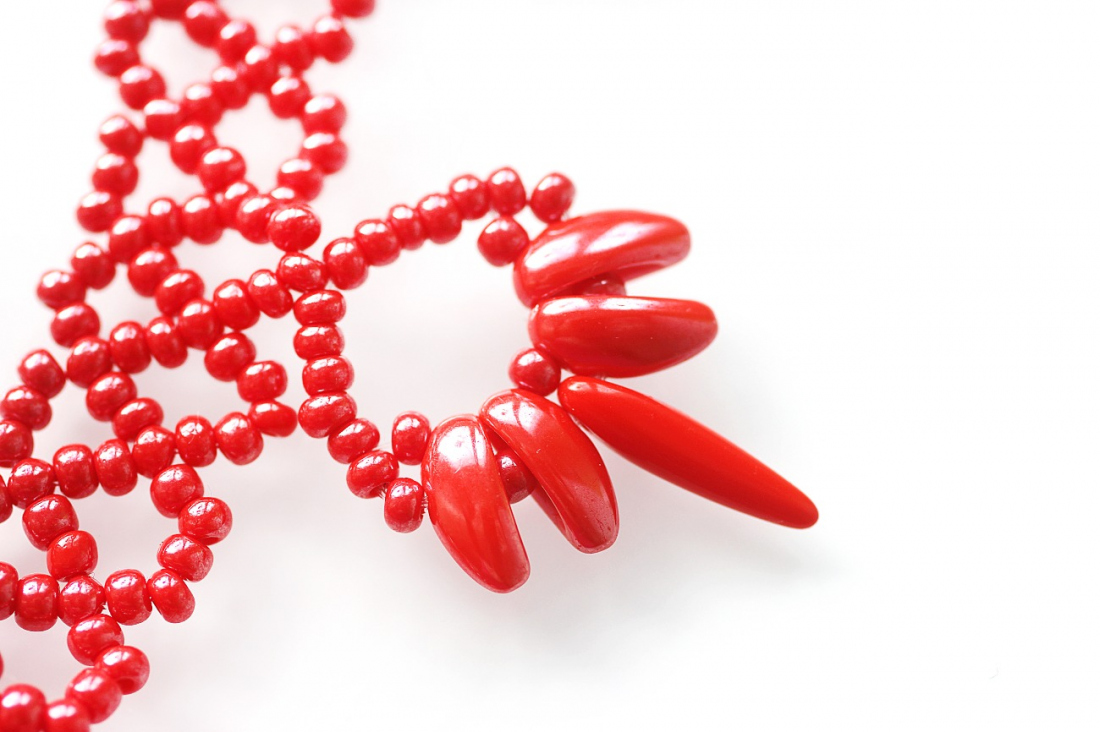
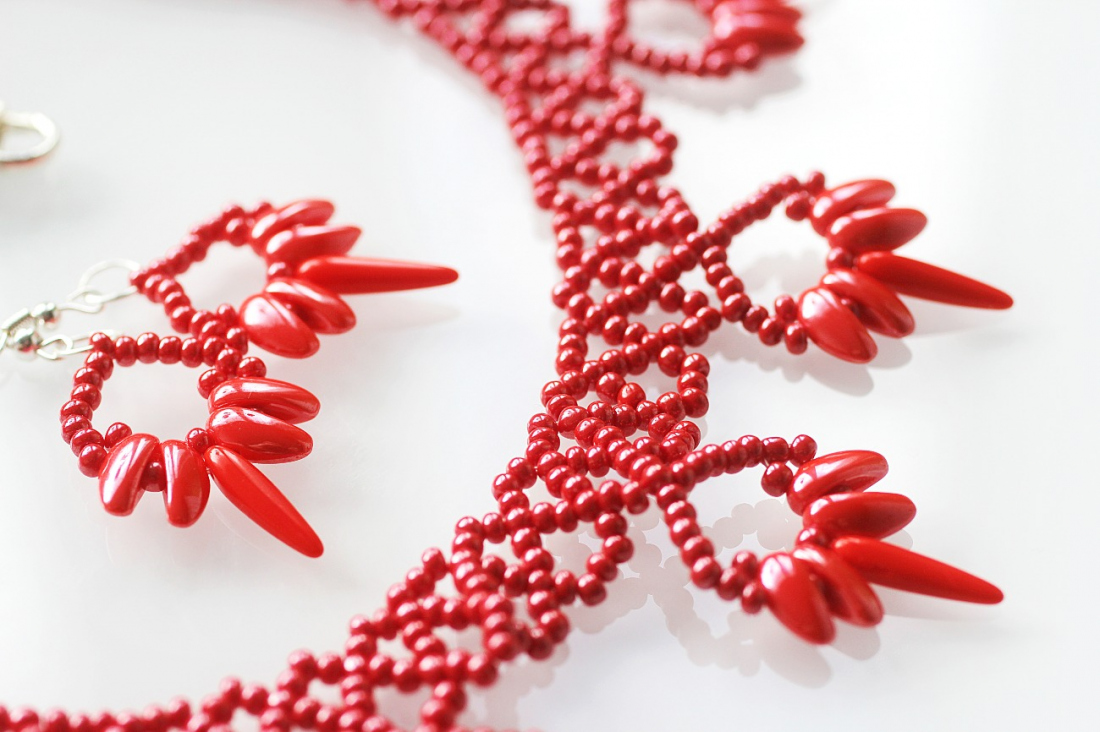
We have prepared a tutorial for you to make earrings with beads and seed beads from the PRECIOSA Traditional Czech Beads™ brand. You can try out combining the PRECIOSA Chilli™ and PRECIOSA Thorn™ Pressed Beads supplemented with PRECIOSA Rocailles in these sewn earrings. We wish you pleasant beadworking.

Ambassadors

Jana Shweiki

Designer with playful and clean-lined designs of jewelry made using Czech beads and seed beads from the PRECIOSA Traditional Czech Beads™ range.
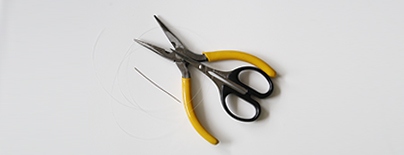
Learn More

Material and Tools

Tools

A 0.20 mm line – a length of ca 2 x 70 cm; a sewing needle; scissors; pliers

Materials

2x earring hooks; 2x 8 mm rings

Procedure

Step 1

String 3x R, 1x CH - lower hole, 1x R, 1x CH - lower hole, 1x T, 1x CH - lower hole, 1x R, 1x CH - lower hole and 3x (fig. no. 1a + 1b).
 

1 / a

Step 2

Return through the top hole of the CH (fig. no. 2a + 2b) and then join the top hole of the CH (fig. no. 2c) again.

2 / a

Step 3

String the R and thread the needle through the following CH in the top hole (fig. no. 3a + 3b) and connect it again with the adjacent CH using the top hole (obr. č. 3c + 3d).

3 / a

Step 4

Thread the needle through the 3 R (fig. no. 4a + 4b). Now, it is necessary to strengthen the base. Do this by threading the line around the bottom and top rows several times (fig. no. 4c + 4d + 4e).

4 / a

Step 5

Thread the needle through the middle R (fig. no. 5a), string 11x R (fig. no. 5b) and thread the needle through the middle R on the other side (fig. no. 5c + 5d).

5 / a

Step 6

Now thread the needle back through the bottom row (fig. no. 6a); it is necessary to emerge from the middle R again (fig. no. 6b).

6 / a

Step 7

Thread the needle through 5 R (fig. no. 7a), leave out one R and thread the needle through 6 R, so that you finish in the middle R from the base (fig. no. 7b + 7c).

7 / a

Step 8

It is necessary to tighten the entire component at the end, so sew through the base in a circle several times (fig. no. 8a + 8b).

8 / a

Step 9

Sew in the ends of the lines in the usual manner and the base is finished (fig. no. 9). Repeat Steps 1-9 so that you have two of them.

9

Step 10

Use the pliers to attach the rings and earring hooks and the earrings are finished (fig. no. 10a + 10b).

10 / a

Downloads

This website is using cookies

To improve our services and provide information that suits your interest, we use the advanced website traffic analytics tools. However, we need your consent. More information about how we process and protect your data can be found in the privacy statement. We ask you for approval of the terms.

Functional cookies These cookies are necessary for the proper functioning of the website and therefore cannot be turned off.
Analytics cookies Analytical cookies help us track and analyze the way visitors interact with our site in Google Analytics 4. This information allows us to improve content and provide a better user experience.
Marketing cookies Reading and writing cookies for marketing purposes for advertising systems such as Google Ads or Sklik. These cookies allow us to track user behavior and measure website performance and the effectiveness of our advertising campaigns.
Personalized advertising Remarketing cookies allow us to present you with personalized advertising based on your previous interactions with our site in systems such as Google Ads, Sklik.
Use of personal data With this option, you consent to the sending and processing of your personal data to Google for the purposes of targeting and evaluating online advertising and targeted marketing.