Little flowers

Difficulty: 1
Technique: sewing

Earrings made from PRECIOSA Tee™, PRECIOSA Candy™ and PRECIOSA Farfalle™

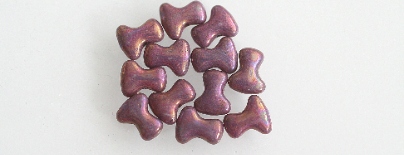
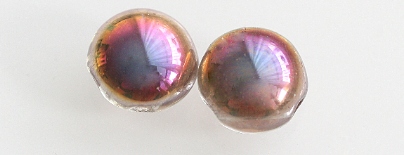
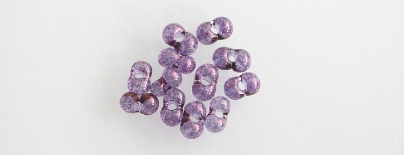
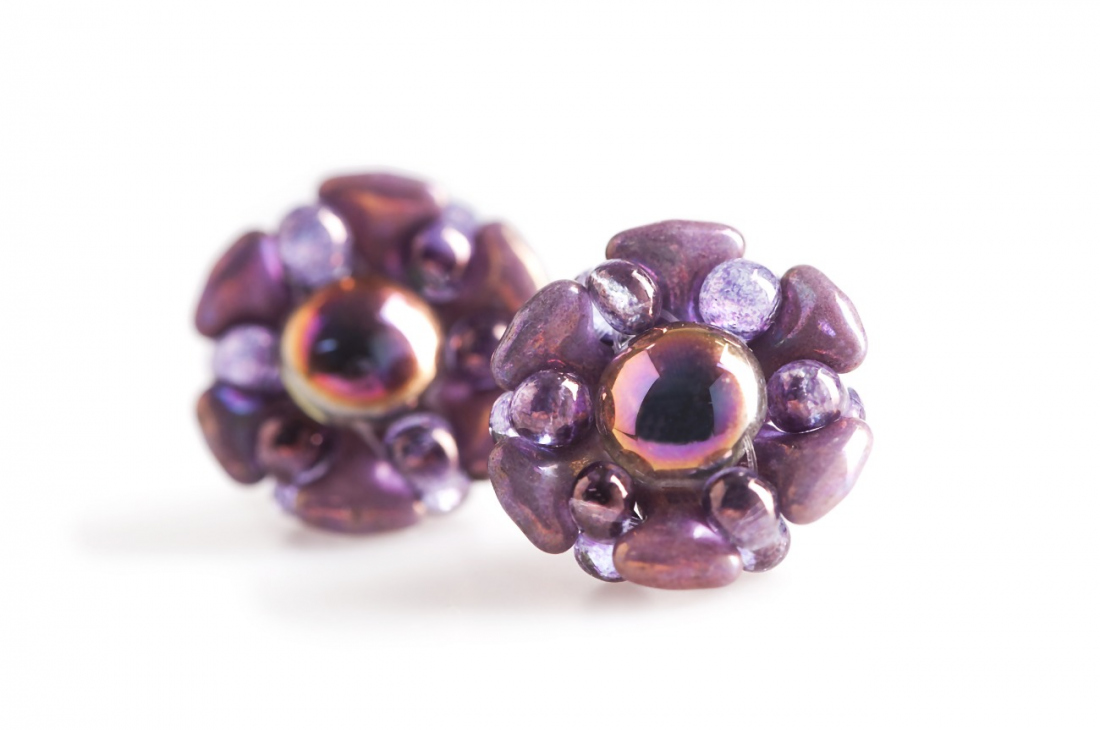
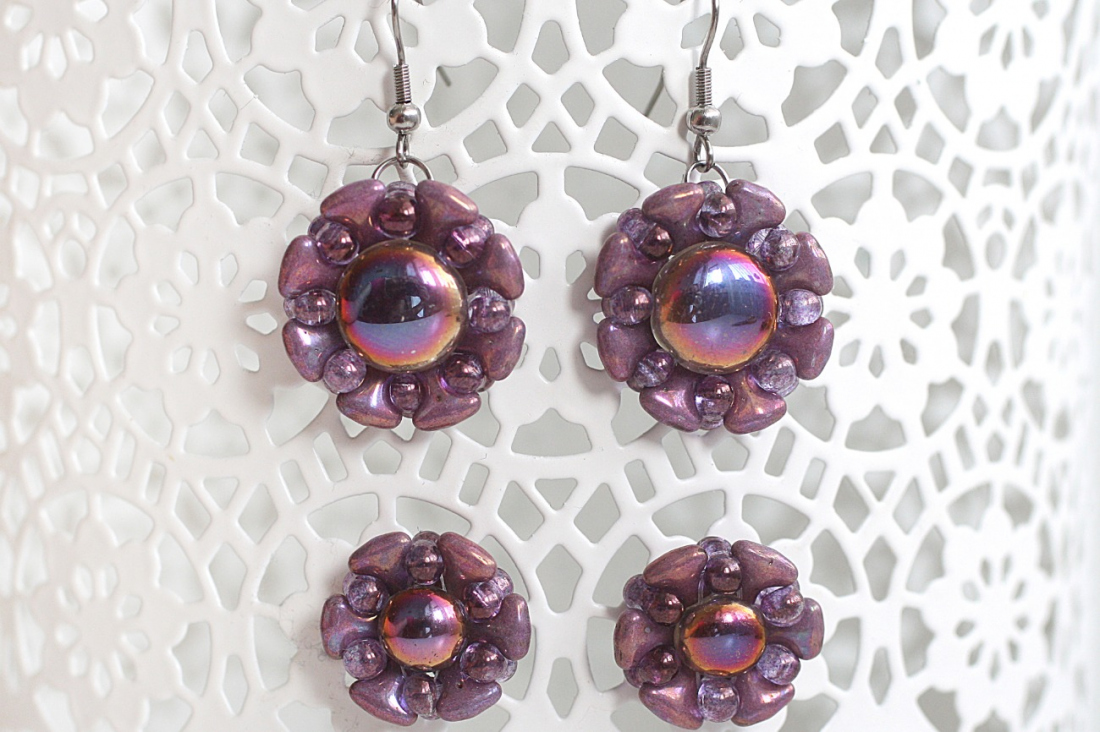
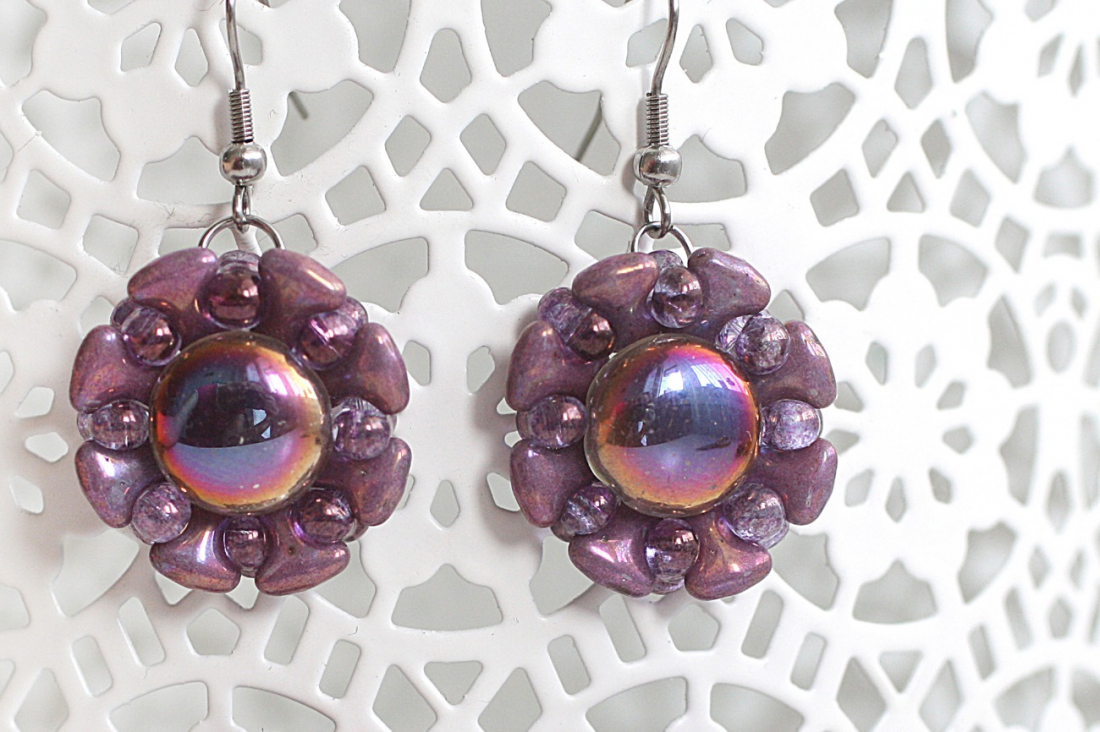
Preciosa Ornela presents a brilliantly simple tutorial for the production of earrings for everyday wear and special occasions. Try out this combination of beads and seed beads from the PRECIOSA Traditional Czech Beads™ brand.

Ambassadors

Jana Shweiki

Designer with playful and clean-lined designs of jewelry made using Czech beads and seed beads from the PRECIOSA Traditional Czech Beads™ range.

Learn More

Materials & Tools

Tools

0.20 mm line – a total length of ca 70 cm; a sewing needle; scissors

Materials

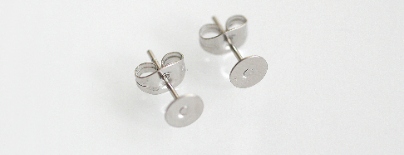
2 butterfly clasps with a back; glue for adhering the butterfly clasps

Procedure

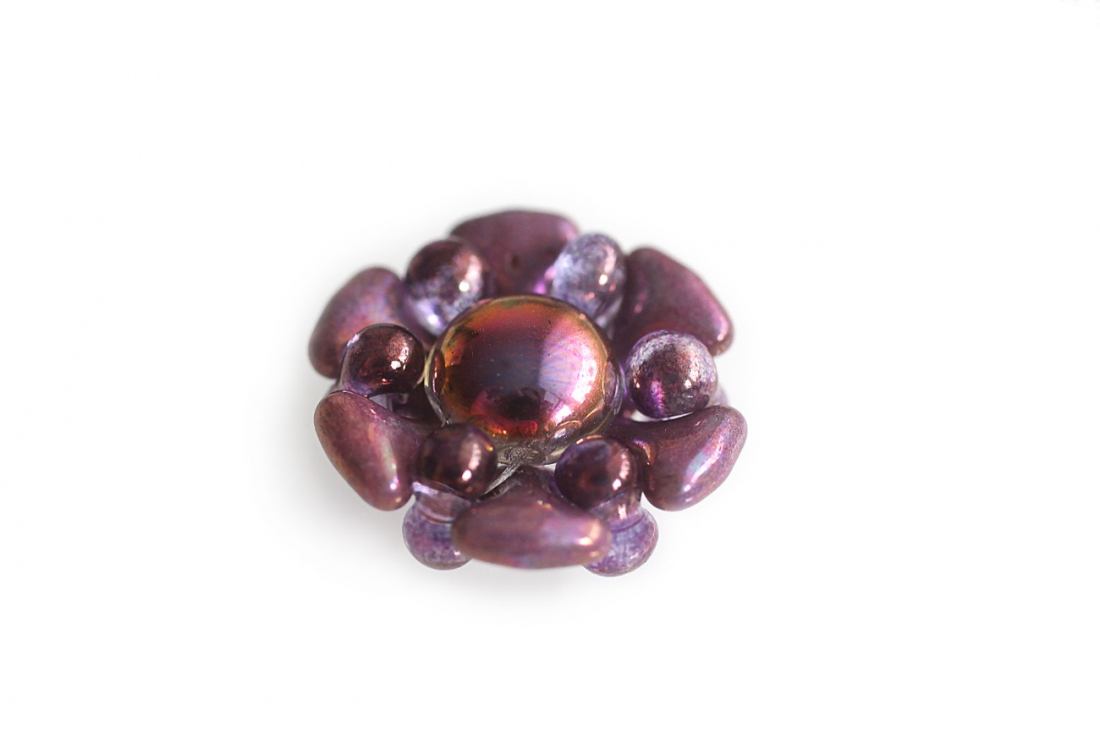
Sew through the initial row several time
so that it is sufficiently strong.

Step 1

Alternately string 6 F and 6 T (fig. no. 1a + fig. no. 1b).

1 / a

Step 2

Align the T and F stringings so that they are all pointing in the same direction and tie the end of the line into a circle with a double knot (fig. no. 2). Leave about 8 cm of the end free for sewing in. You can sew it in straight away so that it does not get in the way or you can sew it in at the end as usual.

2

Step 3

Pull the needle through the nearest F (fig. no. 3a), add 1 C (fig. no. 3b) so that the cabochon has its rounded side at the top and its flat side at the bottom and continue to the opposite F (fig. no. 3c).

3 / a

Step 4

When the line comes out of the F, return through the second hole in the C (fig. no. 4).

4

Step 5

Pull the needle through the F from the other side than you originally used in step no. 3 (fig. no. 5a + fig. no. 5b).

5 / a

Step 6

Repeat steps 3 to 5 several times (without adding the C) in order to firmly seat the C.

Step 7

Tie a knot in the line and sew it into the nearest beads. The basis for the first earring is now finished (fig. no. 7a + fig. no. 7b).

7 / a

Step 8

Repeat steps 1 to 7. Both bases for the earrings are now finished.

Step 9

Use the glue to adhere the butterfly clasp to the flat side of the C (fig. no. 9a). Leave it to dry properly. Both earrings are now finished (fig. no. 9b + fig. no. 9c + fig. no. 9d).

9 / a

Downloads

This website is using cookies

To improve our services and provide information that suits your interest, we use the advanced website traffic analytics tools. However, we need your consent. More information about how we process and protect your data can be found in the privacy statement. We ask you for approval of the terms.

Functional cookies These cookies are necessary for the proper functioning of the website and therefore cannot be turned off.
Analytics cookies Analytical cookies help us track and analyze the way visitors interact with our site in Google Analytics 4. This information allows us to improve content and provide a better user experience.
Marketing cookies Reading and writing cookies for marketing purposes for advertising systems such as Google Ads or Sklik. These cookies allow us to track user behavior and measure website performance and the effectiveness of our advertising campaigns.
Personalized advertising Remarketing cookies allow us to present you with personalized advertising based on your previous interactions with our site in systems such as Google Ads, Sklik.
Use of personal data With this option, you consent to the sending and processing of your personal data to Google for the purposes of targeting and evaluating online advertising and targeted marketing.