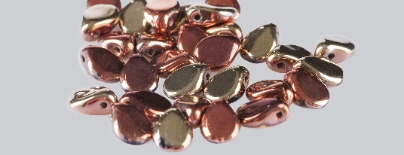
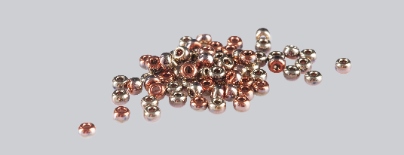
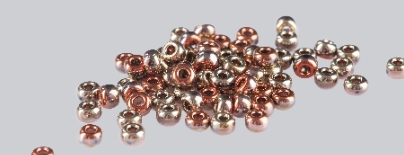
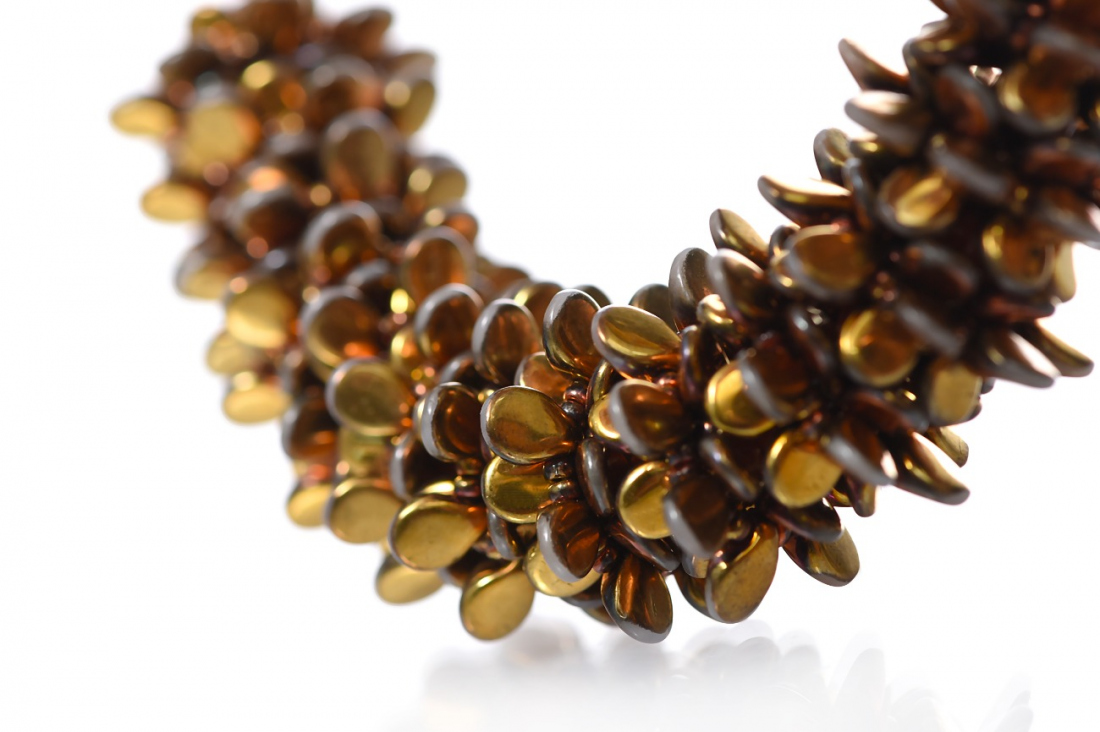
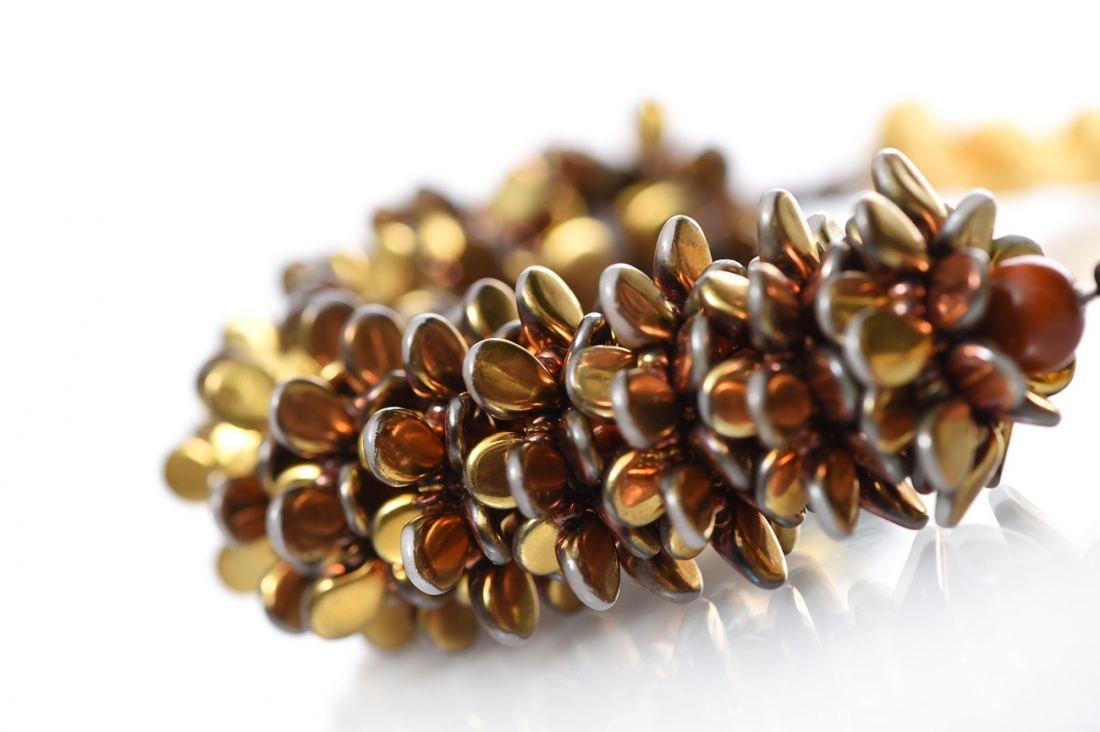
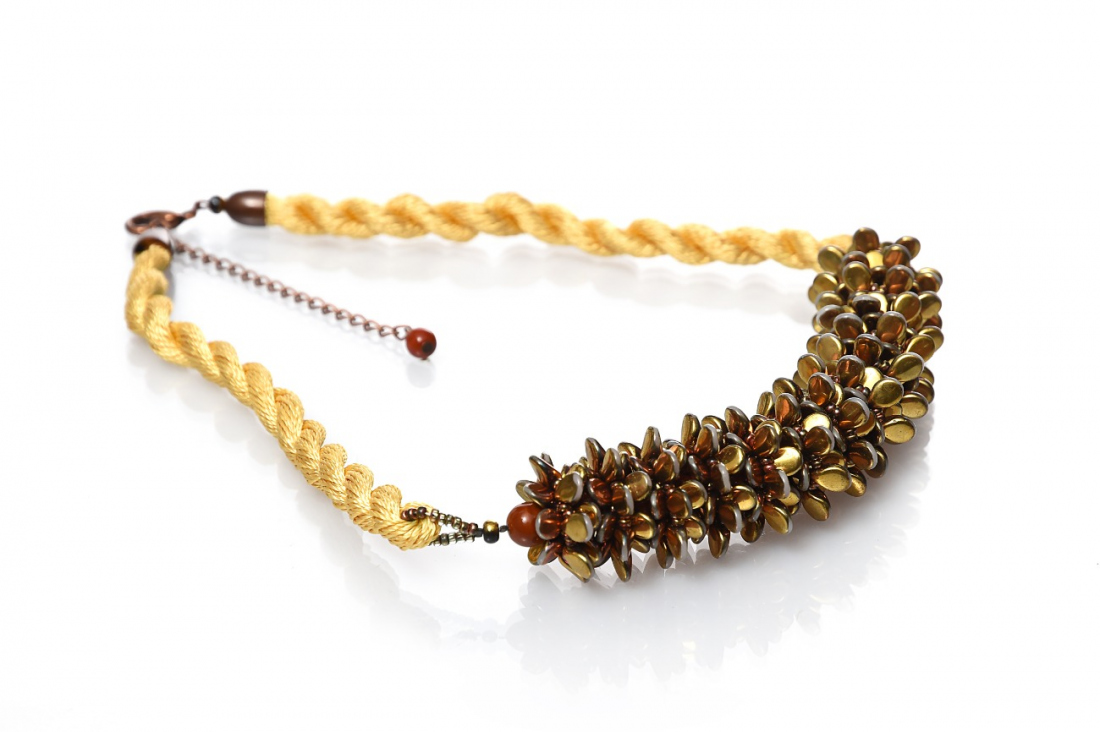
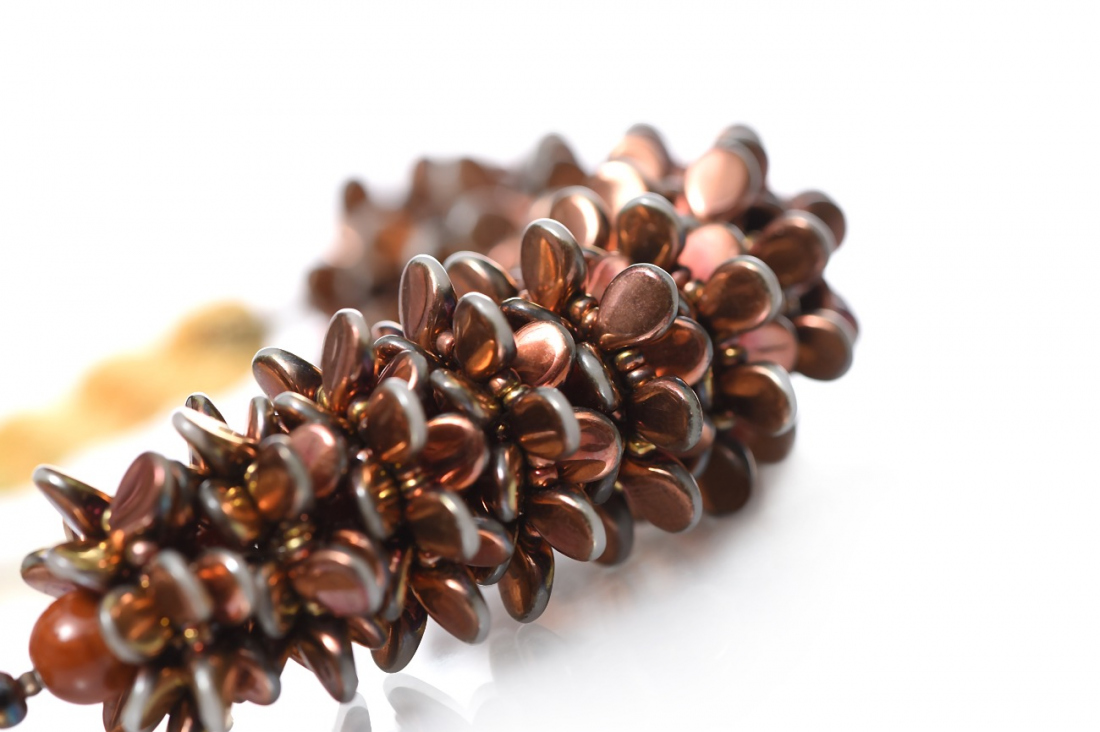
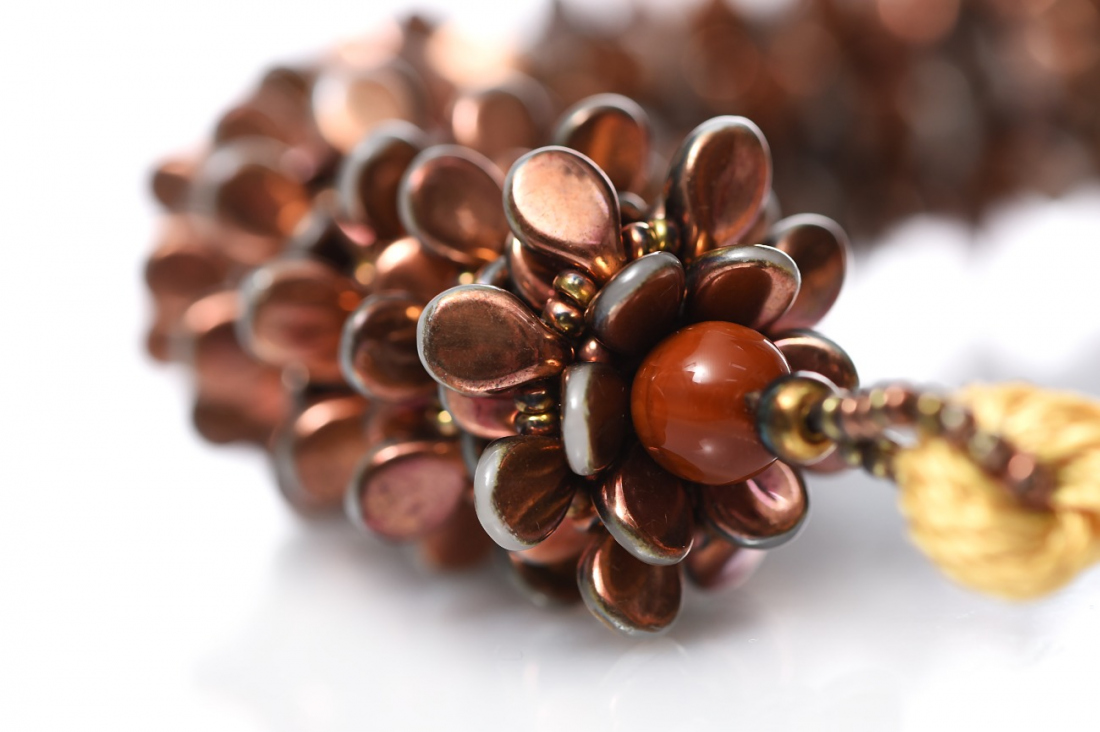
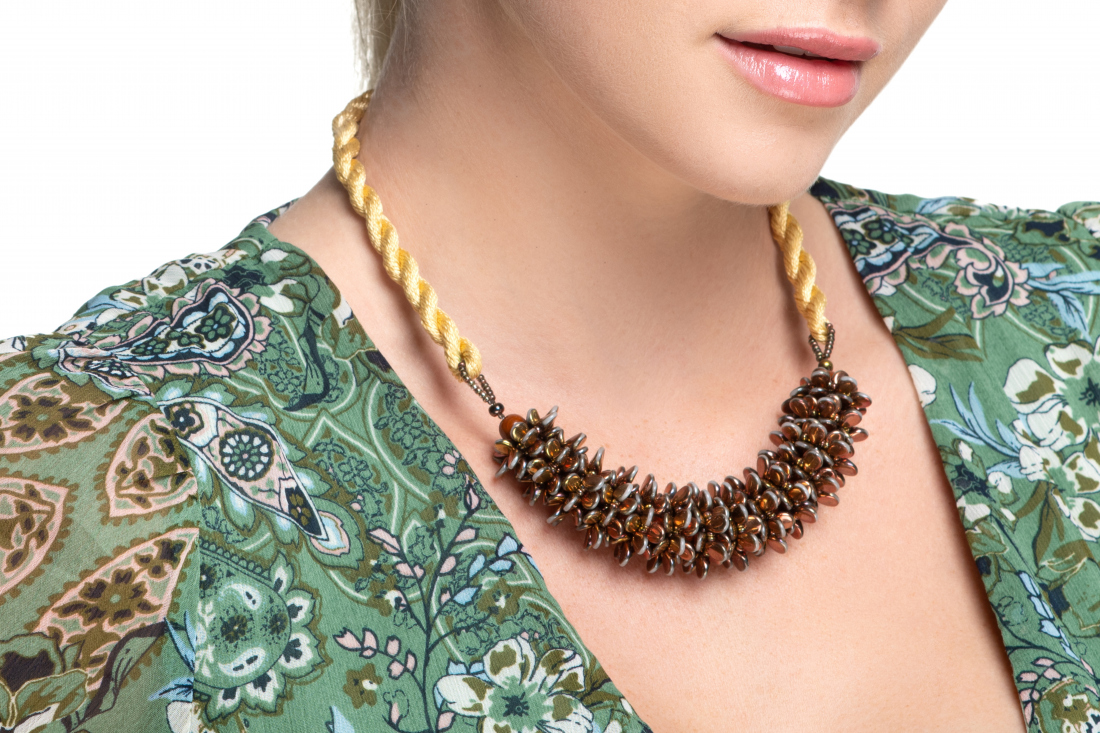
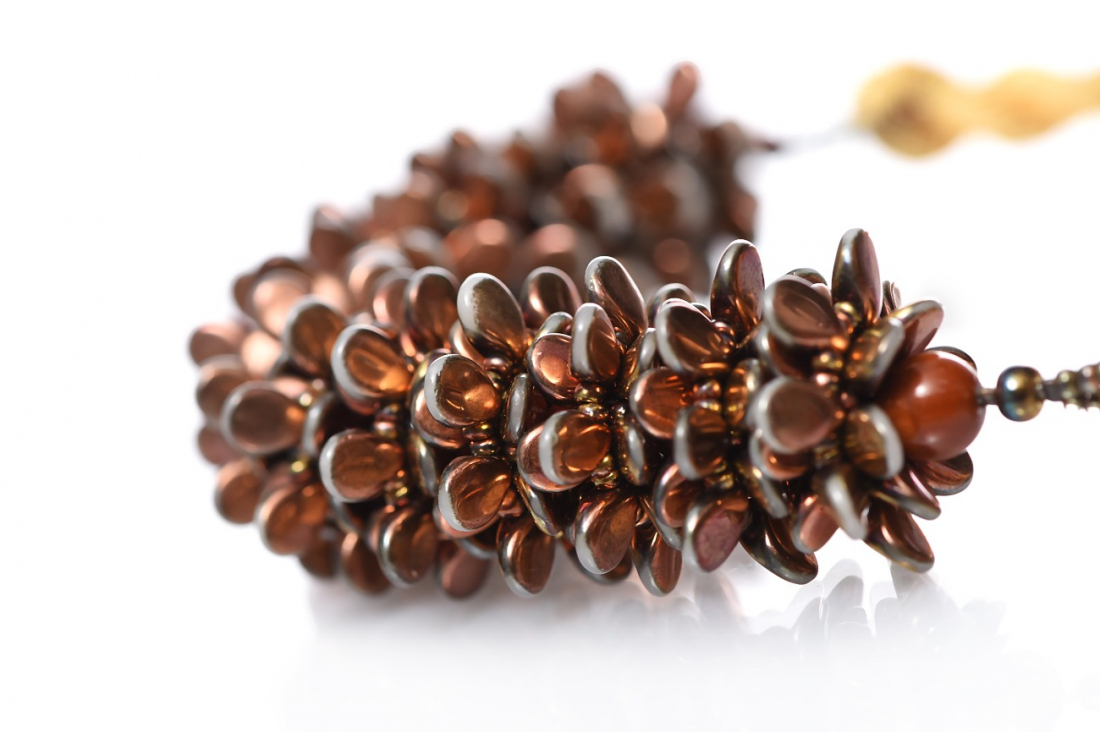
With their metallic gleam and curves inspired by natural shapes, PRECIOSA Pip™ beads create interesting pieces of jewelry when combined with a twisted cord. This tutorial will enable you to create an accessory with which you can stand out during a wide variety of occasions. The PRECIOSA Pip™ pressed beads have a small core with an axially symmetric flattened shape which enables the realisation of half metal coating on both sides of the bead with the resulting effect of an overall decoration. In this case, we have used the California decoration in the glossy finish. PRECIOSA Pip™ beads are made to create flat flowers. By combining them with other seed beads and rocailles, you can achieve an effective spatial shape. If you wish to supplement the necklace with other pieces of jewelry, you can create another two pairs of connected rings and hang them on earring hooks. The range offers ten California two-color vacuum decorations in glossy and matt finishes. It is entirely up to you which combination you choose!
Preciosa Ornela wishes you much enjoyment and inspiration.

She is able to switch from luxurious and extravagant fashion show pieces to the preparation of hobby projects,
Learn MoreMetal parts - metal crimp beads; the end of the cord (a cap or eye pin); the fastening (a carabiner, a counter-ring or an adjusting chain, ovals or rings)
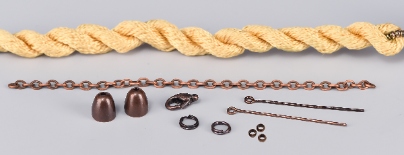
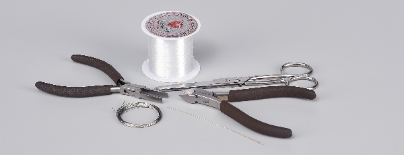
A 0.20 mm nylon line; a thin needle; scissors; a 0.40 mm wire; snipping pliers; flat nose pliers (for flattening the beginning of the line, crimping the crimp bead and closing the rings)
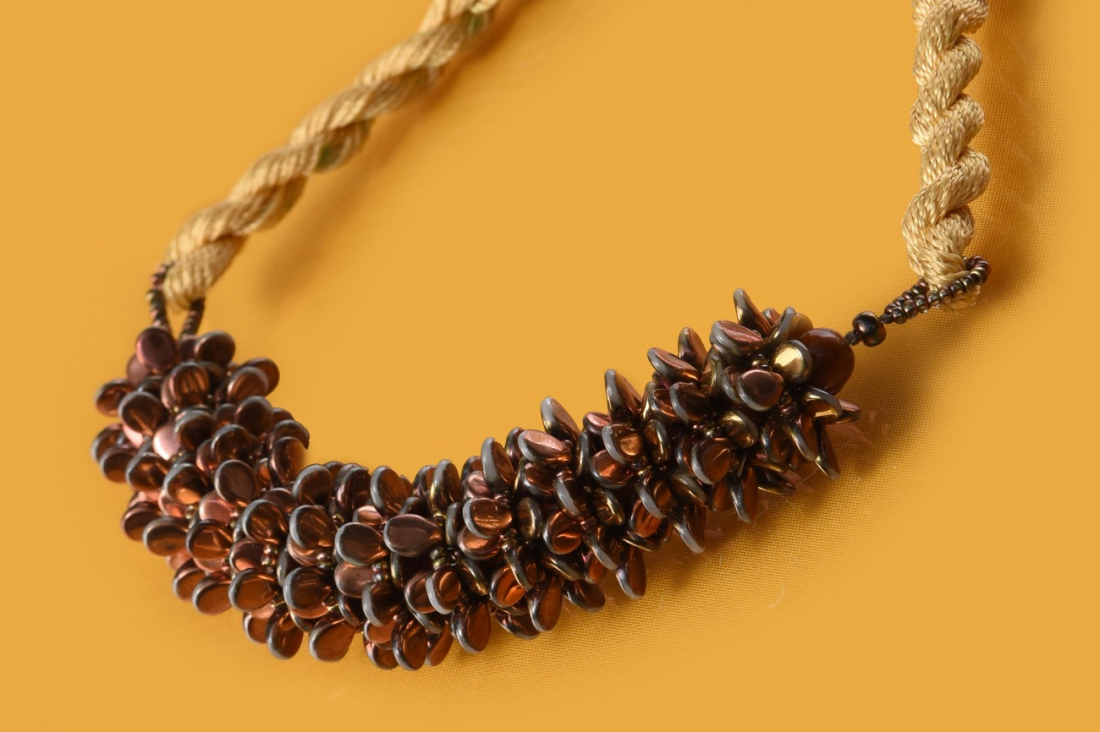
The central part of the necklace consists of 14 double-rowed rings. There is another larger ring in the middle between the rows.
Share this project with your friends
This website is using cookies
To improve our services and provide information that suits your interest, we use the advanced website traffic analytics tools. However, we need your consent. More information about how we process and protect your data can be found in the privacy statement. We ask you for approval of the terms.