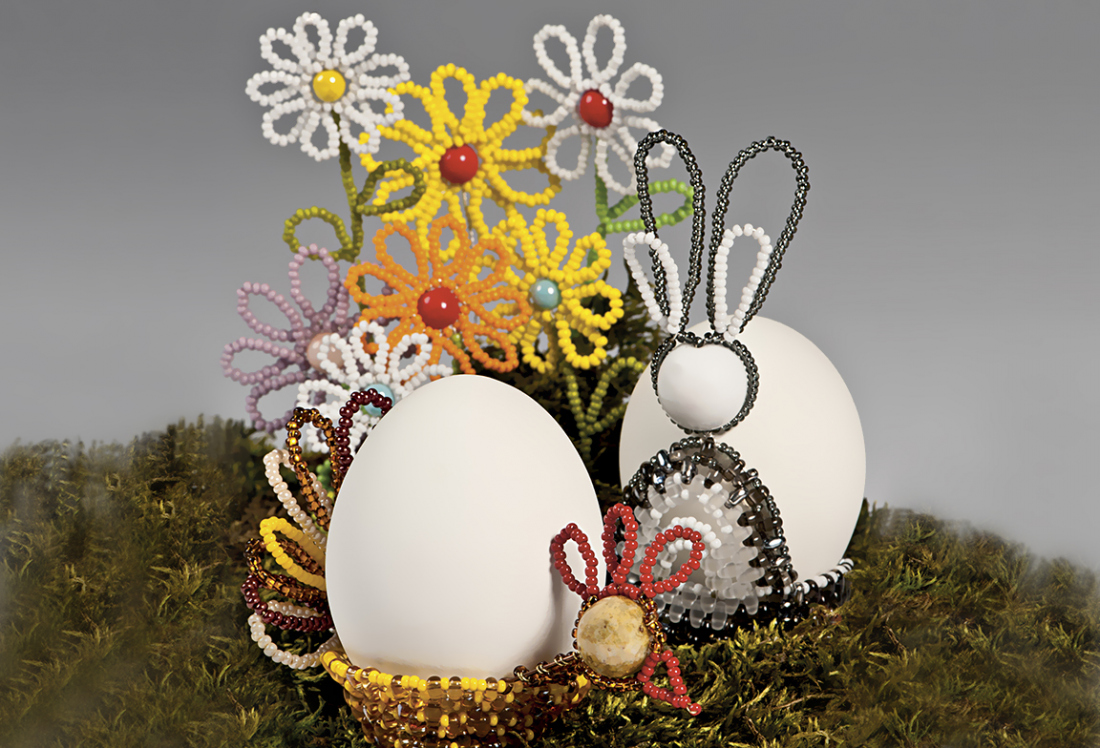
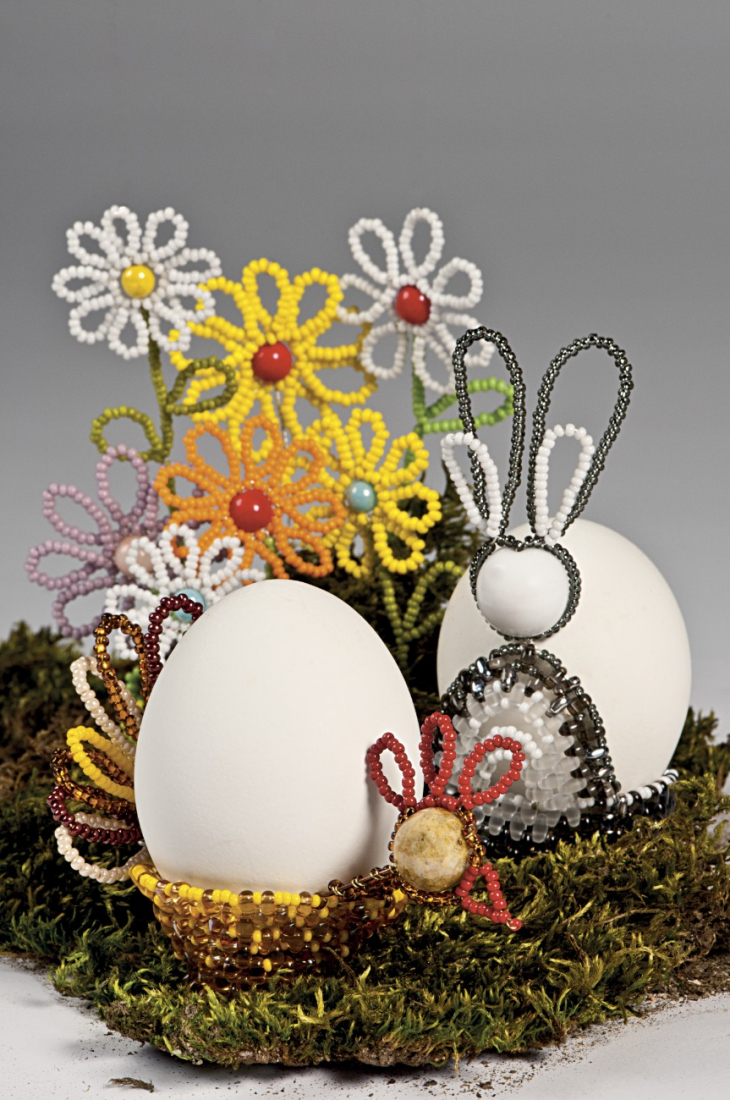
Preciosa Ornela is celebrating spring with the Czech two-hole PRECIOSA Twin™ seed bead. PRECIOSA Twin™, the unique oval two-hole seed bead, has become the basic creative material for the creation of a spring-Easter decorative collection which has been supplemented with seed beads and beads from the standard range of the PRECIOSA Traditional Czech Beads brand. We introduce the manual for simple Easter egg stands, animals or flowers.

She is able to switch from luxurious and extravagant fashion show pieces to the preparation of hobby projects,
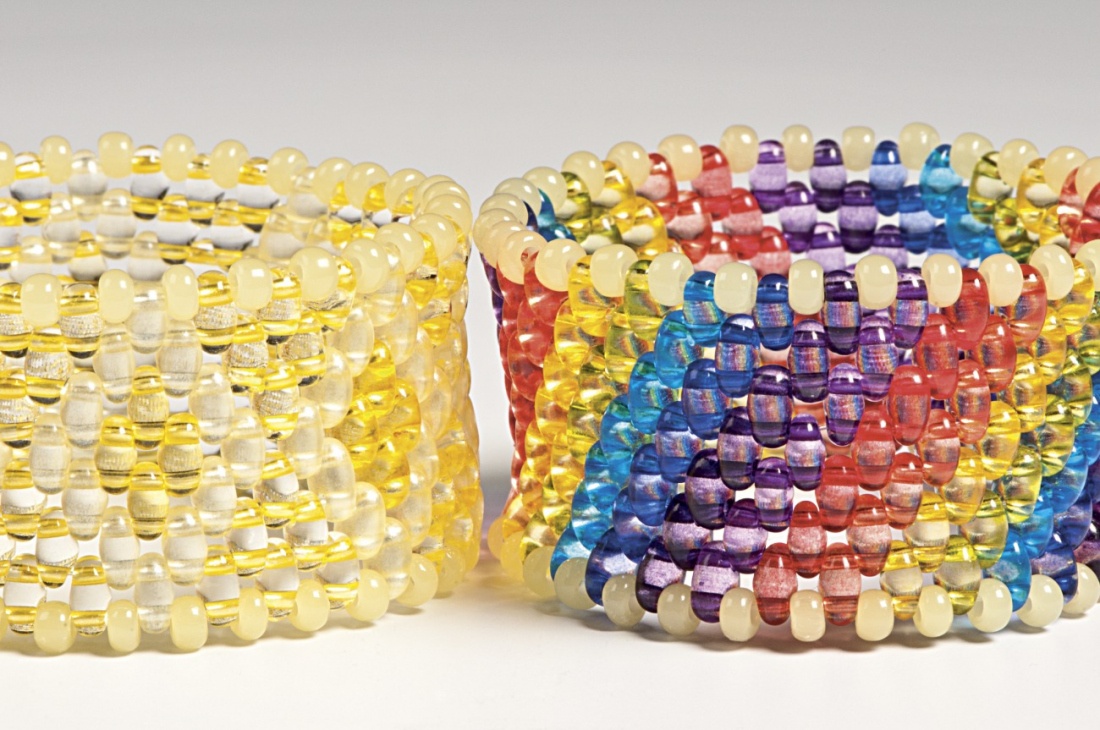
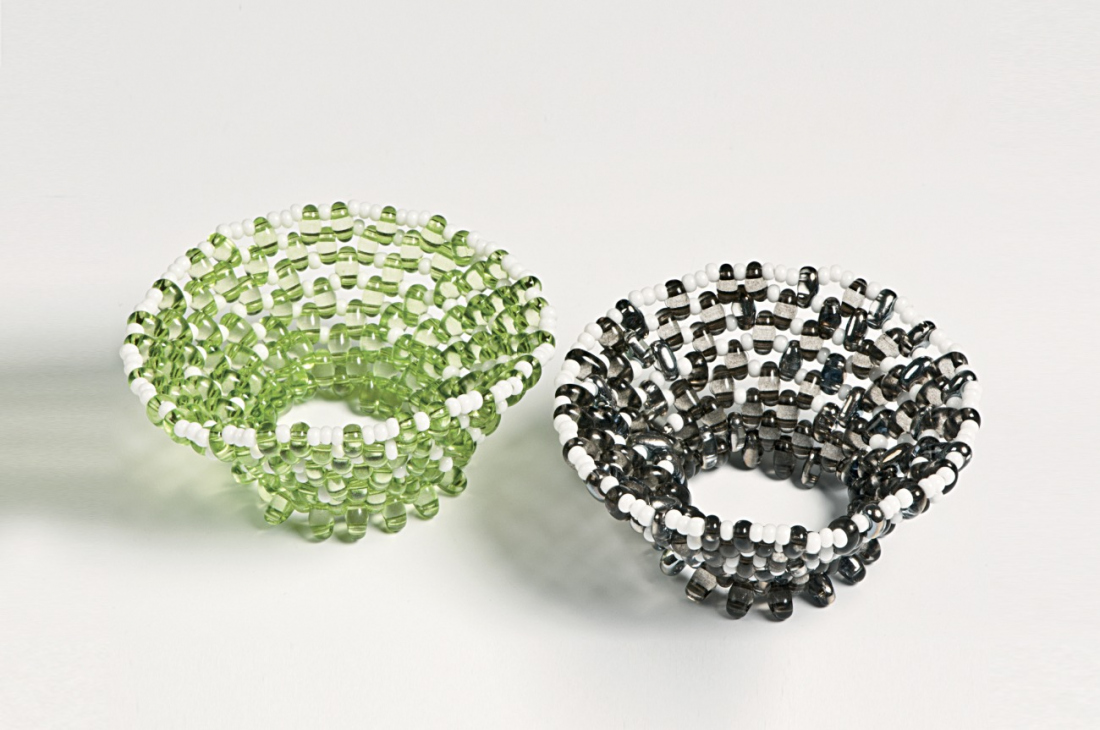
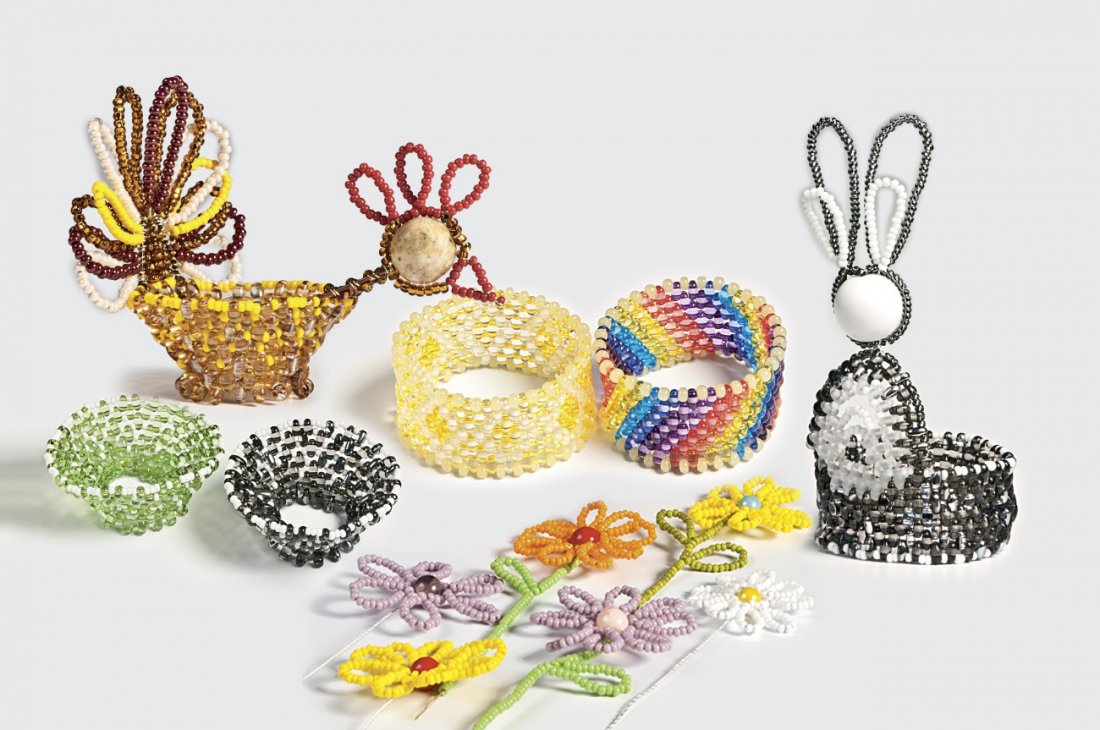
Learn MoreEgg stands
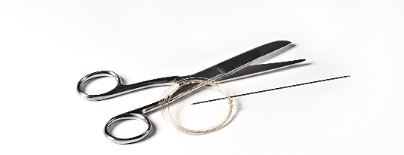
A thin stringing needle, a thin line, scissors
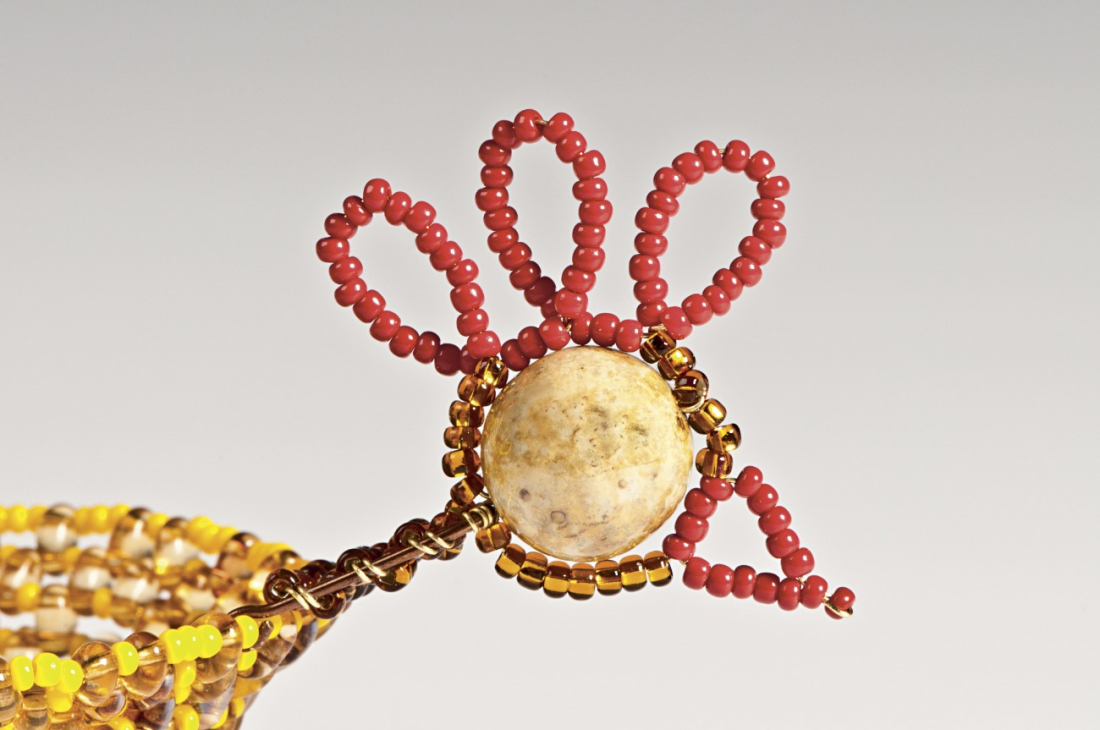
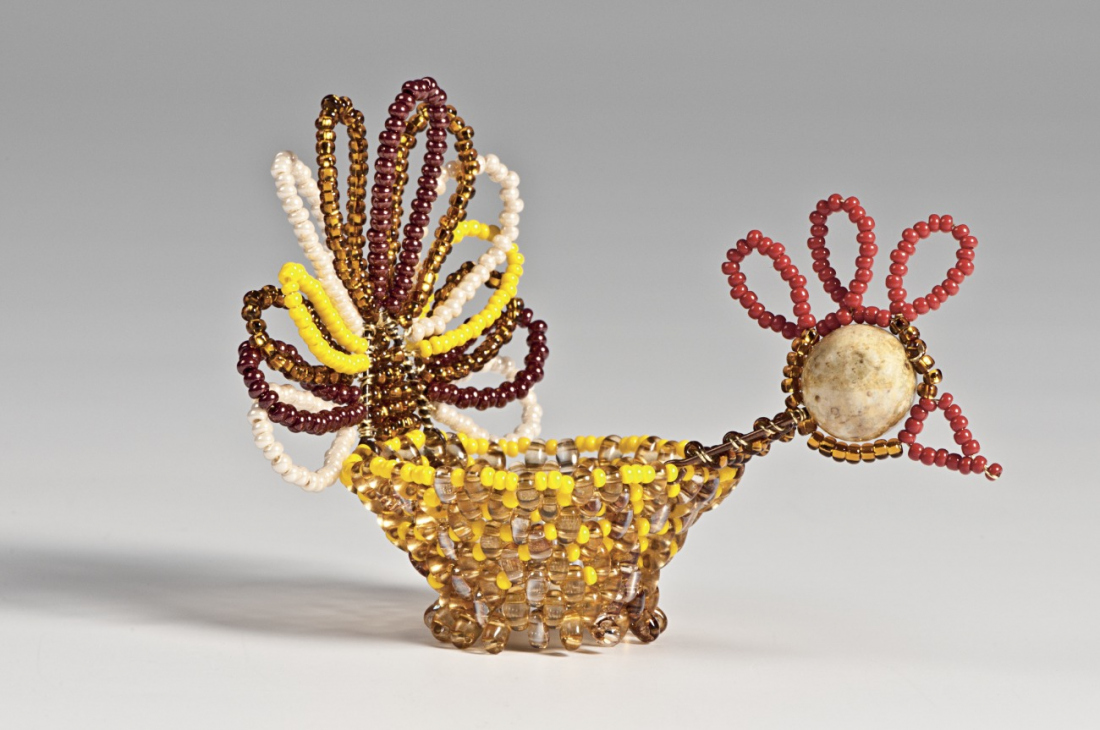
The hen, The hare, The flowers
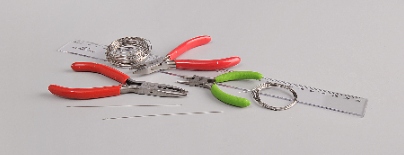
A thin stringing needle, a thin line, scissors, snipping, flat-nosed and needle-nosed pliers, 50 mm eye needles (2x) a 0.35 mm binding wire and a 0.50 mm silver wire, a ruler
Share this project with your friends


.JPG)